You’re staring at that shower wall, wondering if you can really tile it yourself. The truth is, most DIY disasters happen because people skip the basics that pros know by heart.
I’ve tiled dozens of showers over the years, and I’ve made every mistake in the book. Now I’m sharing what actually works.
This guide covers proper waterproofing, choosing the right materials, layout tricks that prevent tiny tiles from the edges, and the cutting techniques that make corners look seamless.
Here’s the thing about tiling: it’s not rocket science, but the order matters. Miss one step, and you’re looking at mold or water damage down the road. I’m giving you the no-nonsense, tested process that keeps water where it belongs and makes your shower look like you hired someone. Let’s get started.
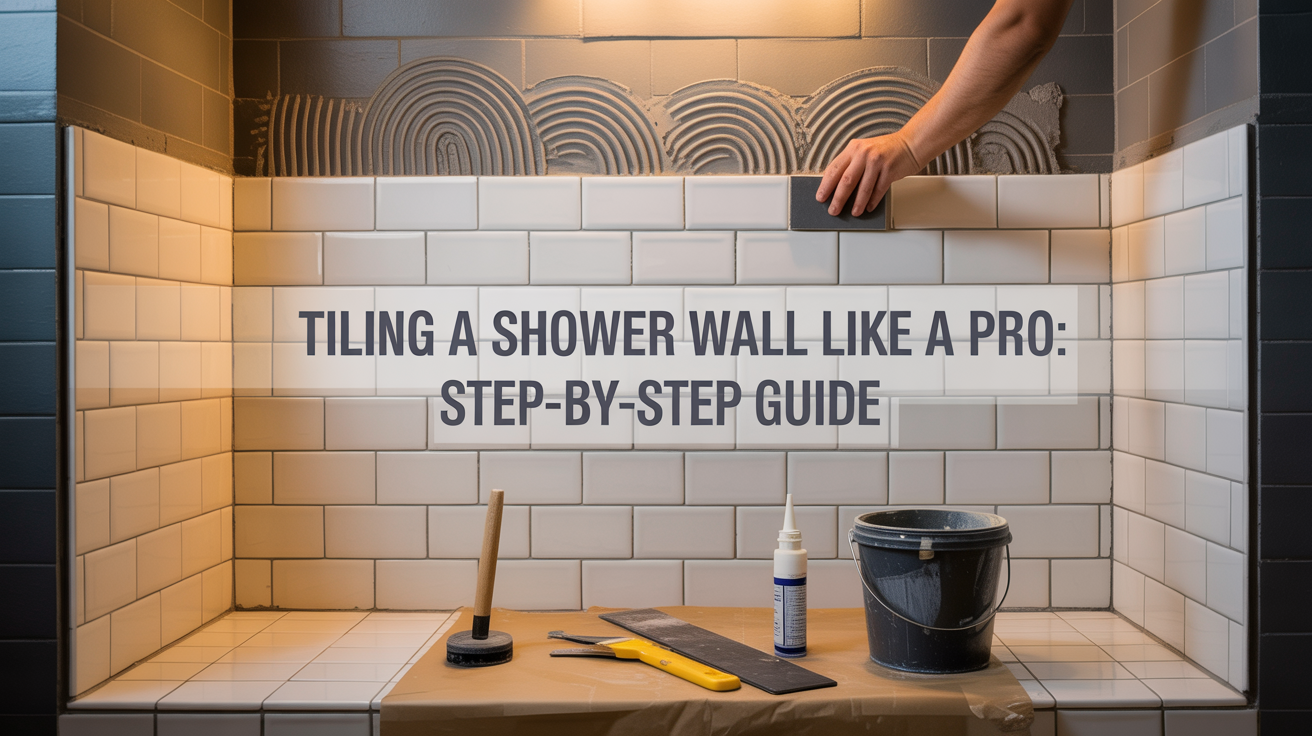
A Step-by-Step Guide
Tiling a shower wall requires proper waterproofing and precise measurements. Start from the bottom and work your way up, using spacers to keep tiles evenly aligned.
The key is prep work, sealing the wall correctly, and your tiles will last for decades without issues.
Step 1: Gather the Right Tools and Materials.

Don’t start your shower tiling project until you have everything ready. The right tools and materials prevent leaks, crooked tiles, and frustrating trips to the hardware store.
Quality equipment makes clean cuts and proper installation.
- Quality cutting tools and trowels: A wet saw makes precise cuts, while a notched trowel spreads mortar evenly. Add a level, spacers, and a drill with paddle attachment to your kit.
- Complete waterproofing system: Install cement board with a vapor barrier behind it, seal seams with mesh tape, and apply a waterproof membrane in high-moisture areas.
- Strong adhesives and sealants: Use thinset mortar to secure tiles, grout to fill gaps, and silicone caulk for corners and movement joints.
- Porcelain or ceramic tiles only: Choose waterproof tiles that won’t absorb moisture. Porcelain is the best option, while ceramic works great on a budget. Avoid natural stone.
- 10% extra materials: Buy more than you calculate for broken tiles, cutting mistakes, and future touch-ups. You’ll need the backup.
Step 2: Prepare and Protect the Work Area

Preparation matters more than you think. I’ve seen people skip this step and regret it immediately. A little protection now saves you from expensive repairs later.
- Cardboard and cloths: Place thick cardboard sheets on the tub, then add heavy drop cloths secured with painter’s tape.
- Extend protection: Cover the bathroom floor to catch all falling debris and prevent damage.
- Remove old materials: Use a hammer, chisel, and pry bar to strip everything down to the studs.
- Wear safety gear: Goggles, gloves, and a dust mask protect you from flying debris and dust.
- Vacuum everything: Clean all dust from studs, walls, and floors before installing new materials
Step 3: Inspect and Prep the Wall Structure

This step catches problems before they become disasters. I once saw a shower with perfect tile work fall apart in six months. Why? The studs were rotting behind the cement board. Don’t skip this inspection.
- Check every stud: Use a level to confirm they’re straight and plumb. Warped studs mean uneven tiles.
- Look for mold or rot: Press on the wood with your thumb. If it feels soft or spongy, replace it immediately.
- Reinforce weak corners: Add blocking between studs at corners for extra support and prevent cracks.
- Mark your plumbing spots. Use a pencil to mark where pipes, valves, and drains sit for accurate cuts later.
- Test the framing: Push hard on studs to ensure they’re solid. Loose framing leads to cracked grout
Step 4: Install the Cement Backer Board

Cement board is your waterproof foundation. I’ve repaired too many showers where people used regular drywall or skipped the board entirely. Water finds every weakness. This layer protects everything behind it.
- Measure twice, cut once: Score the board with a utility knife, then snap it along the line. Clean cuts save time.
- Leave a gap at the bottom: Keep a ¼-inch space above the tub lip or floor for caulk to seal properly.
- Use the right screws: Corrosion-resistant screws go every 8 inches. Regular screws rust and fail in wet areas.
- Cut fixture holes carefully: Mark your plumbing points, then use a hole saw for clean cutouts around pipes and valves.
- Check for flush surfaces: Run your hand across seams, bumps, and dips that show through the tile and look terrible.
Step 5: Seal and Waterproof the Walls

This is where most DIY showers fail. I’ve torn out countless showers that leaked because someone rushed through waterproofing. Water will find every tiny hole.
Every unsealed seam. Every missed corner. This step isn’t optional.
- Tape every seam: Press fiberglass mesh tape into all joints and corners. This reinforces weak spots where boards meet.
- Spread thinset mortar: Use a trowel to cover the tape with a smooth, thin layer that flattens the joints completely.
- Apply waterproof membrane: Paint or roll on the first coat, let it dry fully, then add a second coat for complete protection.
- Seal all penetrations: Fill screw holes and gaps around pipes with silicone or mortar, even tiny openings that leak over time.
- Don’t miss the corners: Inside corners need extra attention, water pools there and finds its way through fast.
Step 6: Plan and Mark Your Tile Layout

Bad planning shows forever. I walked into a bathroom once where tiny tile slivers lined both edges of the shower. It looked awful.
The homeowner spent weeks on the work, but skipped ten minutes of layout planning. Don’t be that person.
- Start from the second row: Use a level and chalk line to mark horizontal guides. The bottom row gets cut to fit later.
- Dry-fit your tiles first: Lay tiles on the floor in your pattern to see how they’ll look and where cuts fall.
- Balance the edges: Adjust your layout so both sides have equal cuts, symmetry looks professional and intentional
- Plan special features now: Mark where accent tiles, borders, or niches go before you mix any thinset
- Avoid thin slivers: If you’re left with a 1-inch cut at the edge, shift everything over so you get wider pieces.
Step 7: Mix and Apply Thinset Mortar

Thinset is what holds everything together. Mix it wrong, and your tiles slide down the wall. Apply it wrong, and they fall off months later.
I learned this the hard way on my first tile job. The consistency matters more than you think.
- Mix to peanut-butter thickness: Follow the bag instructions exactly, add powder to water slowly, and mix with a drill paddle.
- Let it slake: Wait 10 minutes after mixing, then stir again before using. This activates the bonding chemicals.
- Dampen the board lightly: Spray a mist of water on the cement board so it doesn’t suck moisture from the thinset too fast.
- Comb in one direction: Use your notched trowel to spread ridges all going the same way. This removes air pockets under tiles.
- Work in small sections: Spread only what you can tile in 15 minutes, dried thinset won’t bond properly
Step 8: Install the Tiles

This is where your planning pays off. I remember my first tile job. I started at the bottom and watched every row drift slightly off level as I worked up.
By the top, the lines were crooked and obvious. Starting at the second row saves you from this mistake.
- Set your second row first: Snap a level line above the tub, then start tiling there. This gives you a perfectly straight foundation.
- Press and twist each tile: Push it into the thinset with a slight twist, then use spacers between tiles for consistent grout lines
- Check your level constantly: Every three or four tiles, hold your level across them, catch problems early before the thinset sets.
- Make clean cuts with a wet saw: Measure carefully, mark your cuts, then use the saw for corners and fixtures, dry cuts chip and look rough.
- Install bullnose on exposed edges: These rounded trim tiles cover raw edges and give your shower a finished, professional look.
- Fit the bottom row last: Once the paper tiles are set overnight, measure and cut the bottom pieces to fill the gap perfectly.
Step 9: Grout the Tiles

Rushing to grout is tempting. I’ve been there. But grout too early, and tiles shift under pressure from your float. The lines go crooked.
The tiles pop loose. Wait the full 24 hours. I know it feels like forever, but patience here means straight lines that last.
- Mix small batches: Grout hardens fast. Mix what you can use in 20 minutes, then make fresh batches as needed.
- Push diagonally: Hold your rubber float at 45 degrees and sweep across tiles to pack joints full.
- Fill every gap: Press hard as you work, trapped air pockets in grout lines crack and crumble out later
- Wipe gently: Use a damp sponge in circular motions after 15 minutes to clean tiles without pulling grout from joints.
- Let it cure: Wait the time listed on your grout bag before sealing, usually 48 to 72 hours
The grout should sit slightly below the tile surface. Not flush. Not sunken. A tiny recess lets water flow across tiles instead of pooling in joints.
Step 10: Seal and Caulk for a Waterproof Finish

You’re almost done. But I’ve seen people skip this final step and regret it within months. Unsealed grout soaks up water and stains.
Gaps at corners leak slowly behind your walls. This last layer of protection keeps everything dry for years.
- Wait 72 hours: Grout needs three full days to cure before you seal it. Seal too early, and you trap moisture inside.
- Apply grout sealer: Use a small brush or applicator to coat every grout line. This blocks water and prevents soap scum stains.
- Caulk all joints: Run waterproof silicone along every corner, edge, and where tile meets the tub or floor
- Smooth the lines: Wet your finger and run it along fresh caulk for clean, even beads that look professional.
- Let it cure: Check your caulk tube for cure time, usually 24 hours before water contact.
Step 11: Add Final Touches and Inspect Your Work

This is the moment everything comes together. I always walk through the shower one last time before calling it done.
Small details matter here. A smudge of grout haze ruins the look. A loose fixture leaks down the road. Take your time on this final inspection.
- Reinstall your fixtures: Attach shower heads, handles, and trim pieces, and use plumber’s tape on threads to prevent leaks.
- Clean the haze: Use tile cleaner and a microfiber cloth to wipe away grout film which dulls your tiles if left on.
- Inspect every edge: Run your eyes along all corners and seams to catch gaps in caulk or misaligned tiles.
- Add finishing touches: Install glass doors, corner shelves, or hooks to complete the look and add functionality
- Test before using: Turn on the water and check for leaks around fixtures, catch problems now, not later
Pro Tips for Tiling a Shower Wall
I’ve made every shower tiling mistake possible. You don’t have to. The biggest lesson? Waterproofing isn’t optional. It’s everything.
Skip it, and the mold will destroy your work in two years. These five tips will save you from my mistakes.
- Measure twice: Double-check all measurements before cutting. I’ve wasted expensive tiles by rushing this step and cutting the wrong sizes.
- Wear protection: Always use gloves, goggles, and a dust mask. Tile dust gets everywhere and damages your lungs every single time you work.
- Sharp blades: Keep tile saw blades sharp for clean cuts. Dull blades chip tiles and make jagged edges that ruin your work.
- Waterproofing matters: Don’t skip this, it’s the most important step. This prevents water damage behind your walls. No waterproofing means no shower that lasts.
- Choose epoxy: Use epoxy grout to reduce mold and mildew issues. Regular grout grows mold fast in wet showers, but epoxy stays clean longer.
Conclusion
Tiling a shower wall doesn’t have to intimidate you anymore. You now know the waterproofing steps, the layout tricks, and the finishing techniques that separate a good job from a leaky mess. Follow this process in order, and you’ll have a shower that looks professional and lasts for years.
The secret isn’t special talent, it’s just knowing what to do and when to do it. You’ve got the roadmap now. Take your time with prep work, double-check your layout before setting tiles, and don’t rush the grouting.
Ready to start your project? Drop a comment below if you hit any snags or want to share your results. And if this guide helped you feel more confident, pass it along to someone else tackling their bathroom. You’ve got this.
Frequently asked questions
Do I need to waterproof before tiling a shower wall?
Yes, waterproofing is essential before tiling a shower wall. Apply a waterproof membrane or cement board with proper sealing to prevent water from reaching the studs. Skipping this step leads to mold, rot, and structural damage. Use products like RedGard or Kerdi membrane for reliable protection.
What size tile works best for shower walls?
Medium tiles (4×4 to 12×24 inches) work best for most shower walls. Larger tiles mean fewer grout lines and faster installation, but they’re harder to fit around fixtures. Smaller mosaics look great as accents but take more time. Choose based on your skill level and design preference.
Can I tile directly over existing shower tiles?
You can tile over existing tiles if they’re firmly attached and the surface is clean and roughened. However, removing old tiles is better for waterproofing and avoiding extra weight. If the old tiles are loose or damaged, removal is mandatory before tiling a shower wall.
How long does it take to tile a shower wall?
Tiling a shower wall typically takes 2-4 days for DIYers. Day one involves prep and waterproofing. Day two covers tile installation. You’ll need 24 hours for thinset to cure before grouting on day three. Add extra time if you’re learning or working around complex angles.
What’s the difference between thinset and mastic for showers?
Thinset mortar is the only safe choice for tiling a shower wall. It’s waterproof, strong, and handles moisture. Mastic is an adhesive that breaks down when wet, making it unsuitable for showers. Always use modified thinset for walls and unmodified thinset with waterproof membranes like Kerdi.