Building a retaining wall on a slope isn’t just about stacking stones and hoping for the best. One wrong move and you’re looking at a collapsed wall, wasted money, or worse, a safety hazard. If you’re tackling this project, you need to know the right steps before you dig that first shovelful of dirt.
Proper planning, drainage setup, material selection, and safe construction techniques. I’ve helped dozens of homeowners avoid costly mistakes, and I’m here to make sure your wall stands strong for years to come.
If you’re stopping soil erosion or creating level space in your yard, you deserve clear answers from someone who’s done this work. No fluff, no confusing jargon, just practical advice you can trust and actually use. Let’s build something that lasts.
Understanding the Specific Challenges of Sloped Retaining Walls
Building on a slope isn’t like building on flat ground. The angle changes everything. I’ve seen countless DIYers underestimate what they’re up against, and it costs them.
Increased Soil and Water Pressure on Slopes
Slopes don’t just add difficulty. They multiply the forces working against your wall.
Here’s what you’re really facing:
- Slopes exert exponentially higher lateral pressure
- Faster water movement increases erosion risk
- Hydrostatic pressure is the leading cause of wall failure
Gravity isn’t just pushing down anymore. It’s pushing sideways, too. Water races downhill faster, cutting channels through your backfill. That pressure builds up behind your wall like a dam ready to burst.
Difficulty in Leveling and Base Preparation
Getting a level based on a slope is harder than it sounds. One small mistake at the bottom becomes a big problem at the top.
- Uneven ground complicates excavation.n
- Small leveling errors compound as wall height increases
You might think you’re close enough. You’re not. Every degree off-level in your first course throws the entire wall out of alignment. I’ve seen walls that looked straight during construction, then leaned six inches after one season.
When Slopes Become Structurally Dangerous
Not every slope is a DIY project. Some are genuinely dangerous without professional help.
- Slopes steeper than a 2:1 ratio (~26°) require engineering
- Near-vertical slopes approach failure without reinforcement
. If your slope is steeper than 26 degrees, you need an engineer. Period. Those near-vertical slopes? They’re already trying to fail. Adding a retaining wall without proper reinforcement is like putting a Band-Aid on a broken bone.
Site Assessment Before You Build
You can’t build a solid wall without knowing what you’re working with. Skip this step, and you’re guessing. I don’t guess, and neither should you.
- Measure your slope: Drive stakes at the top and bottom of your slope. Run level string between them, measure the vertical drop, then divide by horizontal distance. Anything steeper than 26 degrees means you’re entering dangerous territory.
- Test your soil: Fill a jar halfway with site soil and add water to three-quarters full. Shake it hard, let it settle for 24 hours, and check the layers: sand on the bottom, silt middle, and clay on top tells you everything about drainage needs.
- Watch water flow: Observe your slope during heavy rain to see where water runs fastest and pools. Those erosion paths show exactly where pressure will hit your wall hardest and where drainage must go.
When to Hire a Professional Engineer
Some projects are beyond DIY, and that’s okay. Knowing when to call an engineer saves money in the long run. It might even save lives.
- Height triggers engineering: Walls over 4 feet tall generate forces you can’t eyeball, as they need calculations. Steep slopes, unstable soil, high water tables, and tiered systems all multiply complexity fast, turning a weekend project into a liability waiting to happen.
- Engineers calculate forces: A professional runs lateral earth pressure calculations that tell you exactly what your wall faces. They specify drainage systems, reinforcement depth, and geogrid placement based on your exact soil conditions, not guesswork or online tutorials.
- Stamped plans matter: Engineers provide stamped drawings that satisfy building departments and protect you legally. If your wall fails and someone gets hurt, those stamps prove you built it right, as without them, you’re personally liable for everything.
Key Design Principles for Building on a Slope
Get the fundamentals right, or nothing else matters. These aren’t suggestions, they’re requirements.
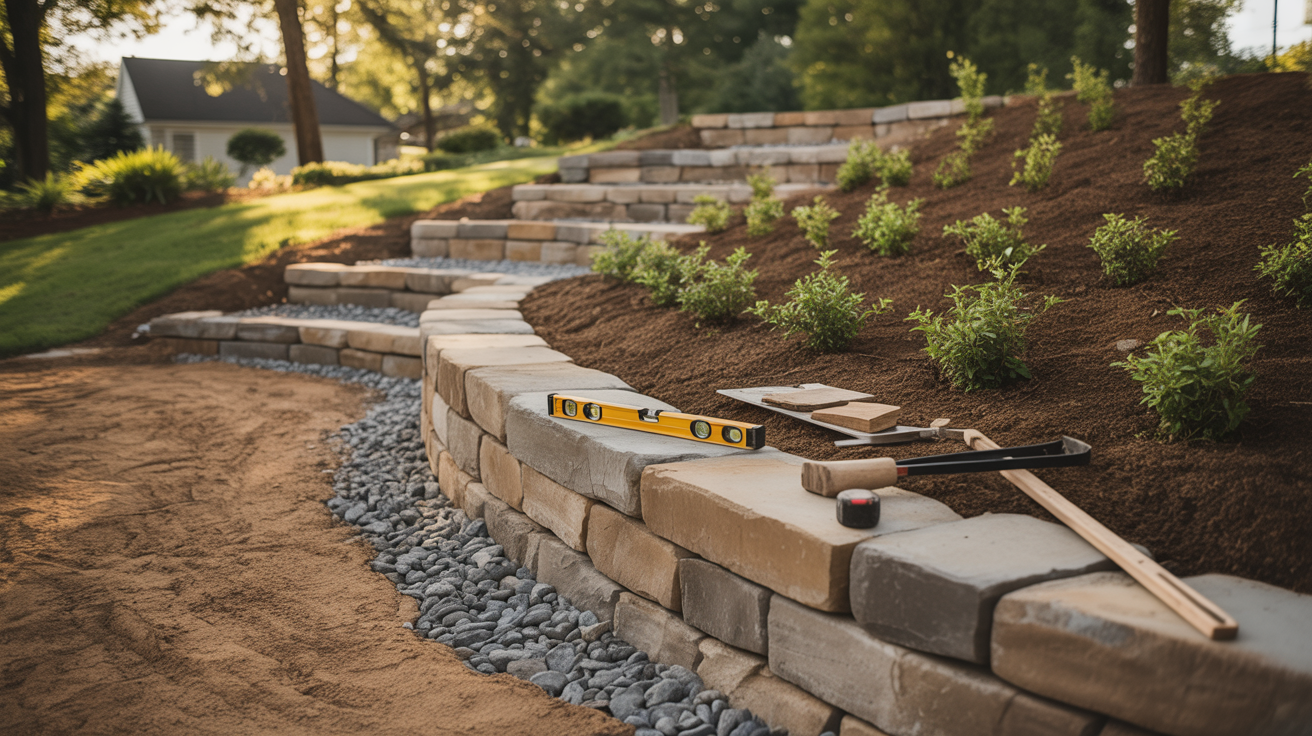
- Drainage prevents failure: Place a perforated drain pipe at the base behind your wall, wrapped in filter fabric and surrounded by 12-18 inches of crushed gravel. Hydrostatic pressure builds in hours and cracks walls in days.
- Level your base: Excavate 6-8 inches deep and fill with 4-6 inches of compacted crushed stone, as even a half-inch off creates a 6-inch lean at the top of your wall.
- Build with batter: Set each course leaning back into the slope about 1 inch per foot of height. This redirects soil pressure downward instead of letting it push your wall over.
- Match height to slope: Steeper slopes need shorter walls because pressure multiplies with both factors, so build multiple terraced walls instead of one tall, dangerous one.
- Compact as you go: Tamp backfill material in 6-inch layers behind each course you complete, loose fill settles over time and creates voids that let your wall shift and fail.
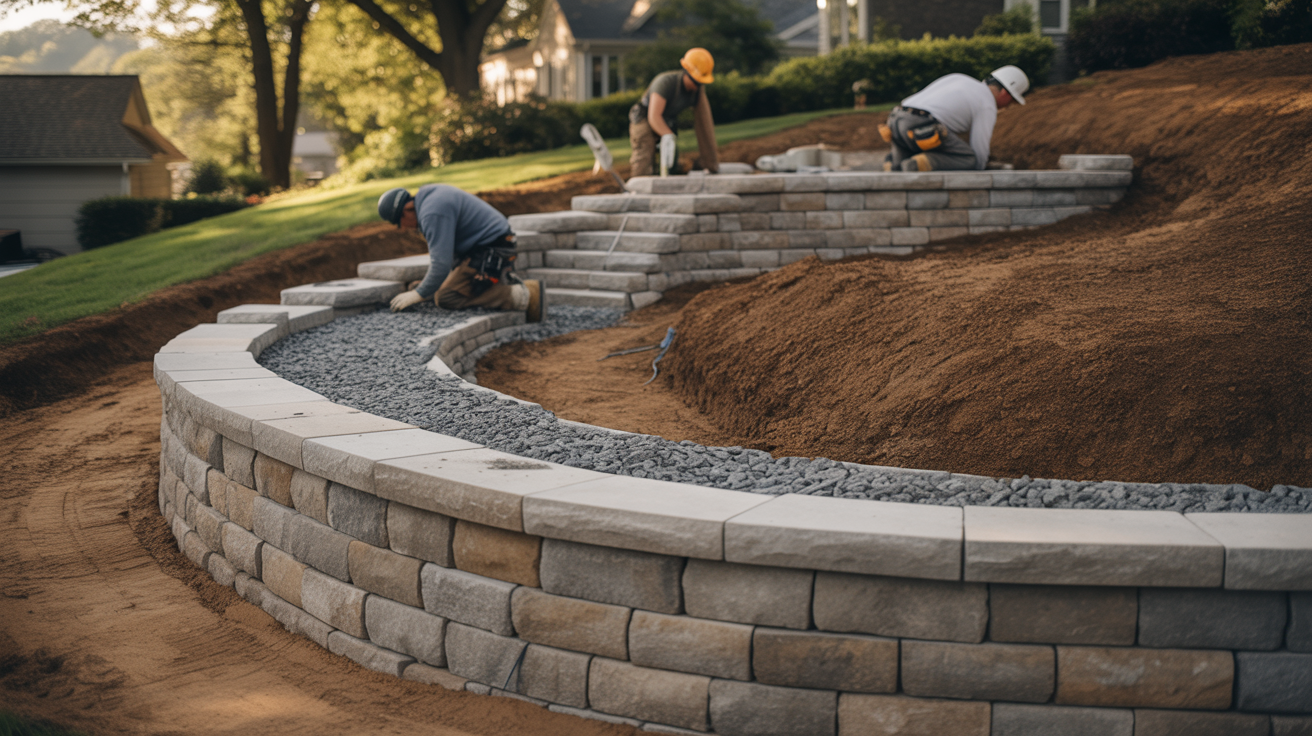
Choosing the Right Retaining Wall Materials
The material you pick determines how long your wall lasts and how much you’ll spend. Each option has trade-offs you need to understand.
- Interlocking concrete blocks: These offer DIY-friendly installation with engineered strength that handles serious loads. Without geogrid reinforcement, limit heights to 3-4 feet, as beyond that, you’re risking failure at $25-$85 per square foot.
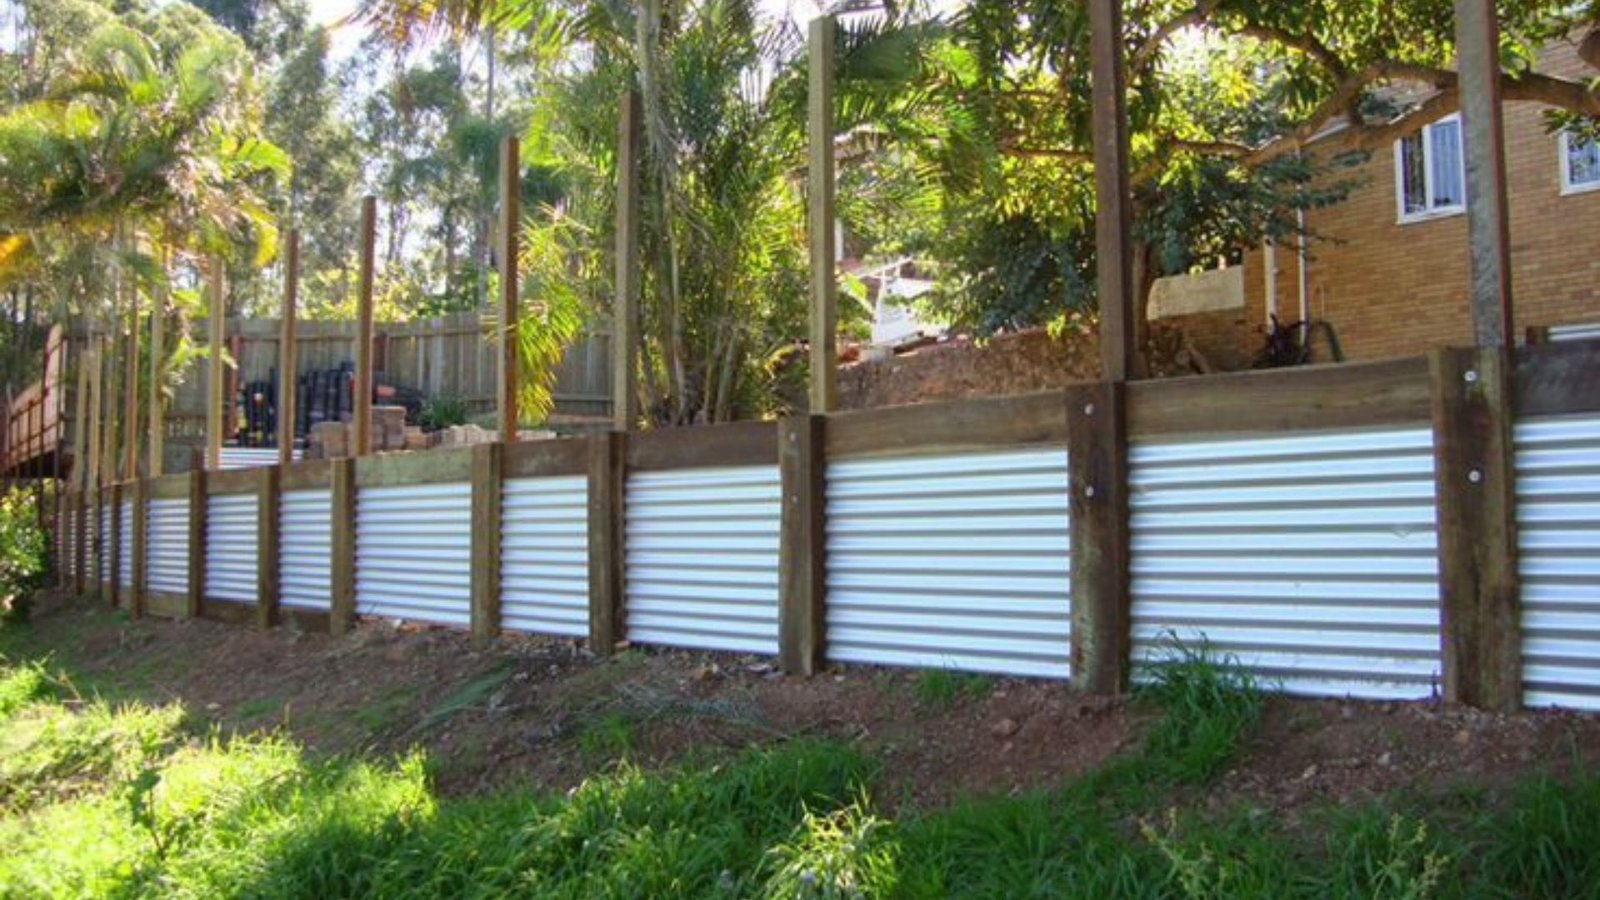
- Pressure-treated timber: Budget-conscious builders love timber for its easy installation and low cost of $20-$80 per square foot. The downside hits in 15-20 years when rot and insects force you to rebuild everything from scratch.
- Natural stone walls: Stone delivers unmatched visual appeal and can last centuries if built correctly. Expect labor-intensive fitting and stacking that pushes costs to $40-$280+ per square foot, as this isn’t a weekend project.
- Poured concrete strength: Concrete provides maximum structural capacity for tall walls and extreme slopes. You’ll need professional installation and deep pockets at $60-$210 per square foot, but it handles forces other materials can’t.
- Consider slope severity: Steeper slopes demand stronger materials regardless of cost, timber works on gentle grades but fails on steep ones, where concrete blocks or poured walls become mandatory for safety.
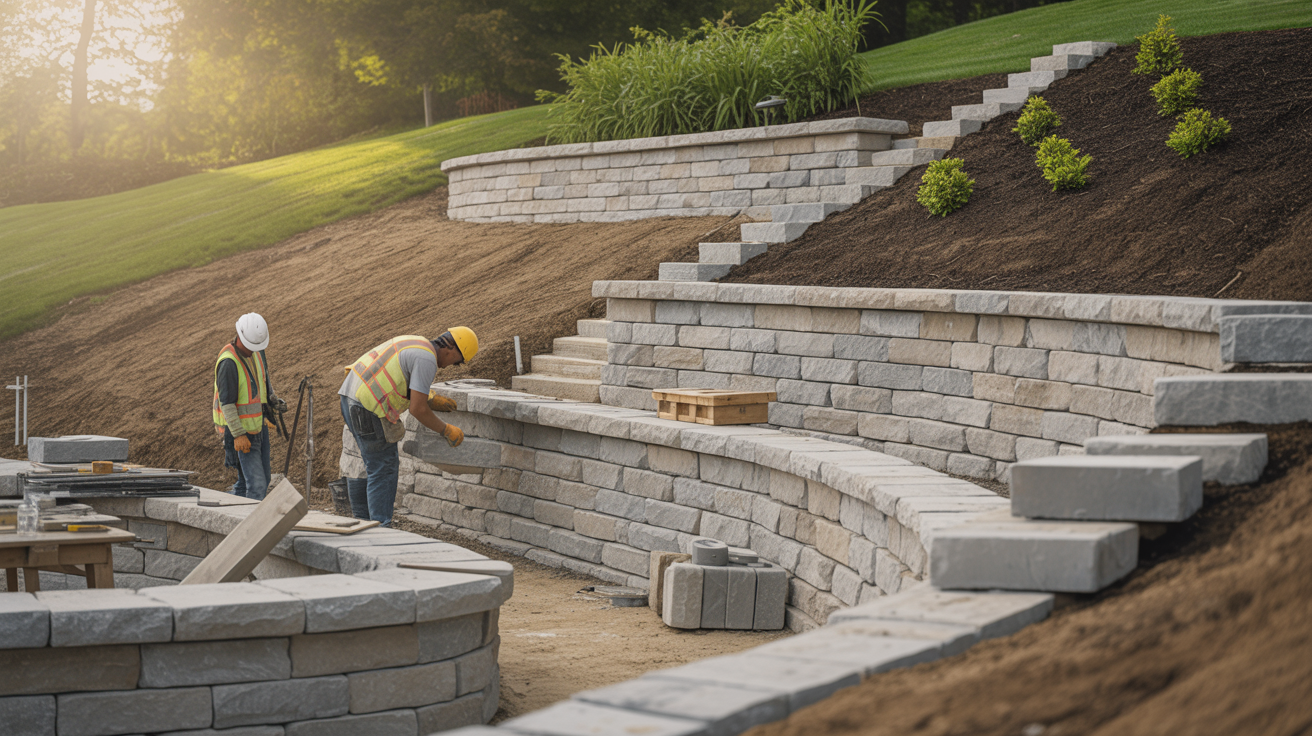
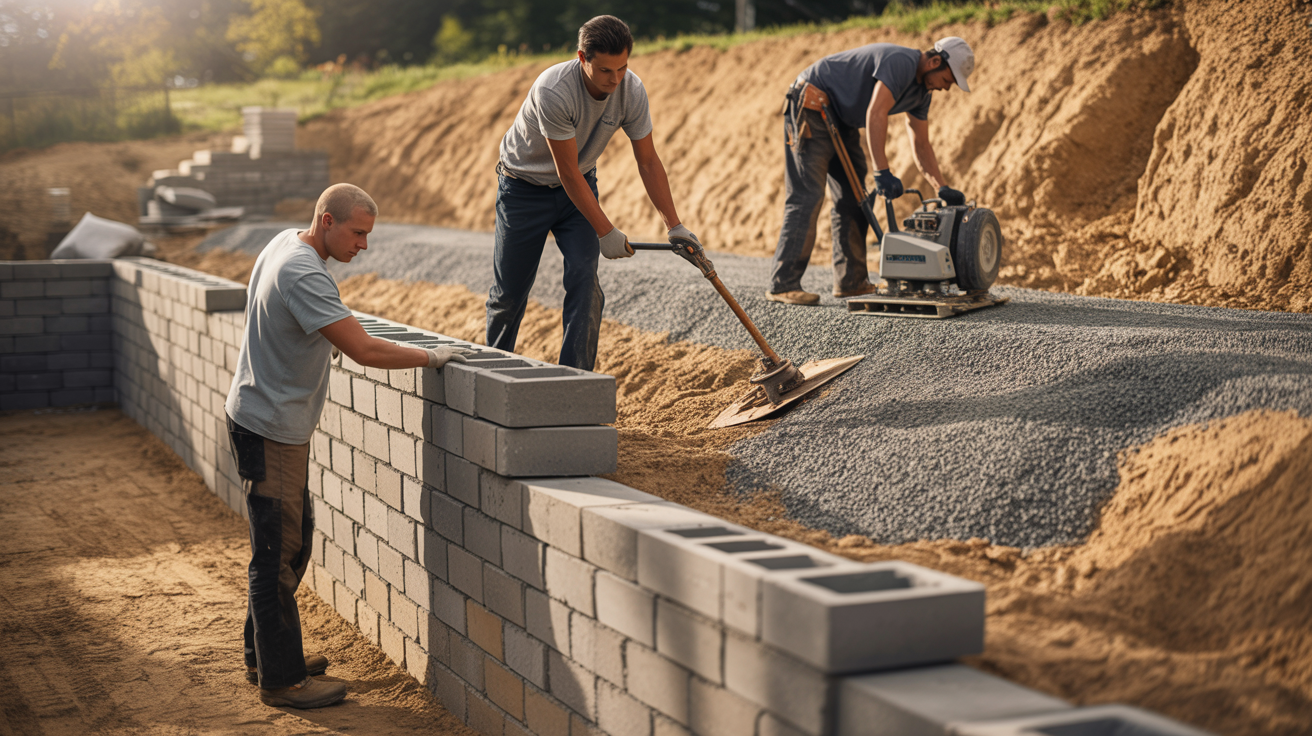
Step-by-Step Process to Build a Retaining Wall on a Slope
Building on a slope follows the same basic steps as flat ground, but the stakes are higher. One mistake on an angle compounds quickly. I’ll walk you through each step the way I do it.
Step 1: Excavation and Layout
Mark your wall line with stakes and string. Pull it tight and level. Dig your trench 6-8 inches deep and at least 12 inches wide. The trench must be level from side to side, not following the slope.
Here’s what most people miss: Your trench needs to step down the slope in level sections, not slope with the ground. Each step stays perfectly flat. Use a 4-foot level every few feet. This takes longer but prevents your wall from tilting.
Step 2: Installing the Base
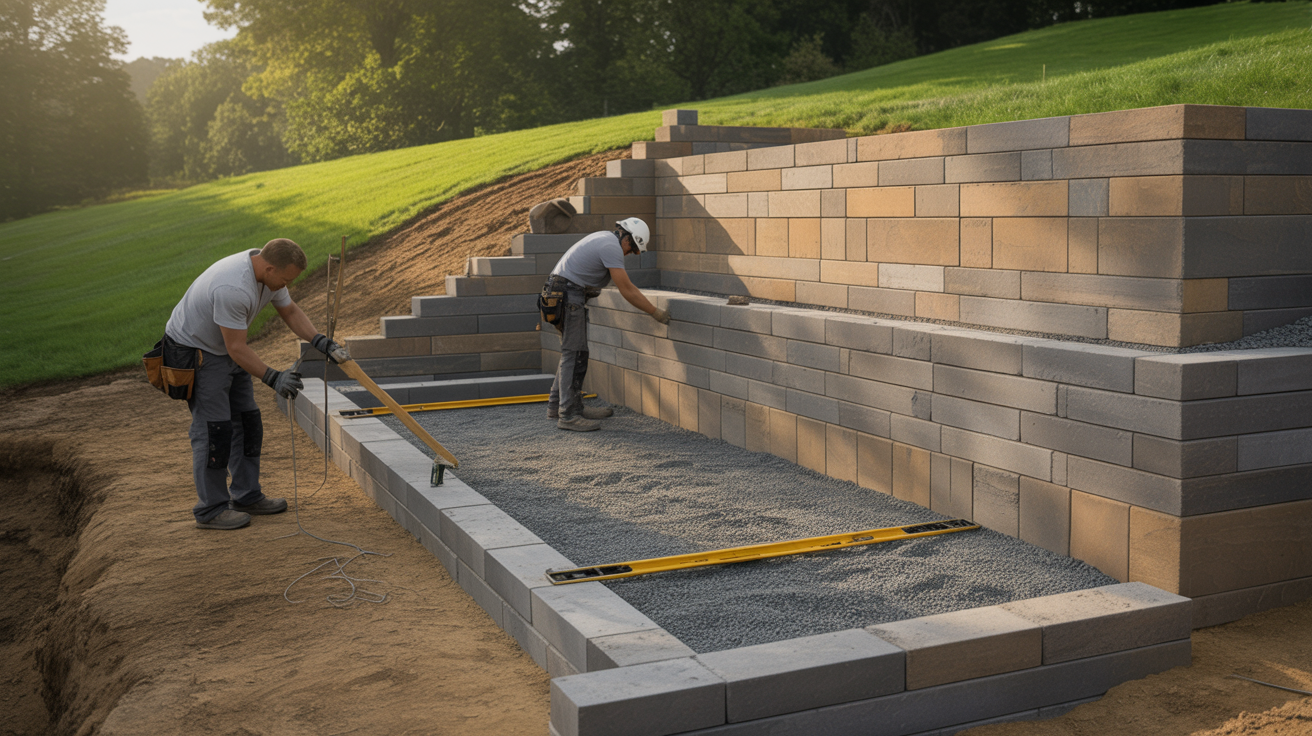
Fill your level trench with crushed stone, not rounded gravel. Angular crushed stone locks together. Pour 4-6 inches and compact it with a hand tamper or plate compactor. Check the level again.
Your base must be rock solid and perfectly level. Press down hard with your tamper. If the stone shifts under your weight, it’s not compacted enough. Keep going until it feels like concrete. Add more stone if needed and compact again.
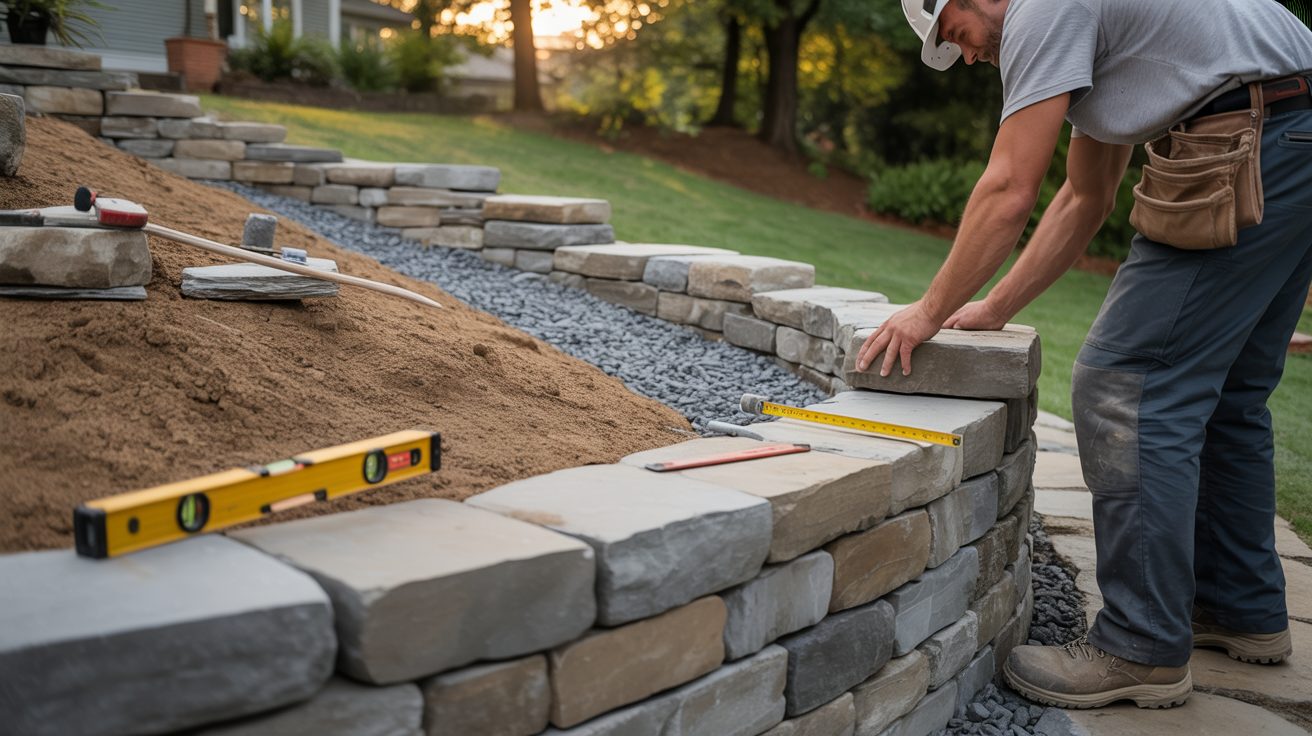
Step 3: Laying the First Course
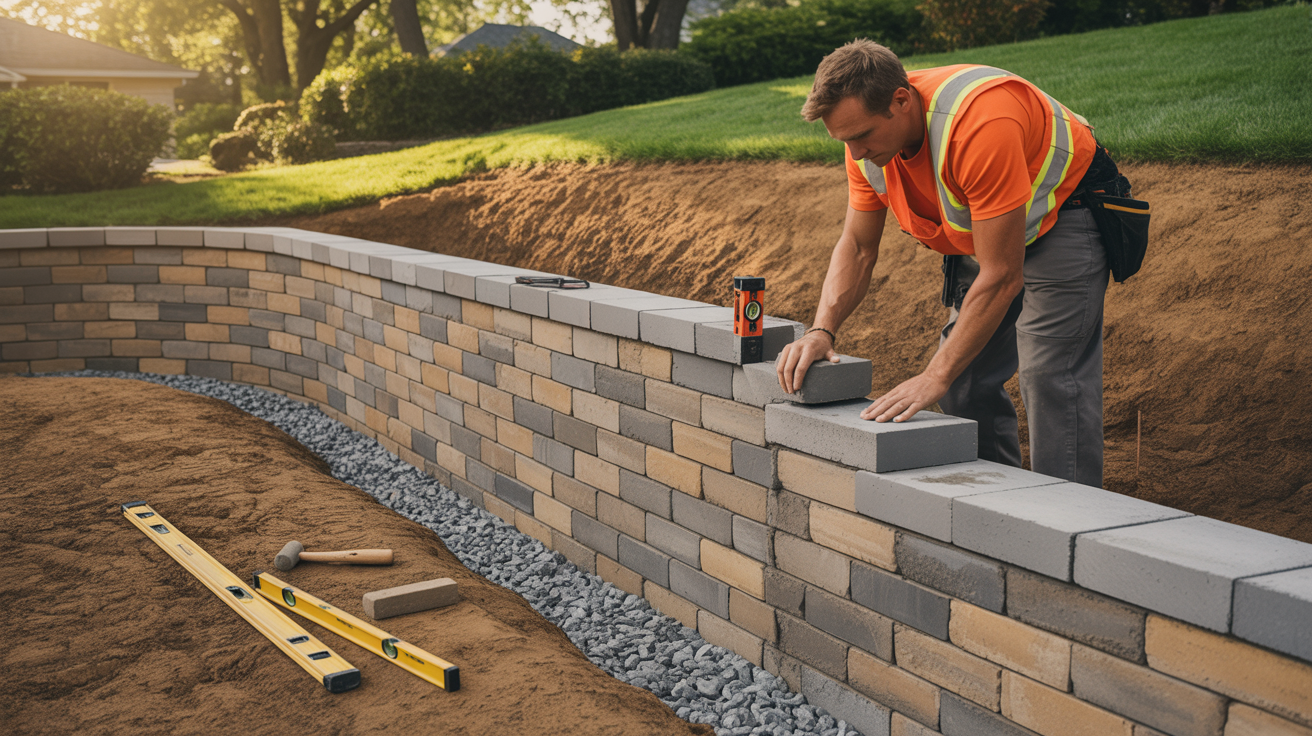
Bury your first course partially into the ground, as at least half the block should sit below grade. Place your first block and check it with a level in both directions. Adjust by adding or removing base material underneath.
This row makes or breaks your wall. Every block above follows the angle you set here. I’ve seen walls that looked fine going up, then leaned after six months because the first course was off by one degree. Take your time here.
Step 4: Building Upward Correctly
Offset your joints like bricks, as never stack a joint directly over the one below. Most interlocking blocks have a built-in setback lip that creates your batter automatically. Let the lip rest on the block below.
Check your batter with a level as you go. Hold it vertically against the wall face. The top should lean back slightly, about 1 inch for every foot of height. Too little batter and your wall pushes forward. You’ll likely need to cut the last block in each row with a masonry saw.
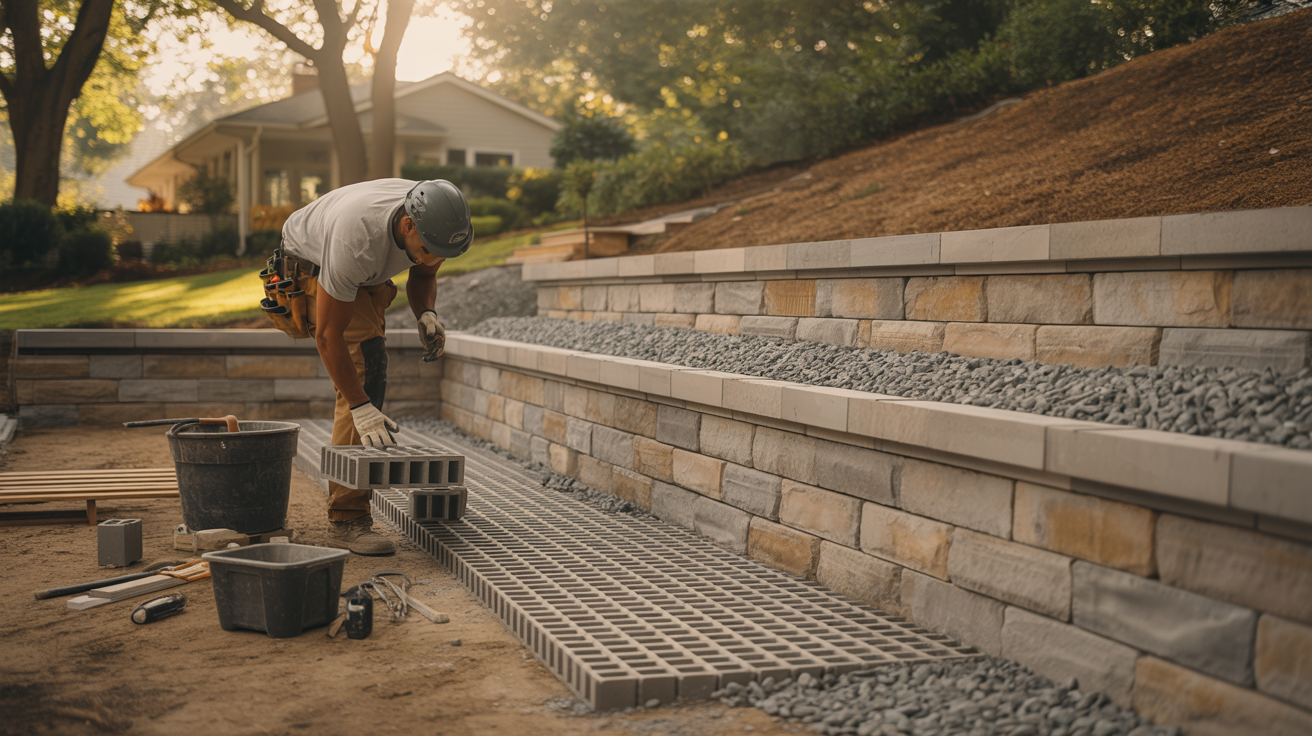
Step 5: Drainage Installation
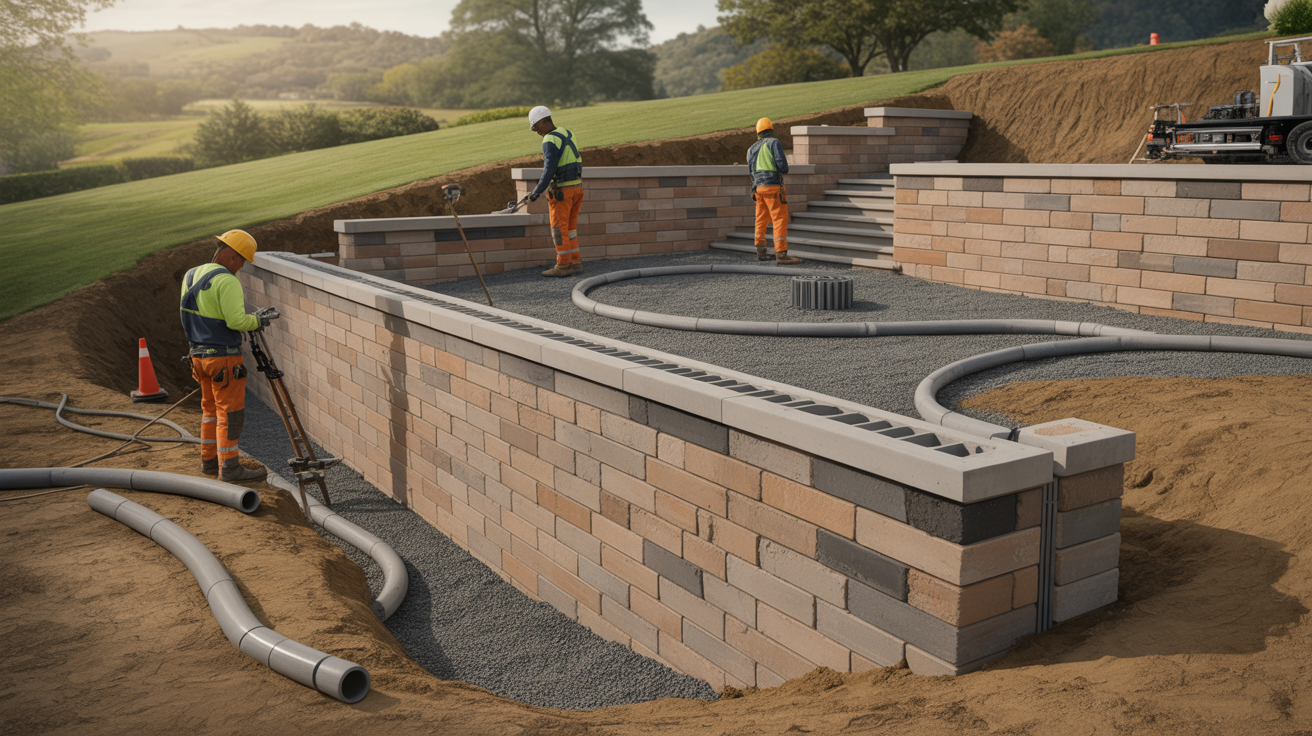
Lay perforated drain pipe at the base of your wall after the first course with holes facing down. Wrap the pipe in filter fabric first to stop soil from clogging the holes. Run it along the entire wall length to daylight at one or both ends.
Cover the pipe with 8-12 inches of crushed stone as you build up. This gravel layer must extend the full height of your wall. Water needs a fast path out, always. No gravel means trapped water, and trapped water means a failed wall.
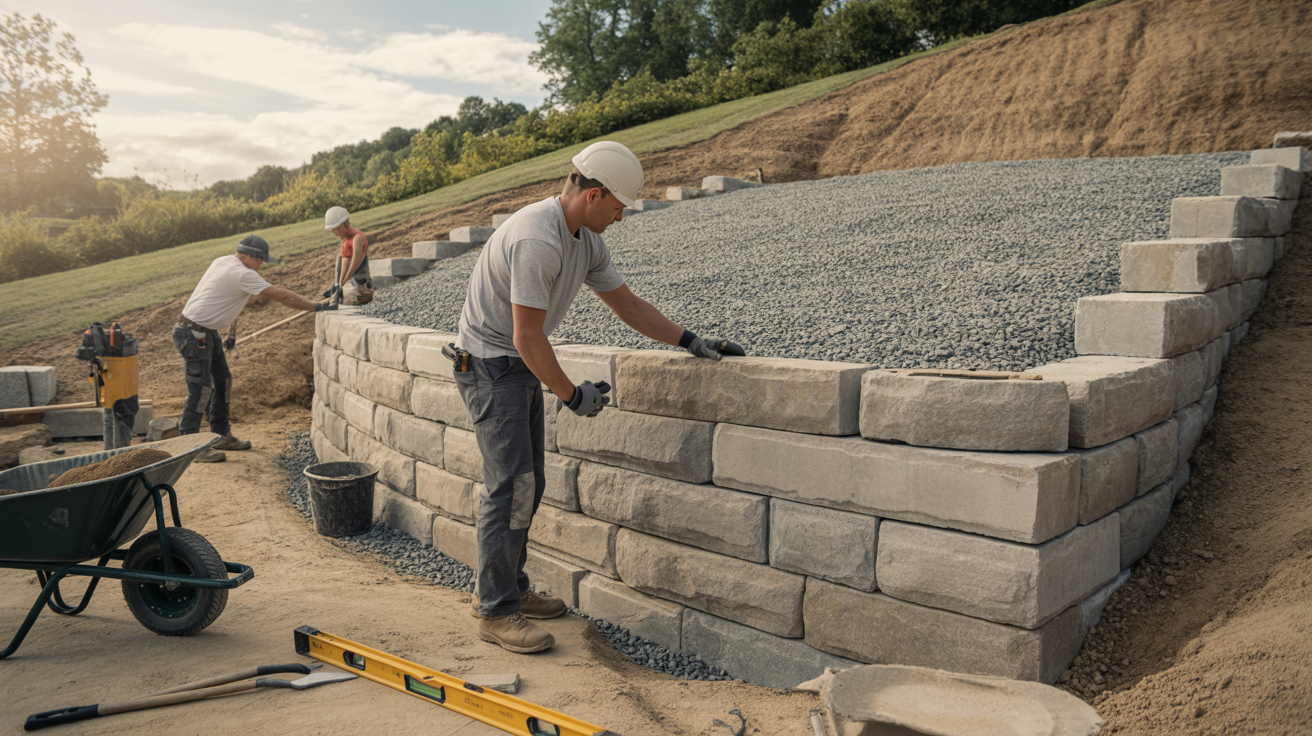
Step 6: Backfilling and Compaction
Never let native soil touch your wall, as the gravel zone should be at least 12 inches deep. Fill behind the gravel with native soil in 6-inch layers. Compact each layer before adding the next with a hand tamper or plate compactor.
Slope your final grade away from the wall at least 2 inches of drop for every 10 feet. Water should run off, not toward it. Loose backfill settles and creates voids. Voids let your wall shift and fail over time.
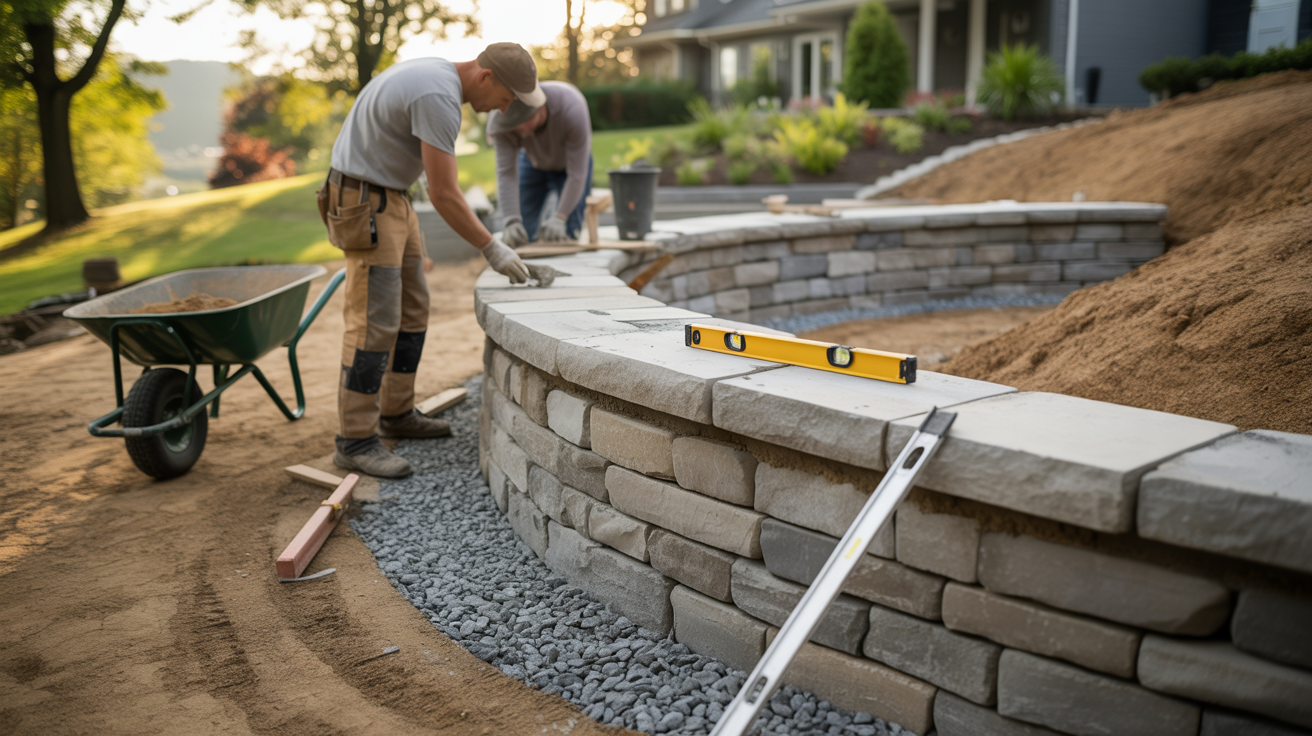
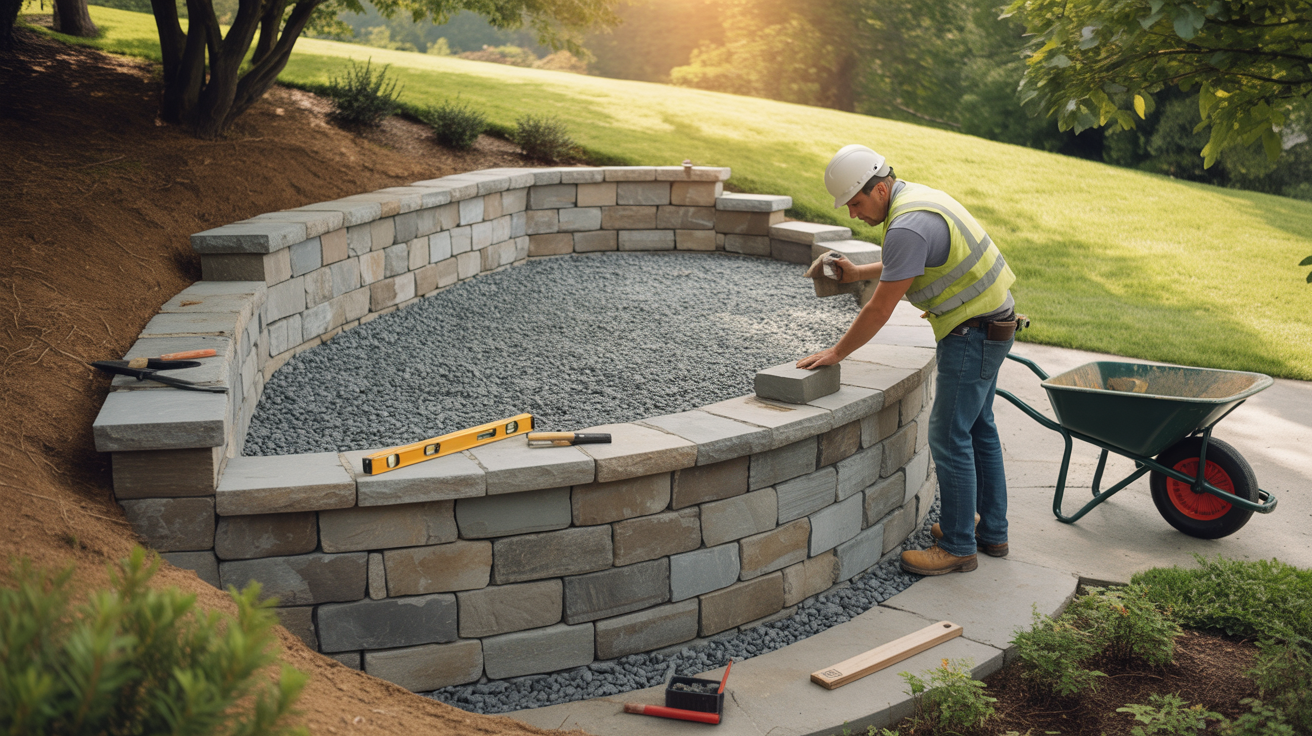
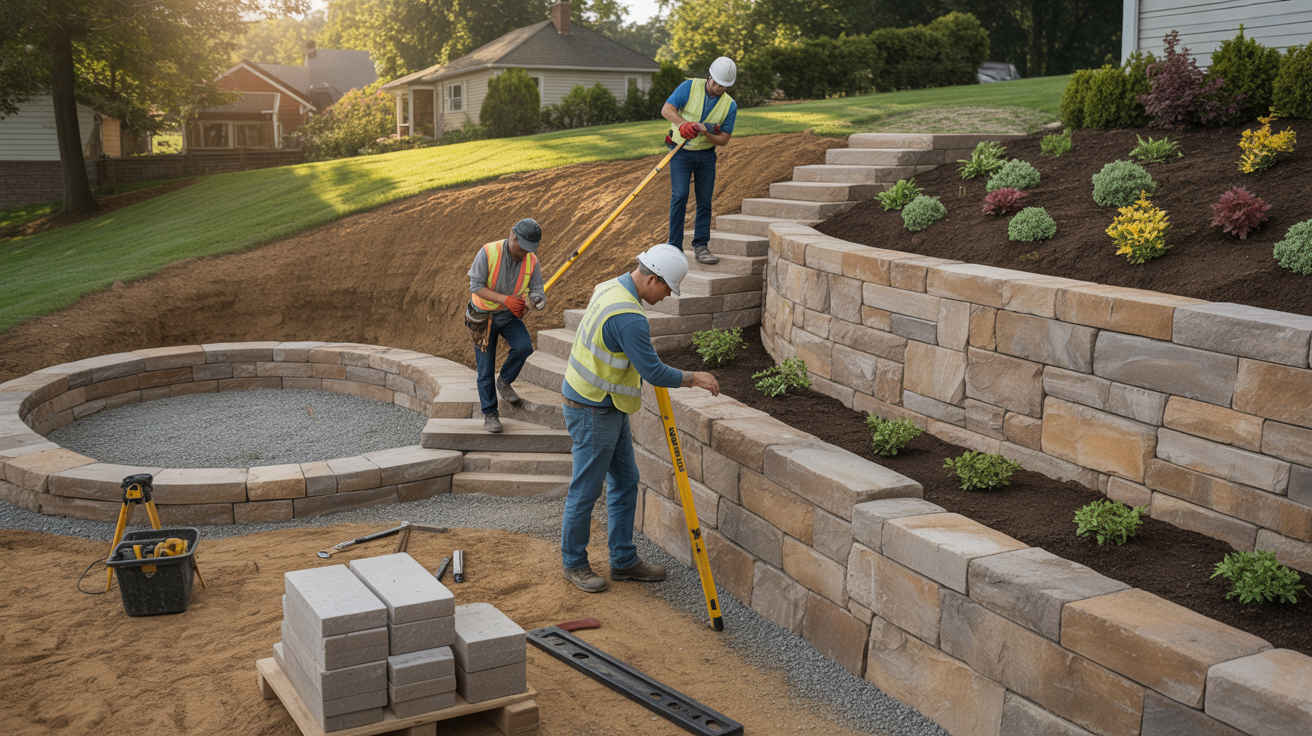
Step 7: Finishing and Capping
Cap your wall with capstones to protect the blocks below from water. Apply a thick bead of construction adhesive on top of the last course. Press the capstone down firmly, as some systems use pins instead of glue.
Plant ground cover at the base of your wall. Grass, creeping plants, or mulch all work to prevent erosion. Bare soil erodes fast on slopes and undercuts your wall. Finish the landscaping before you call the job done.
Maintenance Tips for Long-Term Safety
Building the wall is half the job. Keeping it standing is the other half. I inspect my walls twice a year, spring and fall, without fail.
- Watch for warning signs: Check for cracks wider than 1/4 inch, any bulging between courses, or forward lean at the top. These signal structural failure in progress, catch them early, and you might save the wall with repairs instead of a complete rebuild.
- Keep drainage flowing: Clear debris from drain pipe outlets every spring and after heavy storms, leaves and soil clog pipes fast. Dig down occasionally to verify gravel backfill hasn’t turned to mud, which means your drainage system has failed.
- Maintain the surface: Clean efflorescence and stains annually, seal porous materials every 2-3 years, and fill erosion channels immediately. Add weight above your wall, like a shed or hot tub, and you’ve changed the load, as now you need an engineer to verify it’s still safe.
Conclusion
You now know how to build a retaining wall on a slope the right way. From planning your base and ensuring proper drainage to choosing the right materials and building in stable layers, you’ve got the steps to create a wall that lasts.
Take your time with the prep work. That’s where most problems start. Get the foundation right, add good drainage, and don’t skip the backfill, as your wall will thank you for years to come.
Ready to start your project? Drop a comment if you have questions about your specific slope or soil type. Share this guide with anyone tackling similar work. And if you found this helpful, check out our other posts on retaining wall costs and materials. You’ve got this.
Frequently asked questions
What’s the best material for building a retaining wall on a slope?
Concrete blocks work best for most slopes. They’re strong, affordable, and DIY-friendly. For steeper slopes over 4 feet, use reinforced concrete or hire a pro. Timber works for gentler slopes but won’t last as long. Always match your material to your slope’s height and soil conditions.
Do I need a permit to build a retaining wall on a slope?
Most areas require permits for walls over 3-4 feet tall or any wall holding back significant soil. Check with your local building department before you start. Skipping permits can mean fines and forced removal. Even smaller walls might need approval if they’re near property lines.
How deep should the base be for a retaining wall on a slope?
Dig your trench at least 6 inches deep for walls under 3 feet. Taller walls need deeper bases, roughly one-tenth of the wall’s height. Add 4-6 inches of compacted gravel for drainage and stability. A solid base prevents shifting and failure down the road.
What’s the most important step when building a retaining wall on a slope?
Proper drainage is critical. Without it, water pressure builds behind your wall and causes collapse. Install perforated drain pipes, use gravel backfill, and angle the pipe to carry water away. Never skip this step, even on smaller walls. Water is your wall’s biggest enemy.
Can I build a retaining wall on a steep slope myself?
DIY works for walls under 3 feet on moderate slopes. Steeper slopes or taller walls need professional help, as they require engineering, proper reinforcement, and specialized techniques. If you’re unsure, get a pro’s opinion. A failed wall costs way more to fix than building it right initially.