Tired of boring store-bought calendars that cost too much? You can make your own in less than an hour. This article gives you practical calendar projects that fit your space and style.
I’ve built dozens of wall calendars over the years, and I’ll show you exactly how to make one that works. You’ll get step-by-step instructions using basic supplies like cardboard, paper, and markers. No special tools needed.
These aren’t complicated craft projects that fall apart after a week, as they’re calendars you’ll actually use all year.
I know you’re here because you want something functional and personal. That’s what these projects deliver.
I’ve learned what holds up on the wall and what doesn’t through trial and error. You’ll avoid the mistakes I made and create something you’re proud to display. Let’s build your first calendar today.
Project Overview
You’re about to create a functional piece of art. This isn’t just decoration, it’s a calendar you’ll actually use.
The textured drywall base makes it personalized, and the calendar grid keeps you organized.
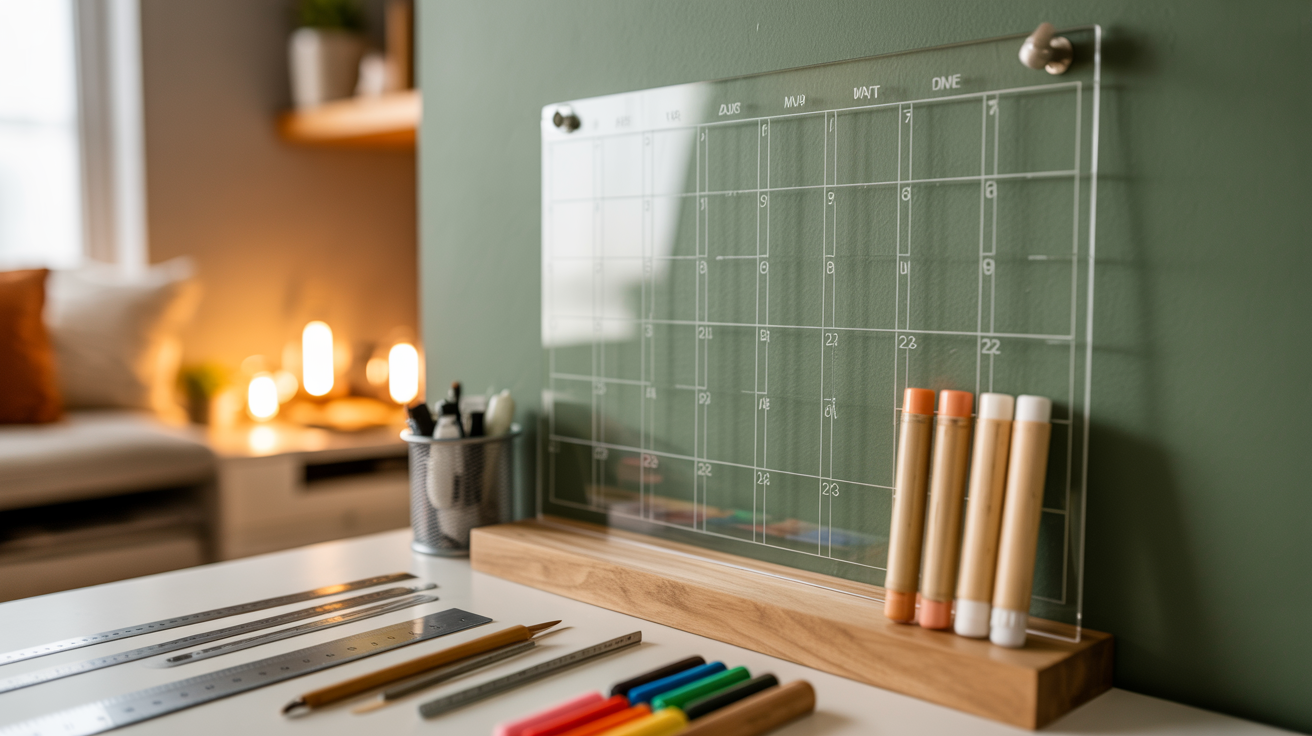
Finished Size & Style Options
Size matters for where you’ll hang this. Most people go with 18×24 inches for desks or small walls. Larger spaces need 30×36 inches to make an impact.
You get to choose your layout, too. Portrait works for narrow walls. The landscape fits above the desks. Keep the calendar grid minimal so the texture shines through. Too many lines kill the art vibe.
Time, Cost, and Skill Level
Plan for 2 to 4 hours total. That includes applying compound and drying time. Most of your time is just waiting. Store-bought textured calendars cost $40 to $80. Your version? Around $25 to $35.
This is beginner-friendly. If you can spread frosting, you can do this. No special skills needed. Just be patient while things dry.
Materials Needed
I’ll be honest, you don’t need much to start. But having the right stuff makes everything easier.
- Acrylic sheet: Get one pre-cut from the store, or ask the hardware shop to cut it to your size.
- Vinyl stickers: Use adhesive vinyl for your months, days, and grid, as they stick on clean and look sharp.
- Transfer tape: This tool moves your vinyl from the backing to the acrylic without air bubbles or wrinkles.
- Wipeable markers: Grab dry-erase or chalk markers so you can erase and rewrite your schedule monthly.
- Wall mounts: Choose standoffs for a floating effect or pick a basic frame to hang it up.
Want to make it fancy? Add spray paint to color your standoffs. Use shiny metallic vinyl instead of plain colors. Get a small holder for your markers. Or download a Canva template to plan everything before you start cutting.
Tools Required (Minimal Setup)

You don’t need a fancy workshop for this project. Just a few basic tools will get the job done right.
- Cordless drill: You’ll use this to make holes in your wall for mounting. It’s faster and cleaner than doing it by hand, and it gives you more control over depth.
- Drill bit set: Match the bit size to your screws so the holes fit ideally, as too small, and you’ll struggle, as too big, and your mounts won’t hold.
- Measuring tape: Measure twice, drill once, use this to mark exact spots on your wall so your calendar hangs straight and centered where you want it.
Step-by-Step: How to Make a DIY Acrylic Wall Calendar
This process works in five clear stages. Each step builds on the last one. Rush through any stage, and you’ll mess up the next.
I learned this the hard way with my first calendar: take your time and follow the order.
Step 1: Plan Your Calendar Layout
Grab paper and sketch your design first. Figure out how much space each month needs. Will you show one month or the whole year? Do you want lines between days or just open boxes?
Pick a font that’s easy to read from across the room:
- Sans-serif fonts: Clean and modern (Arial, Helvetica)
- Size matters: At least 1 inch tall for month names
- Number spacing: Leave room to write in each day’s box
- Mirror your design: If applying vinyl to the back, flip everything horizontally
The back application trick is genius. Your calendar looks printed into the acrylic instead of stuck on top. But you must reverse all text and images in your design file first.
Step 2: Prepare the Acrylic Sheet
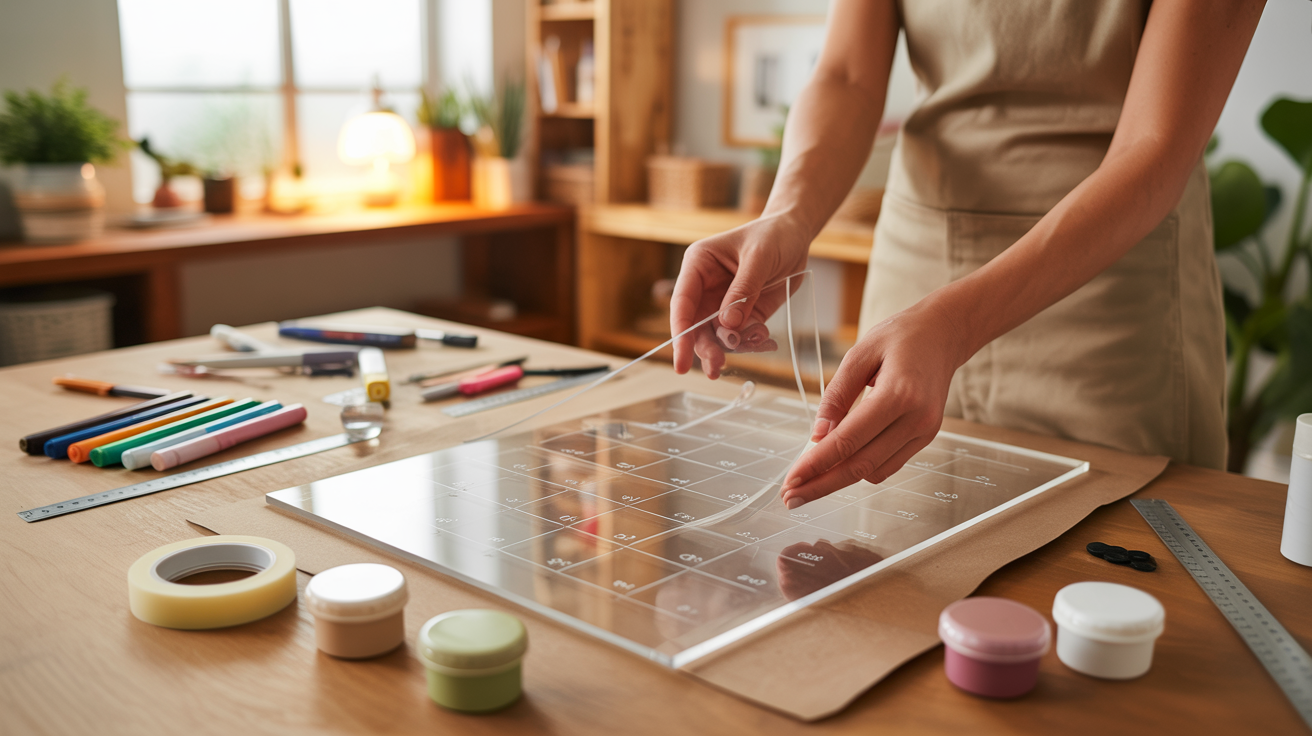
Don’t remove that protective film yet. It prevents scratches during drilling. Measure carefully where your mounting holes will go. I put mine 1 to 1.5 inches from each corner.
Mark your drill spots with a permanent marker.
Place painter’s tape over each mark:
- The tape prevents the drill from slipping
- It stops cracks from spreading
- Mark through the tape for accuracy
- Use a ruler to keep holes aligned
Double-check your measurements before drilling. Acrylic doesn’t forgive mistakes. One wrong hole means starting over with a new sheet.
Step 3: Drill the Mounting Holes
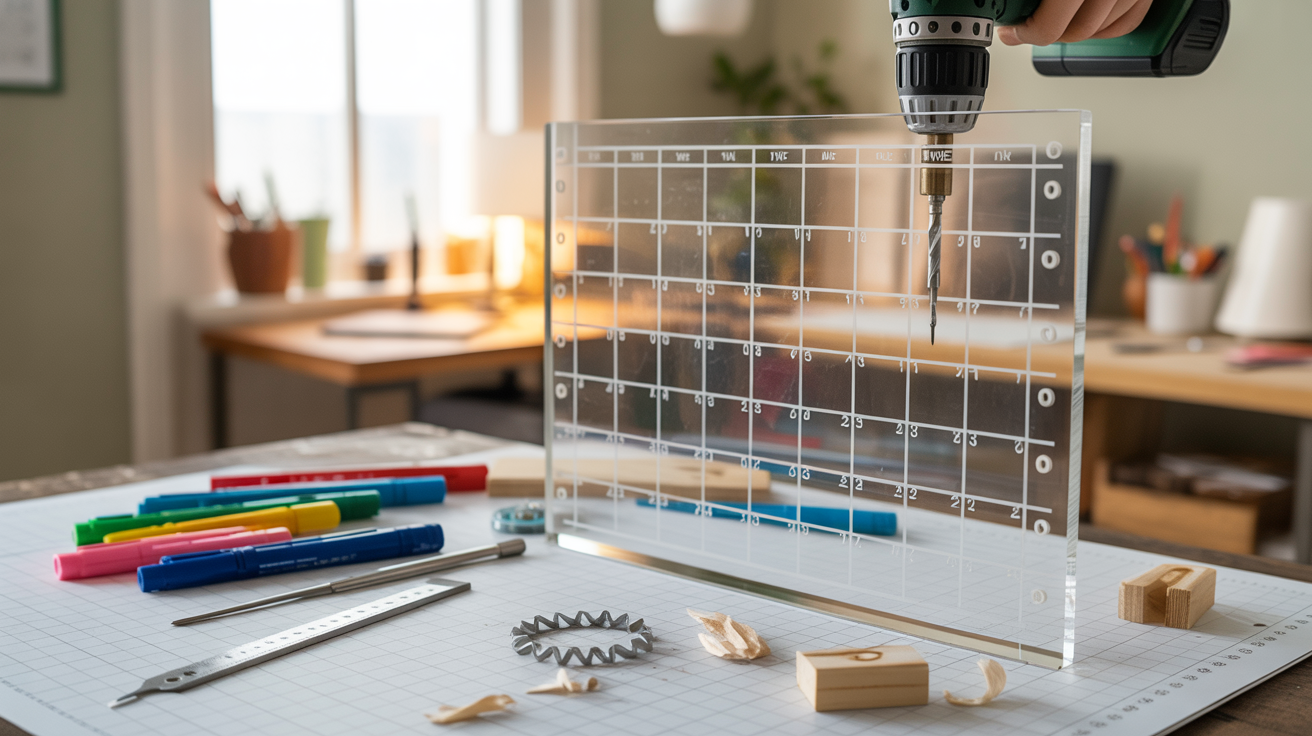
Lay your acrylic on a wood scrap piece. This protects your table and supports the acrylic. Start with a small pilot hole first, maybe 1/8 inch. Then drill your final size slowly.
Apply steady, gentle pressure. Let the drill do the work. Going too fast melts the acrylic and creates rough edges.
Stop if you smell burning plastic. After drilling, remove the tape and sand any sharp edges with fine sandpaper. Your fingers will thank you later.
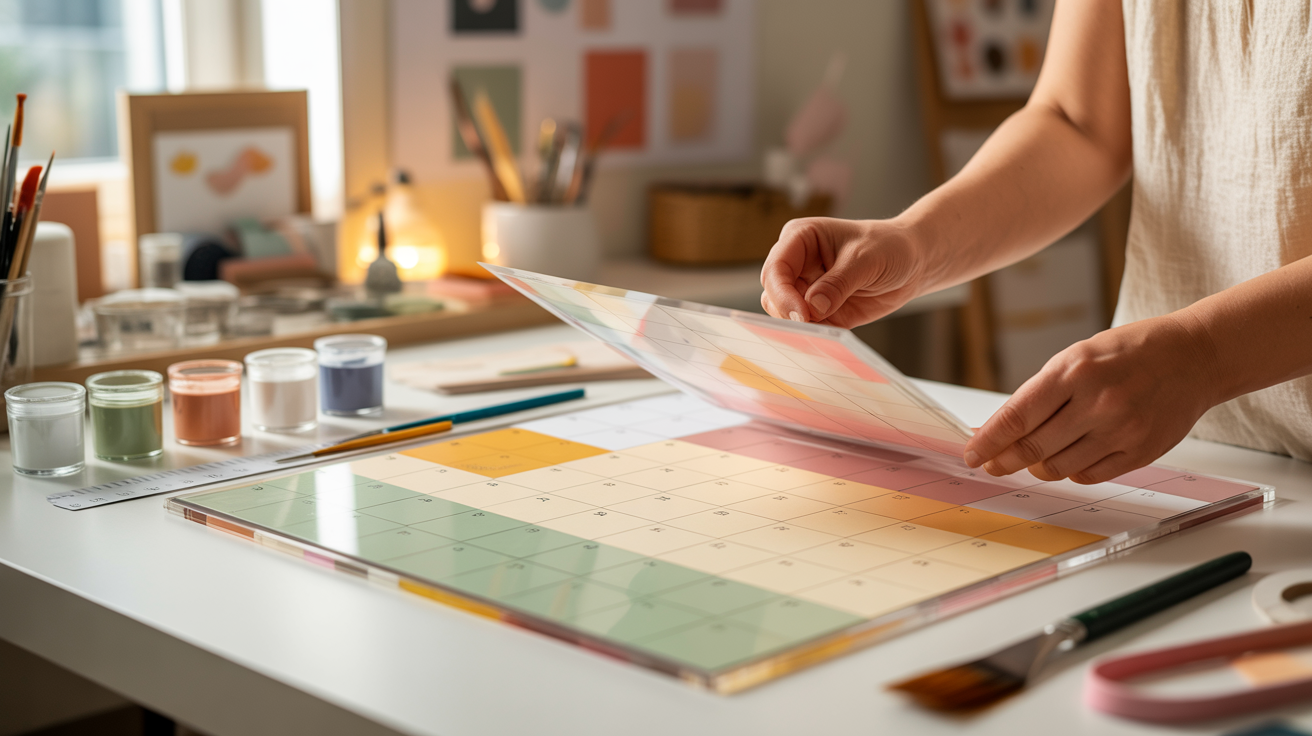
Step 4: Apply the Vinyl Design
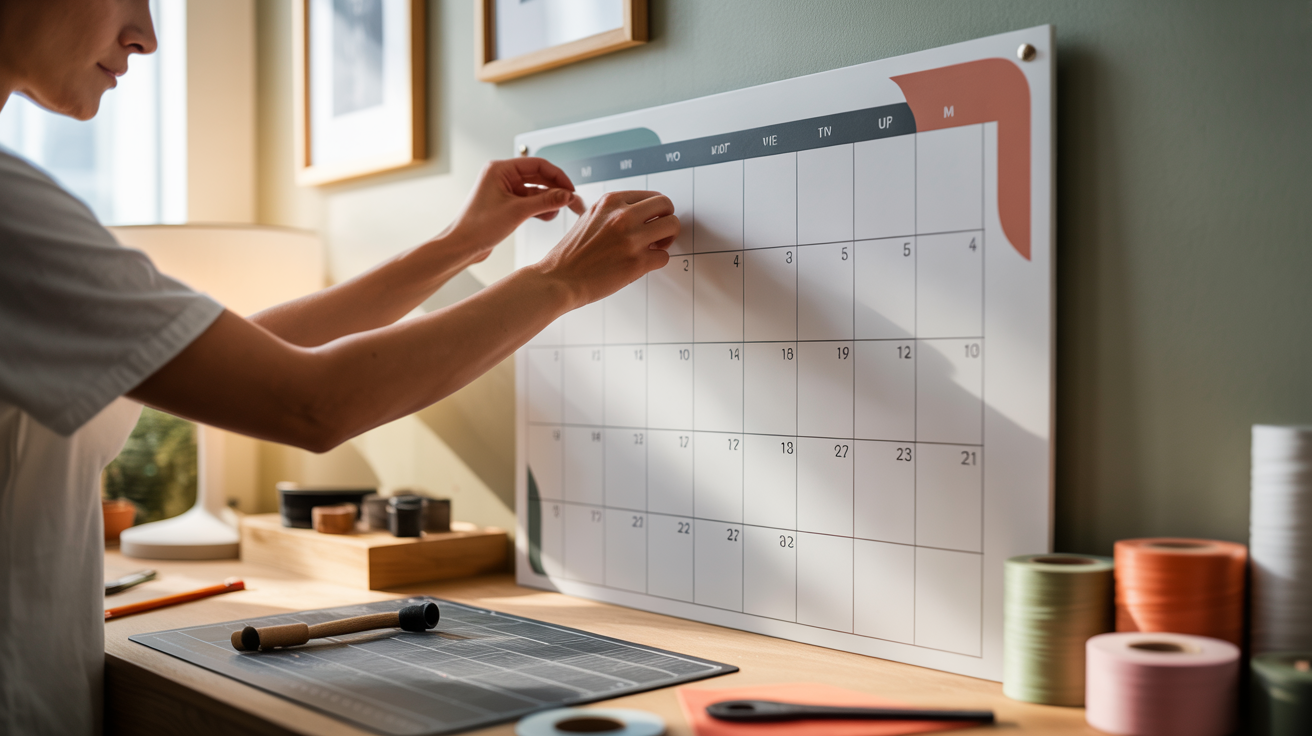
Now, remove the protective film from your acrylic. Create a temporary grid with painter’s tape to guide your placement. This keeps everything straight and centered.
Peel the vinyl from its backing slowly.
Position it carefully: The front application, as Vinyl sits on top, is easier to apply but can peel over time.
- Back application as Design shows through, more professional, but harder to position
- Use a credit card to smooth the from the center outward
- Push air bubbles toward the edges
- Work slowly, rushed vinyl gets wrinkled
Peel away the transfer tape at a 45-degree angle. Go slow here. Fast peeling can lift your vinyl right off the acrylic. If a letter starts lifting, press it back down and try again.
Step 5: Mount the Calendar on the Wall

Hold your finished calendar against the wall where you want it. Mark through the mounting holes with a pencil. This ensures ideal alignment. Set the calendar aside carefully.
Check if your marks hit the wall studs. No studs?
You need drywall anchors:
- Drill pilot holes at your marks
- Insert anchors and tap flush with the wall
- Screw in the standoffs partway
- Slide the acrylic onto the standoffs
- Tighten gently until snug
Don’t crank those standoffs tight. Acrylic cracks under too much pressure. Snug is enough. The calendar should sit flat against the wall with a small gap created by the standoffs.
Step back and admire your work, as you just made something that looks store-bought.
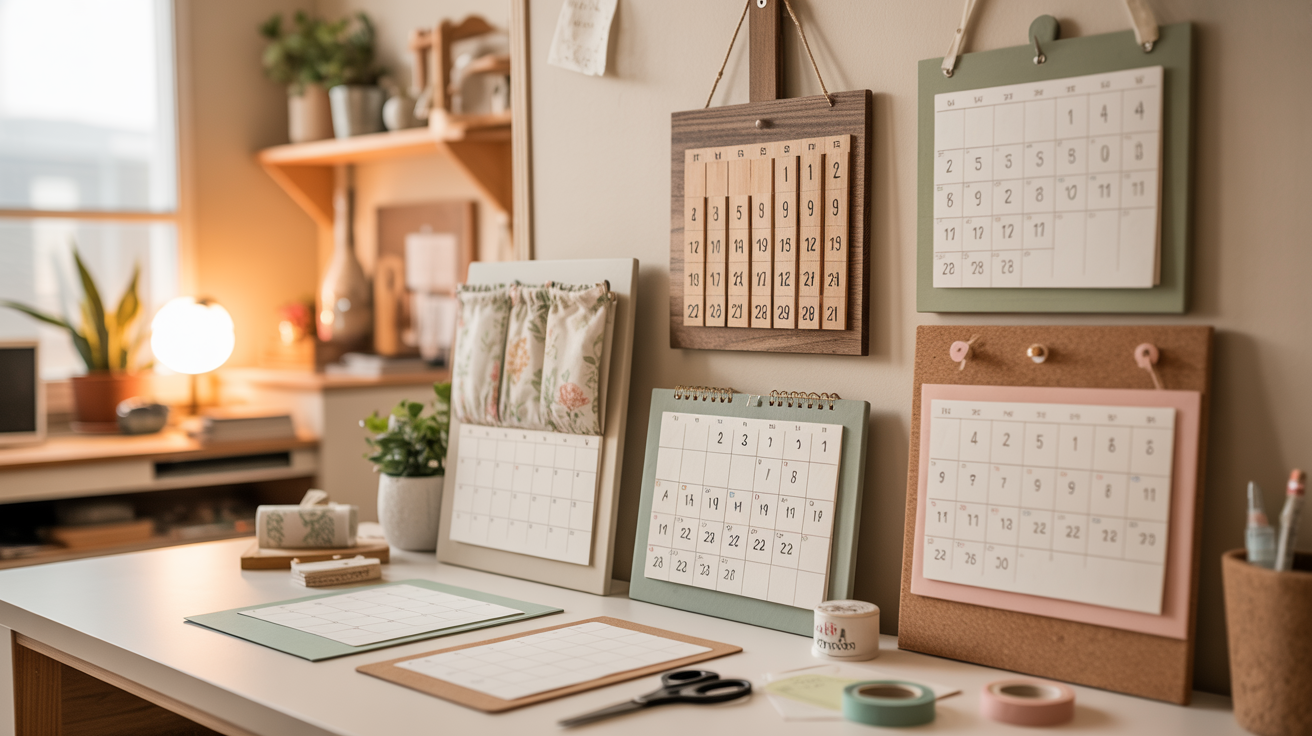
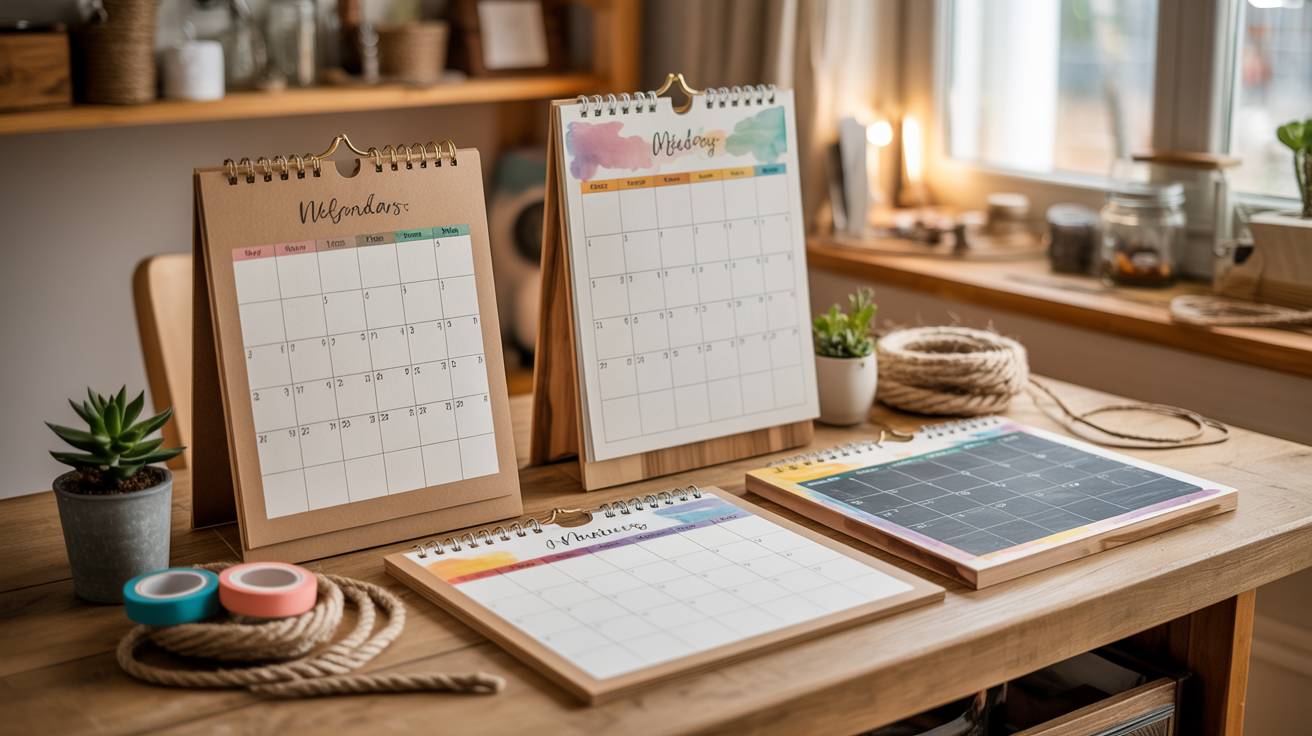
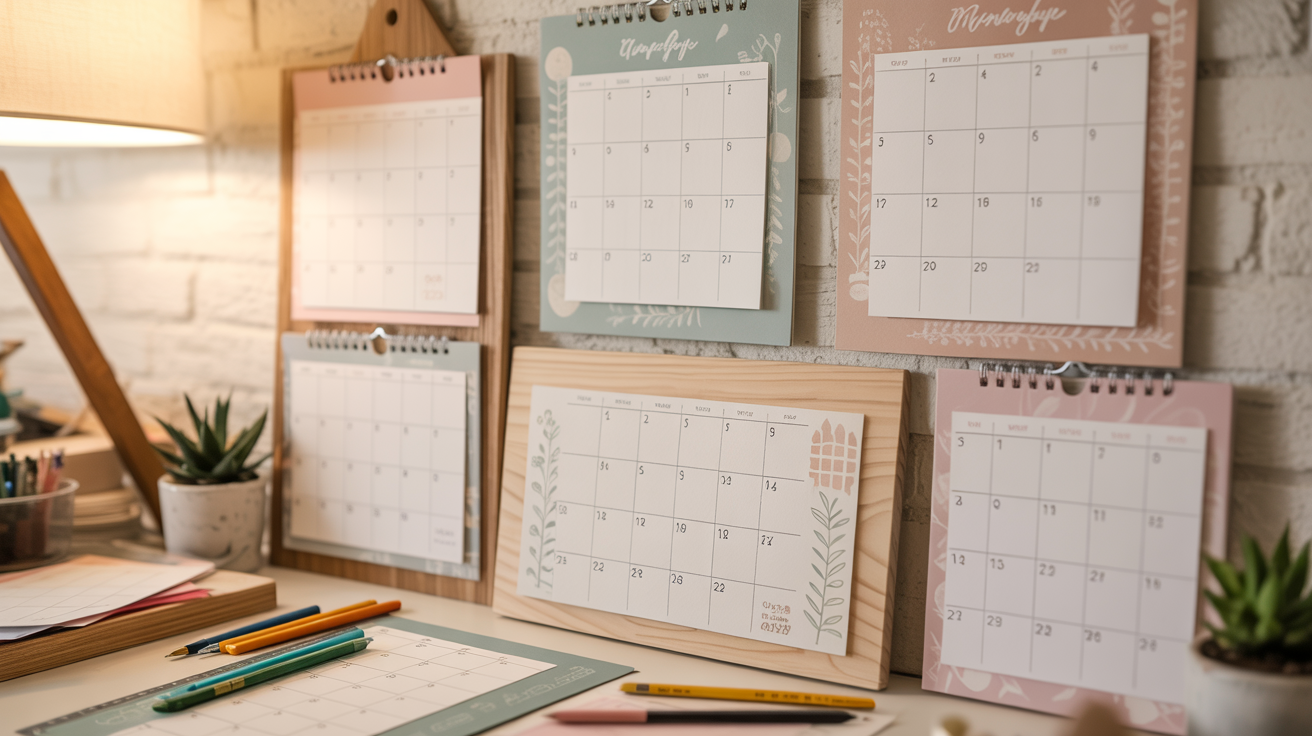
Customization Ideas
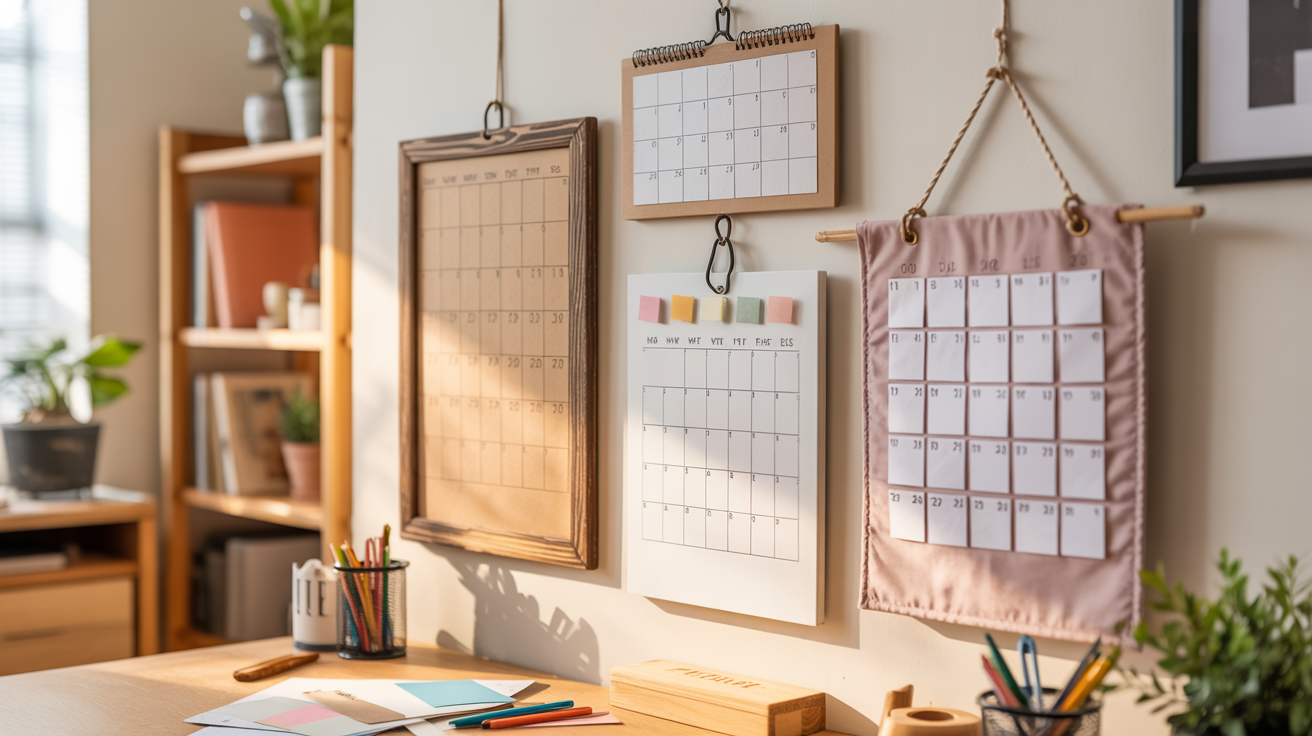
Your calendar doesn’t have to look like everyone else’s. These simple tweaks make it match your life and style.
I’ve tried most of these options, and each one changes how you use the calendar daily.
- Color-coded sections: Use different vinyl colors for work appointments, family events, and personal time, making scanning your schedule instant and preventing double-booking.
- Family vs work: Create separate columns or grids for each family member, or split the calendar into professional and personal zones with different background tints.
- Hardware finishes: Choose gold standoffs for warmth and refined, black for modern and bold contrast, or matte silver for clean, minimalist vibes that disappear into the wall.
- Weekly layouts: Skip the monthly grid entirely and design a reusable weekly planner, with seven columns you can wipe clean and reuse every week without vinyl waste.
- Undated format: Leave off specific dates and just label rows as Week 1, Week 2, or Monday through Sunday, as your calendar works forever instead of expiring each year.
Tips for Best Results
I’ve made plenty of mistakes with these calendars. Here’s what I wish someone had told me from the start.
- Practice first: Test your vinyl placement on scrap material or paper, as this saves you from ruining your good acrylic sheet.
- Bigger holes help: Drill slightly larger holes than your screws need, so alignment is easier and less stressful.
- Measure everything twice: Check your measurements before drilling or cutting, moving things after is way harder than getting it right first.
- Gentle cleaning only: Wipe your acrylic with a soft cloth and water, as harsh chemicals or rough towels will scratch the surface.
- Keep markers close: Store your markers in a holder right next to the calendar so you actually use them daily.
One thing that surprised me? Non-abrasive markers matter more than you think. The wrong ones stain your board or won’t erase cleanly.
Conclusion
You now know how to build a DIY wall calendar that fits your space and needs. Whether you choose the basic paper version or the magnetic board style, you have a functional calendar you made yourself.
No more settling for generic store options. These projects prove you can create something personal and practical with supplies from around your house. Each calendar design works for different spaces, from small apartments to home offices.
Pick the project that matches your time and materials today. If this guide helped you, share it with a friend who needs a better way to track their schedule.
Already made your calendar? Leave a comment about which design you tried and how it turned out. I always enjoy hearing what works best for different people.
Frequently Asked Questions
What materials do I need to make a DIY wall calendar?
You need cardboard or poster board, paper, markers or pens, a ruler, and tape or glue. Optional items include clips, magnets, or hooks for hanging. Most projects use supplies you already have at home. Choose materials based on whether you want a permanent or reusable calendar design.
How long does it take to make a wall calendar?
Most DIY wall calendars take 30 minutes to 2 hours, depending on the design. Simple paper calendars take under an hour. More detailed projects with decorations or dry-erase surfaces take longer. The measuring and layout planning use most of your time, not the actual construction.
Can I make a reusable wall calendar?
Yes, using dry-erase materials or laminated paper makes calendars reusable. Add clear contact paper over cardstock or use a small whiteboard. Magnetic boards with movable date tiles also work. Reusable calendars save money since you don’t recreate them every month or year.
What size should my DIY wall calendar be?
Make it based on your wall space and how much you need to write. Small calendars work at 12×12 inches, while larger ones go 24×36 inches. Measure your wall first. Kitchen calendars need more writing space than bedroom calendars that just track dates.
How do I hang a DIY wall calendar without damage?
Use command strips, removable hooks, or washi tape for damage-free hanging. Lightweight paper calendars stick with poster putty. Heavier cardboard calendars need stronger command hooks. Avoid nails in rental apartments. Always check your calendar’s weight before choosing your hanging method.