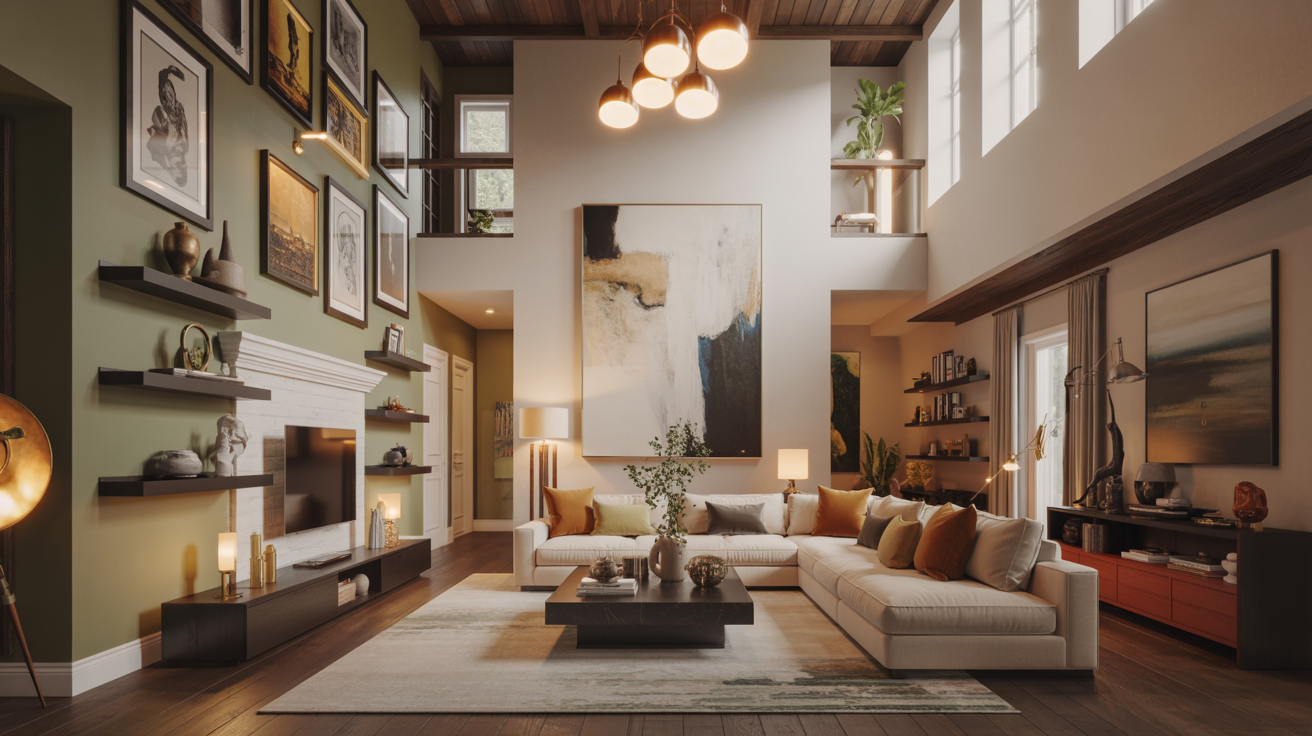
Your room feels flat and boring, but a full renovation isn’t in the budget. An accent wall with wood trim might be exactly what you need. It adds character, warmth, and that designer look without breaking the bank or taking weeks to finish.
This guide shows you proven designs that actually work in real homes, as board and batten, geometric patterns, shiplap combinations, and frame styles. You’ll see what materials to use and how to plan your layout.
I’ve helped countless homeowners change plain walls into focal points. You deserve ideas you can trust from someone who’s seen what works and what doesn’t.
If you’re going modern, rustic, or traditional, you’ll find a design here that matches your vision and skill level. Let’s give that wall the upgrade it’s been waiting for.
Why Choose an Accent Wall with Wood Trim?
An accent wall with wood trim changes a plain room into something special. It’s not just decoration, it’s structural design. One wall done right changes how the entire space feels.
- Creates visual impact: Wood trim adds depth and texture that flat paint can’t match, as it draws your eye to a focal point and makes rooms feel intentional instead of generic, turning builder-grade spaces into custom-looking homes.
- Adds warmth instantly: Natural wood brings organic character that softens modern interiors and enhances traditional ones. It works equally well in minimalist lofts, rustic farmhouses, classic colonials, or contemporary spaces because wood is timeless.
- Built to last: Quality wood trim survives decades with minimal maintenance while paint needs refreshing every few years, plus you can stain, paint, or refinish it multiple times to match evolving tastes without replacing anything.
13 Accent Wall with Wood Trim Ideas to Inspire Your Space
These designs range from simple to complex. Pick one that matches your skill level and style. I’ve built most of these myself, as some took a weekend, others took a week.
1. Horizontal Shiplap Paneling
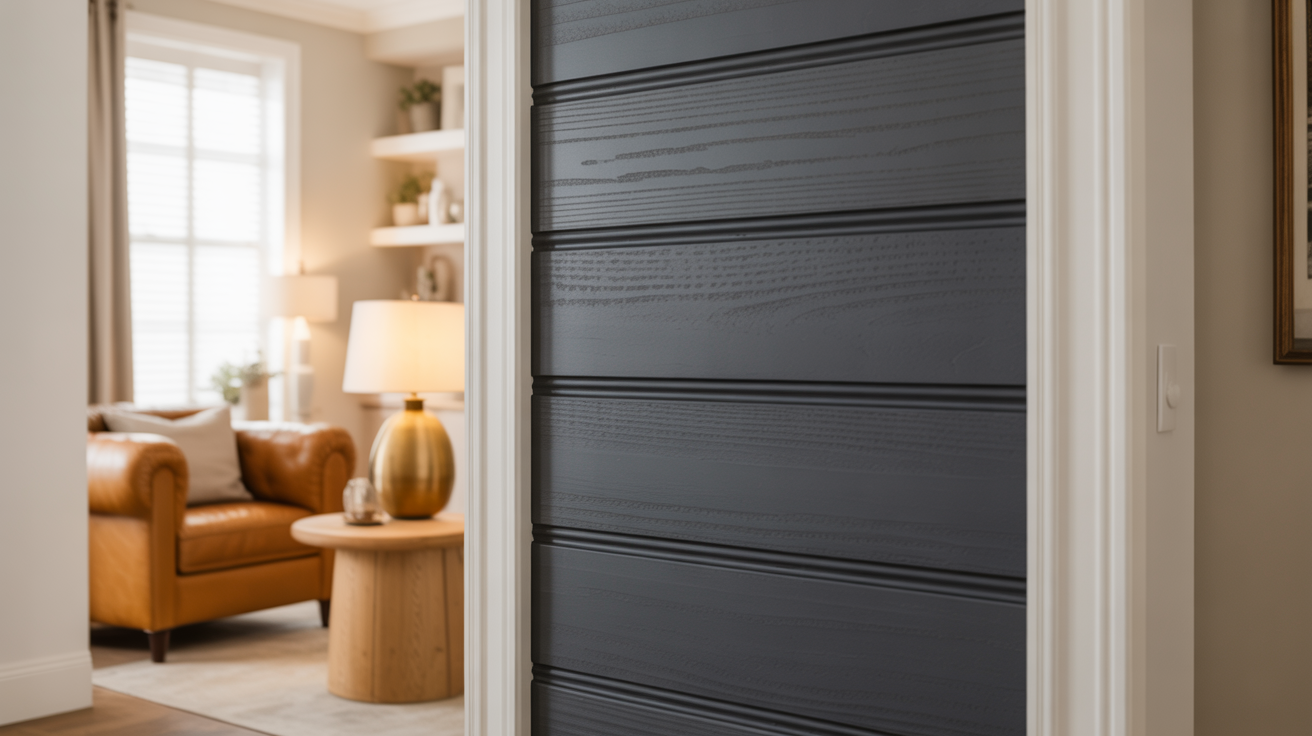
Shiplap runs horizontally across your wall with tight seams between boards. It’s the farmhouse look everyone recognizes. Paint it white for coastal vibes or stain it dark for modern drama.
This is the easiest pattern for beginners. You’re just stacking boards with a small gap between each row.
No complex angles or measurements. One level and a nail gun get you 90% of the way there.
2. Vertical Wood Trim for Added Height
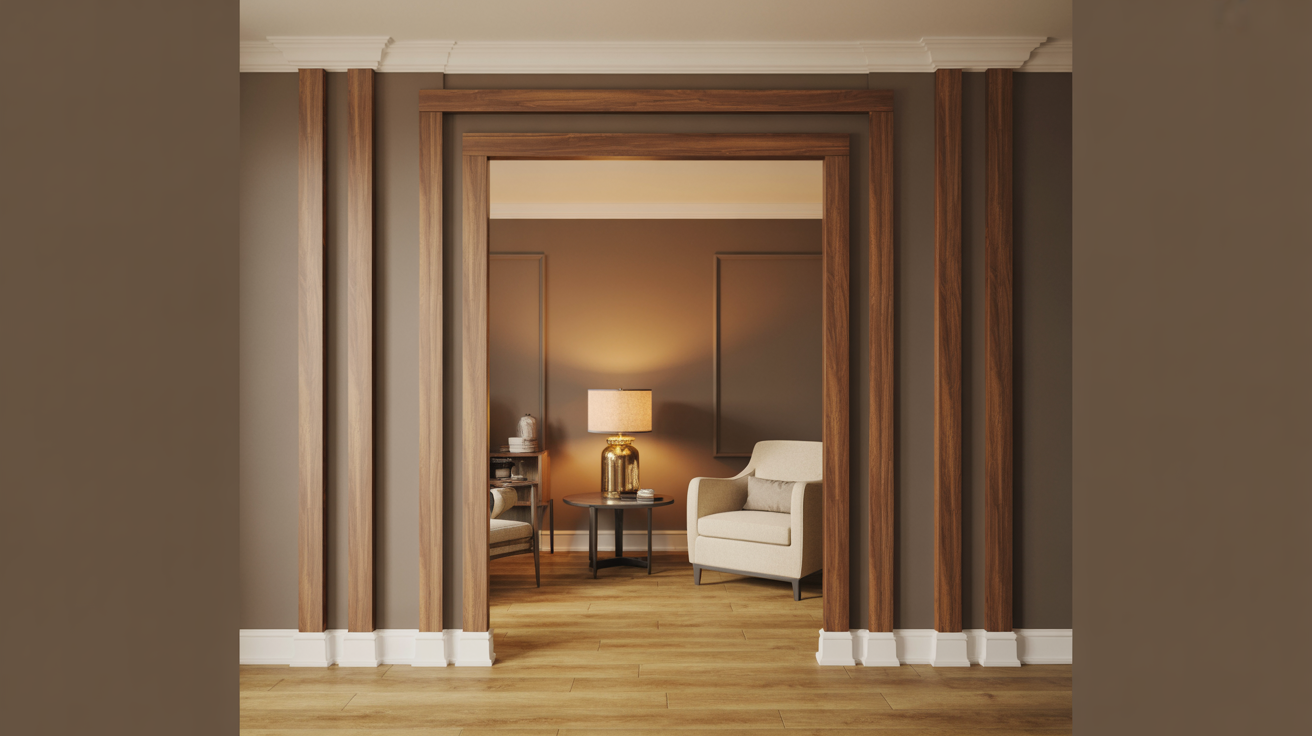
Vertical trim boards run from floor to ceiling in evenly spaced lines. This pattern tricks your eye into seeing taller walls. Low ceilings suddenly feel spacious.
Space your trim 12-16 inches apart for the best effect. Too close looks crowded. Being too far apart loses the impact.
I use this in basements and older homes where 8-foot ceilings feel cramped.
3. Board and Batten Accent Wall
Board and batten combines a flat backing board with vertical trim pieces on top. Traditional homes use this on exteriors. Modern homes bring it inside for texture and depth.
The vertical battens typically sit 16-24 inches apart. You can paint everything one color or use contrasting tones.
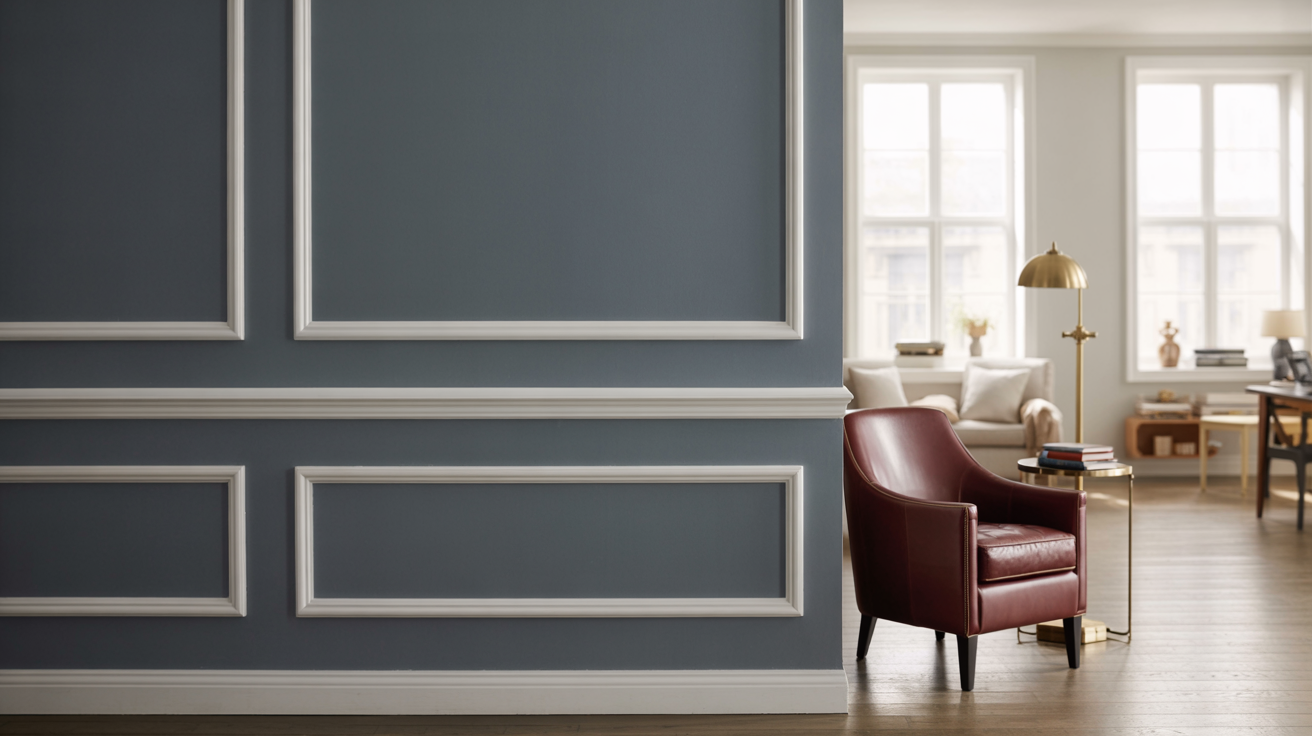
White battens on gray walls create a clean contrast. This design works in literally every room. I’ve installed it in nurseries, dining rooms, and home offices.
4. Neutral Board and Batten
This version uses the same board and batten layout but keeps colors subtle. Your wall and trim match exactly or differ by just one shade. The texture comes from shadows, not color contrast.
Neutral board and batten feels refined instead of bold. It adds dimension without screaming for attention.
Perfect for bedrooms where you want calm, not drama. I paint both the wall and battens in the same eggshell finish.
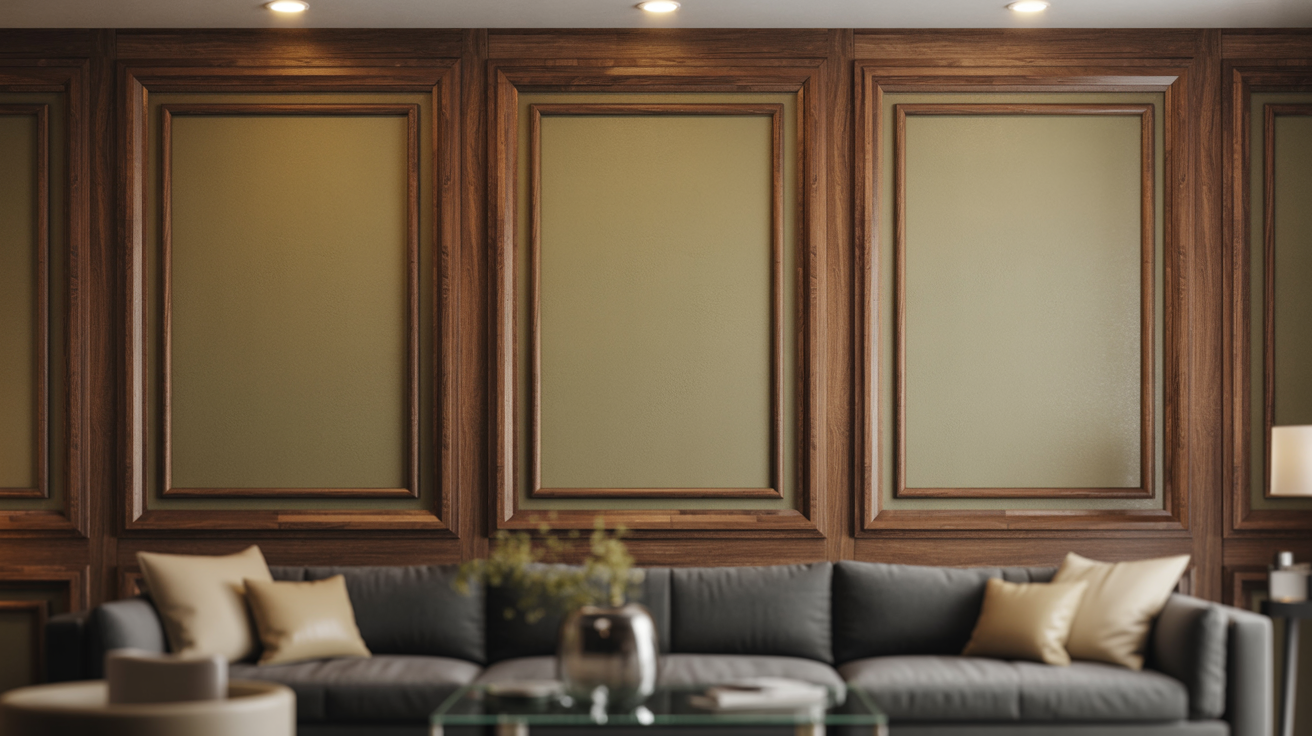
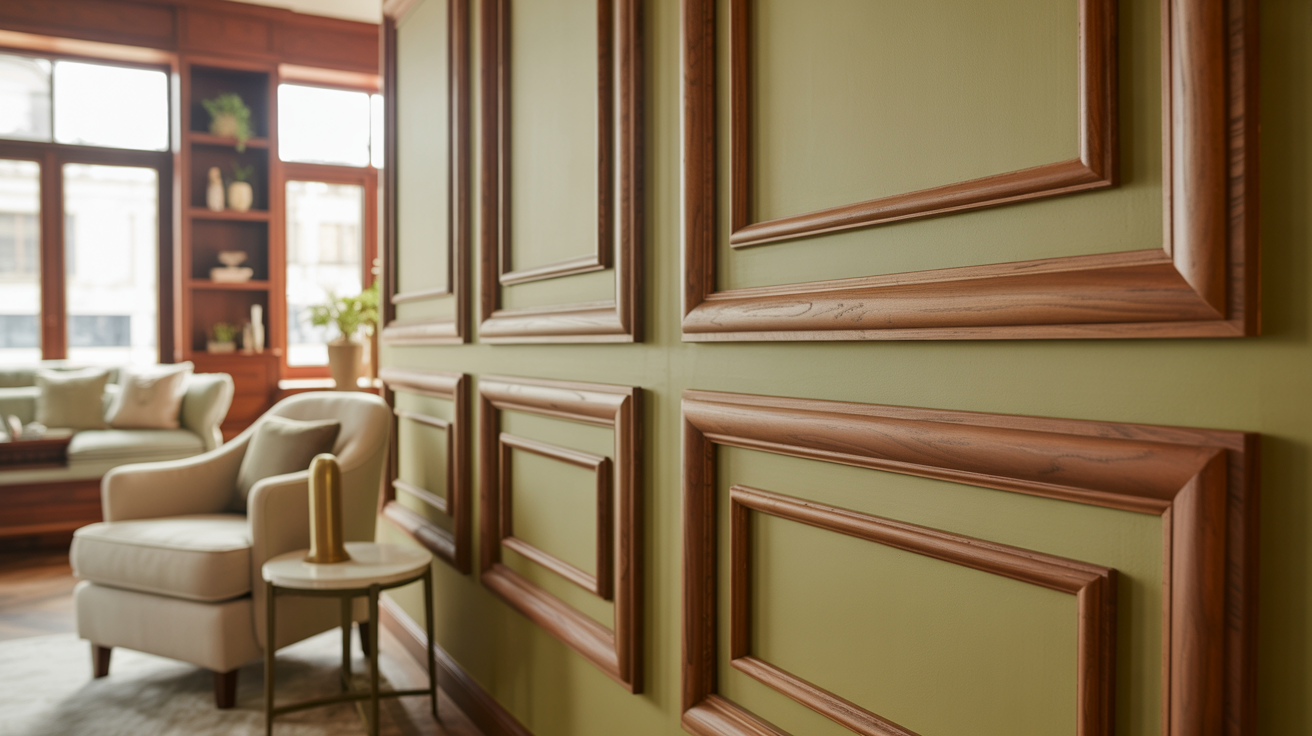
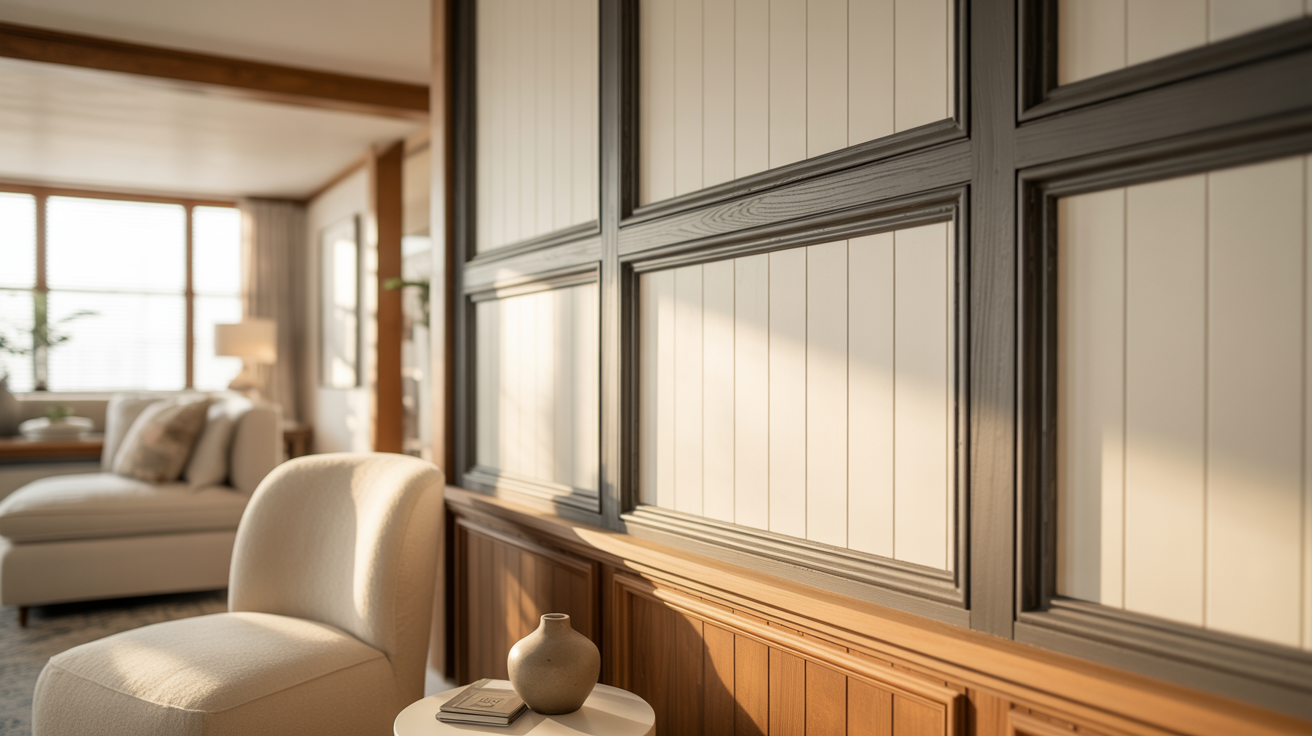
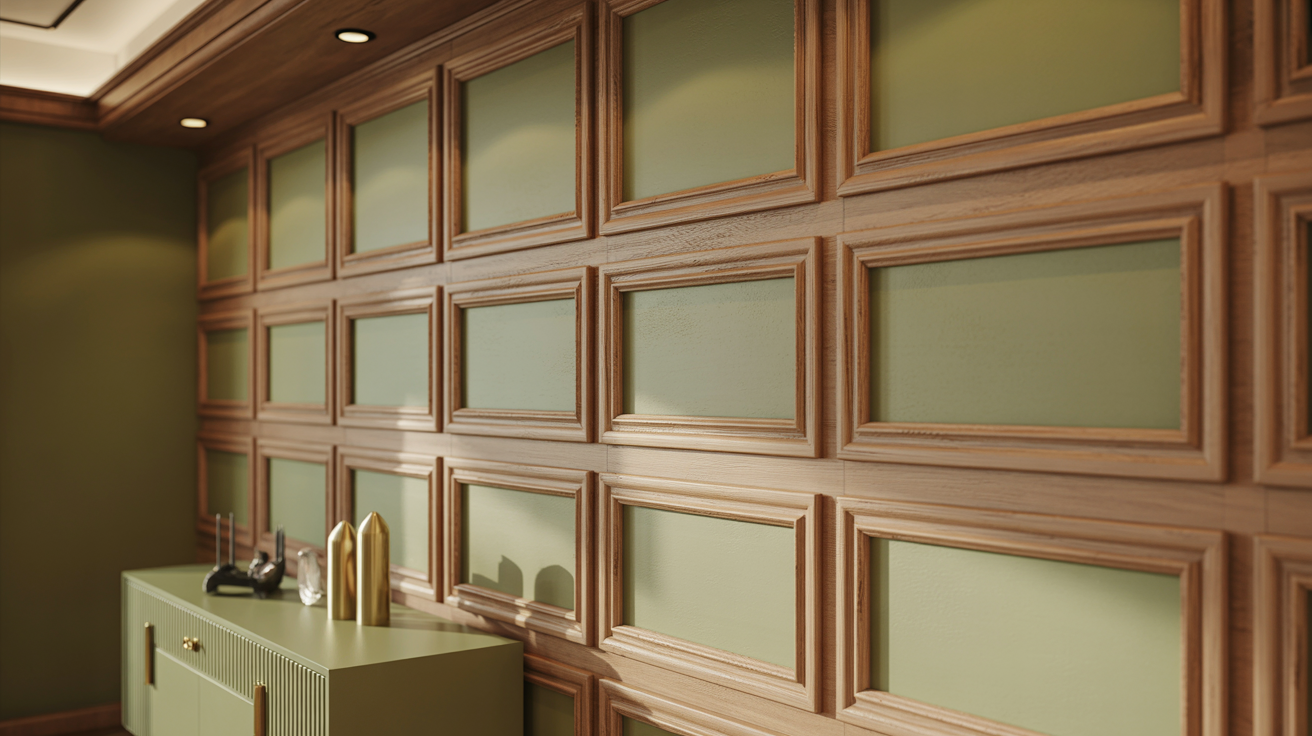
5. Photo Frame Molding Wall
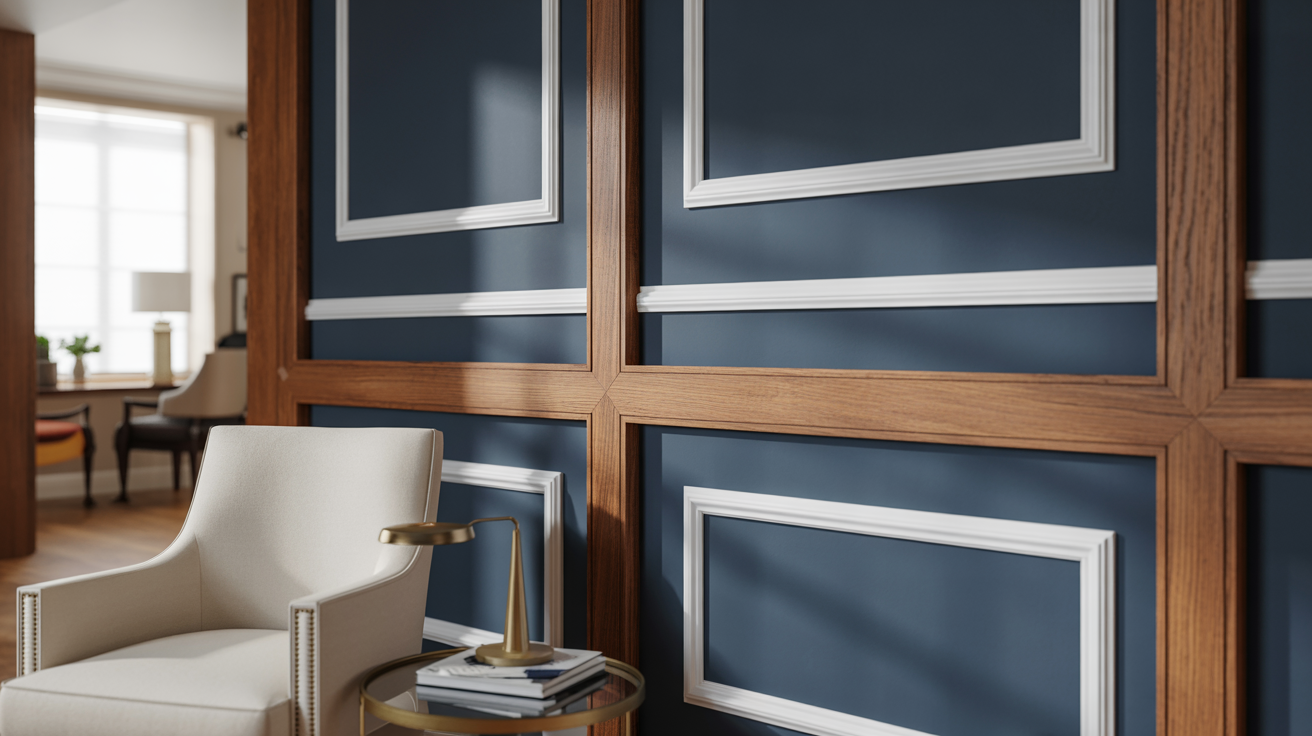
Photo frame molding creates rectangular boxes on your wall using thin trim pieces. Think of empty photo frames arranged in a grid. Classic. Refined. Timeless.
Measure carefully and space your frames evenly. Uneven spacing looks amateurish. Most designs use 3-5 frames per wall, depending on size.
I’ve seen this in million-dollar homes and DIY apartments. It works at every budget when installed right.
6. Framed Wallpaper Panels with Wood Trim
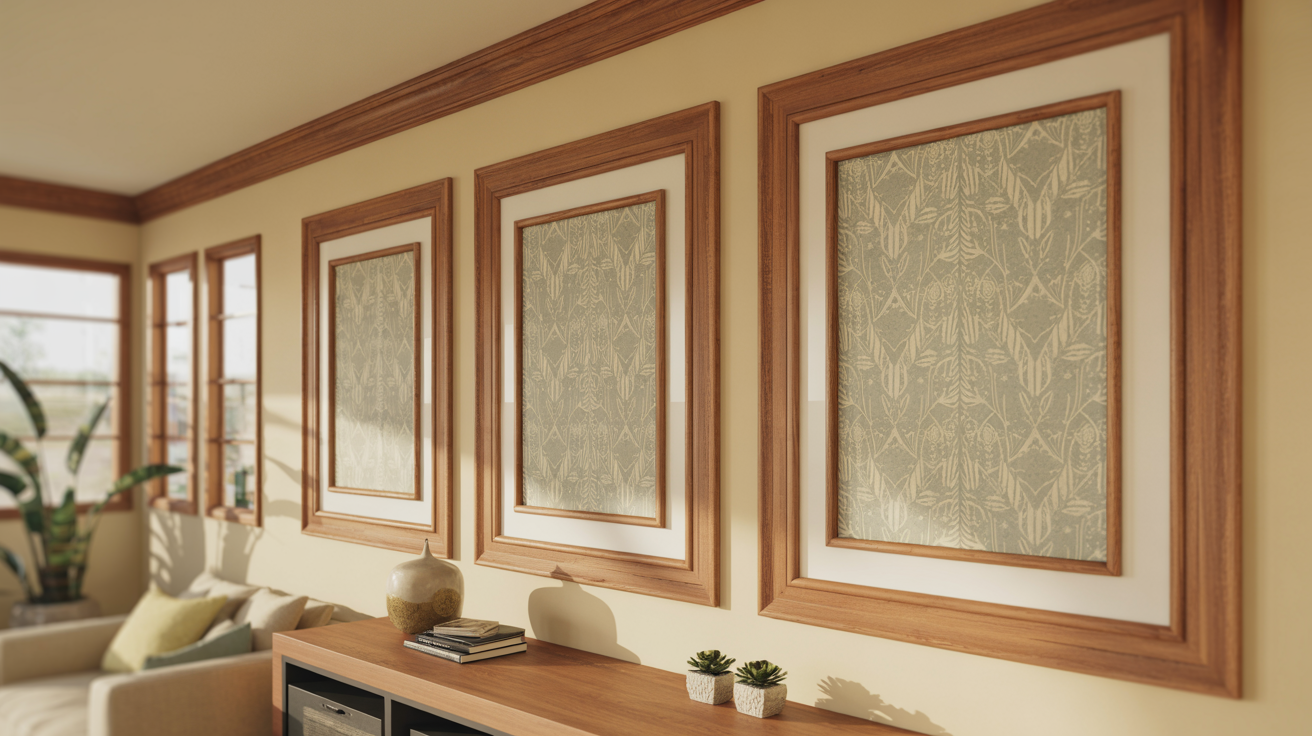
This design frames sections of wallpaper with wood trim borders. You get pattern and texture together. The trim contains the wallpaper, so it doesn’t overwhelm the room.
Choose 2-4 panels per wall. Cut your wallpaper to fit inside each frame section. Apply trim around the edges.
This lets you use bold wallpaper without committing an entire wall to it. Floral, geometric, or textured paper all work here.
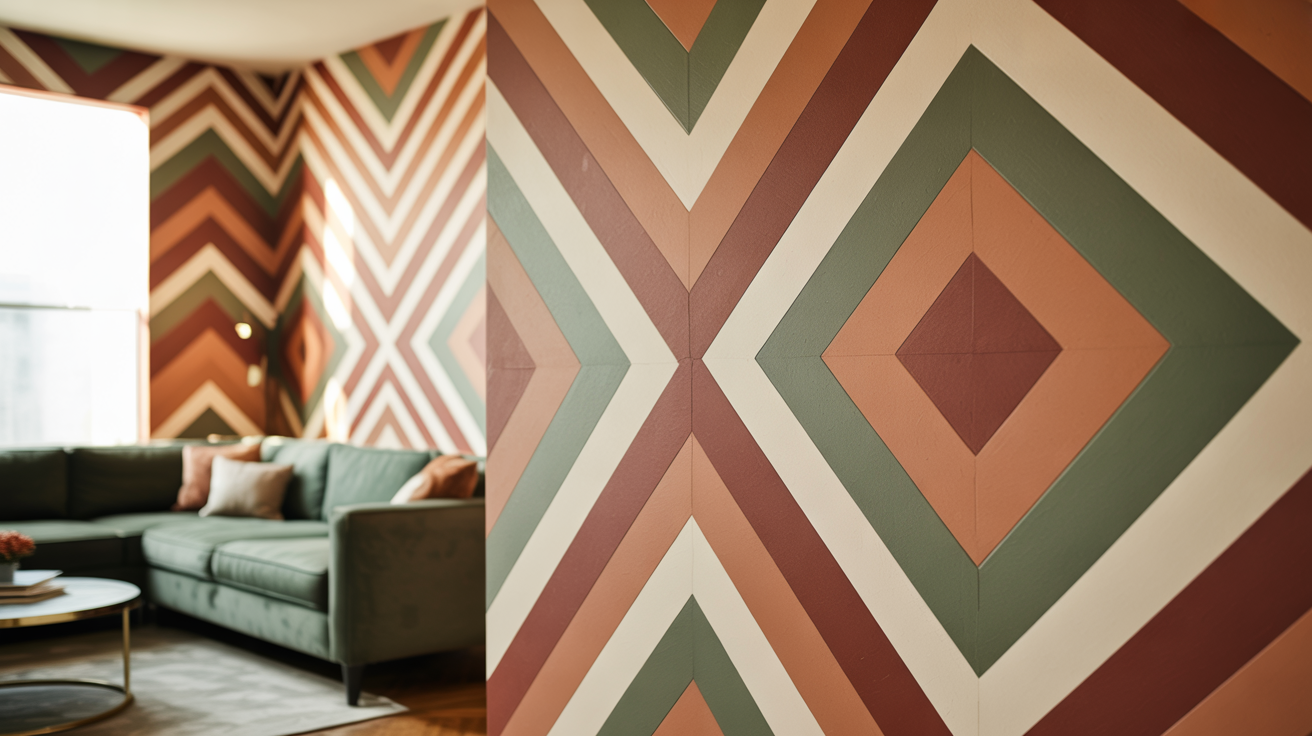
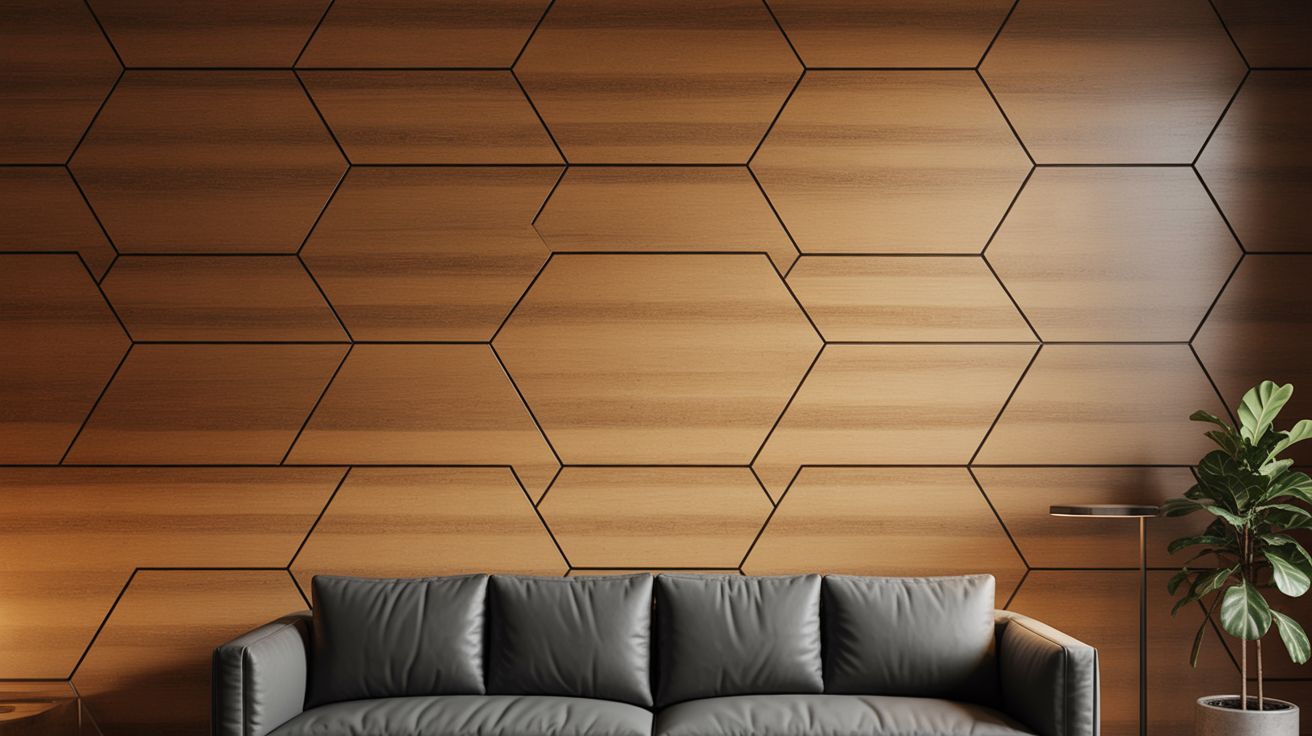
7. Raised Geometric Wood Trim Design
Thin trim pieces create bold geometric shapes, hexagons, diamonds, triangles, or abstract patterns. The trim sits raised above the wall surface for depth. Modern. Eye-catching. Structural design.
This pattern requires precise angle cuts and planning. Measure twice, cut once isn’t just advice here, it’s survival.
I map the entire design on paper first, then transfer measurements to the wall. One wrong angle throws everything off.
8. Flush Geometric Wood Panel Design
Similar to raised geometric trim, but the wood sits flush with the wall. You’re adding flat panels instead of raised trim. Sleek. Minimal. Contemporary.
Cut plywood or MDF into geometric shapes. Paint them before installation. Attach them flat against your painted wall.
The result looks built-in, not added on. This design hides imperfect walls better than raised trim because the panels cover surface flaws.
9. Chevron Wood Trim Accent Wall
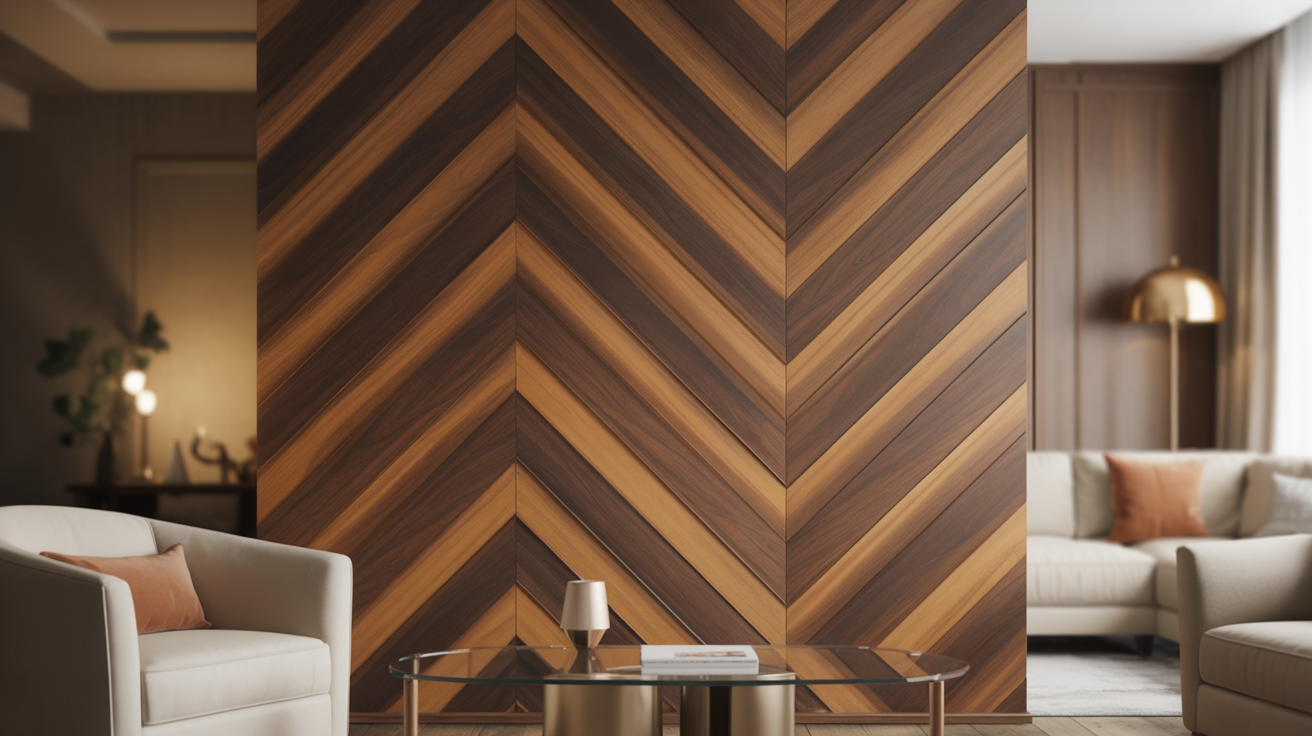
Chevron creates repeating V-shapes that point upward or downward across your wall. Each board meets at a perfect point in the center. The pattern has balanced symmetry that draws your eye.
Every board needs a precise 45-degree cut on both ends. This isn’t beginner-friendly unless you’re comfortable with a miter saw.
I’ve seen people spend hours getting their angles right. The result looks amazing, but it demands accuracy.
10. Herringbone Wood Trim Layout
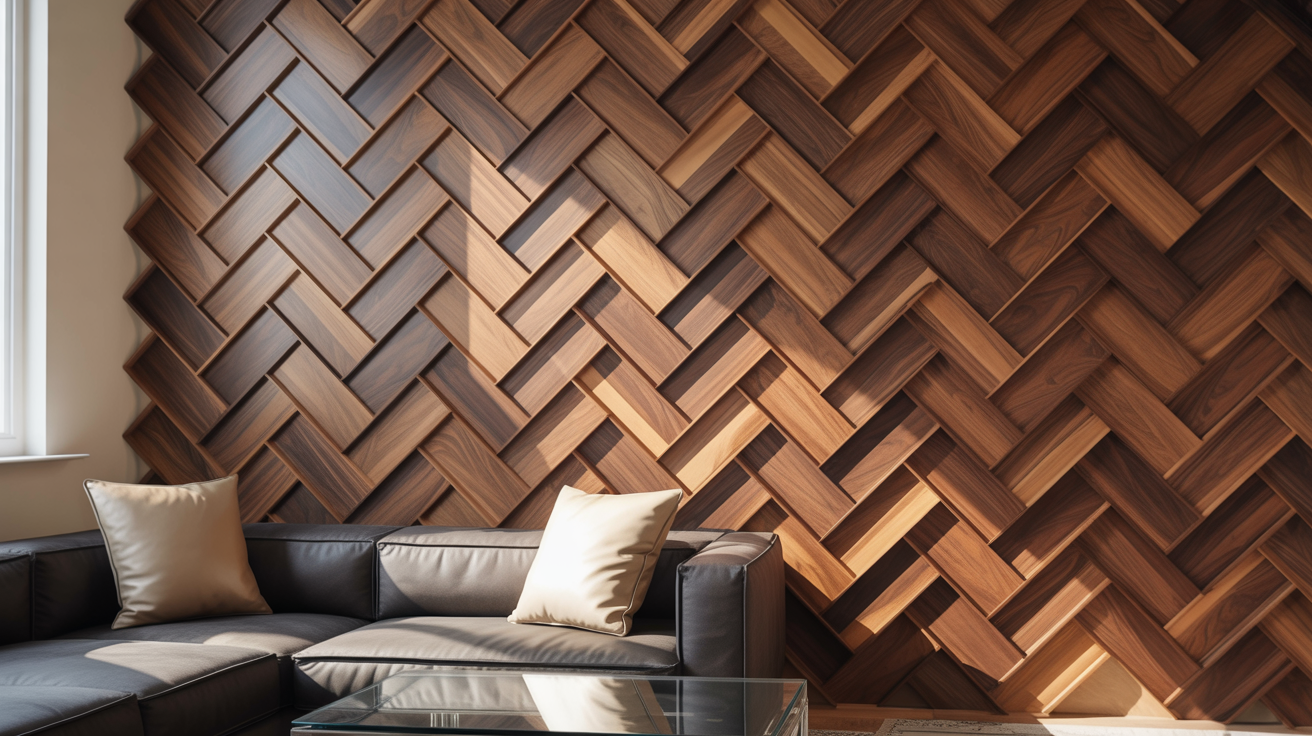
Herringbone creates a zig-zag pattern where boards alternate direction at 90-degree angles. More complex than a chevron. More dynamic, too. This pattern works beautifully behind beds or fireplaces.
Each board needs two angle cuts, one on each end. The pattern takes longer to install than straight layouts. I recommend herringbone only if you’ve done simpler patterns first. The visual payoff is worth it, but the learning curve is steep.
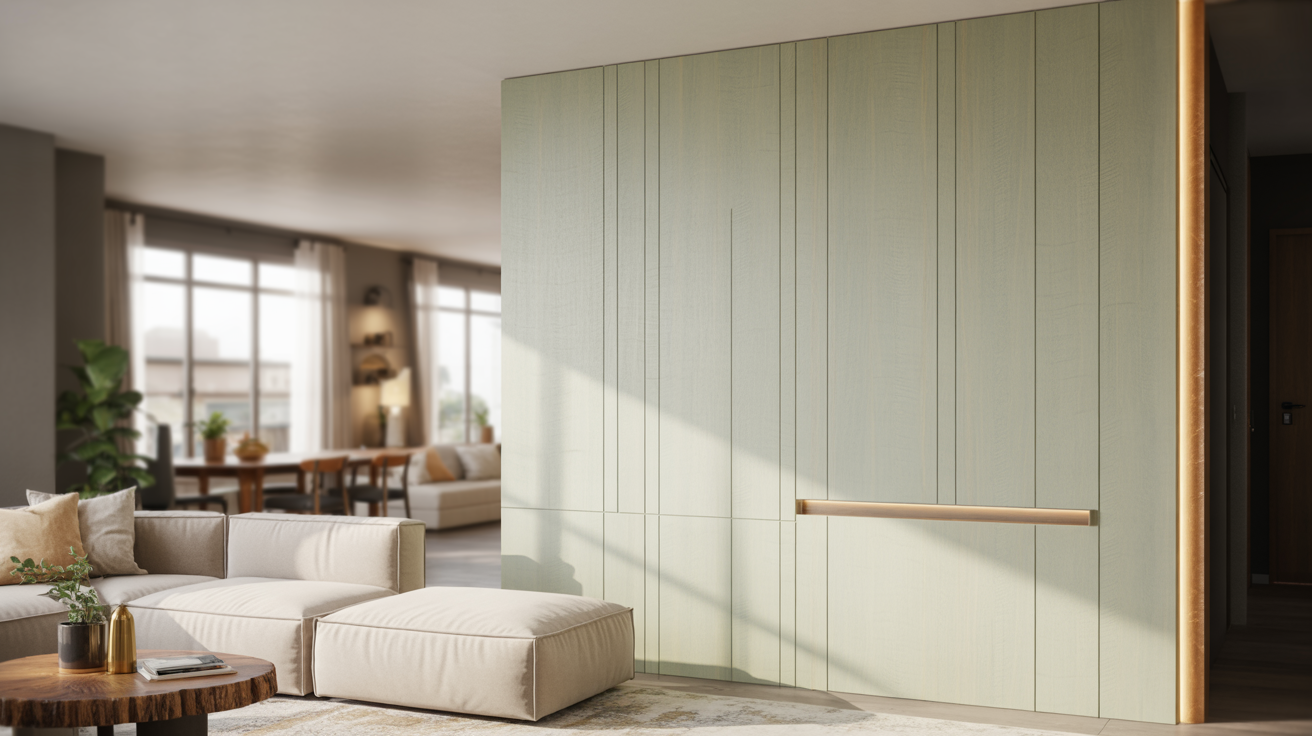
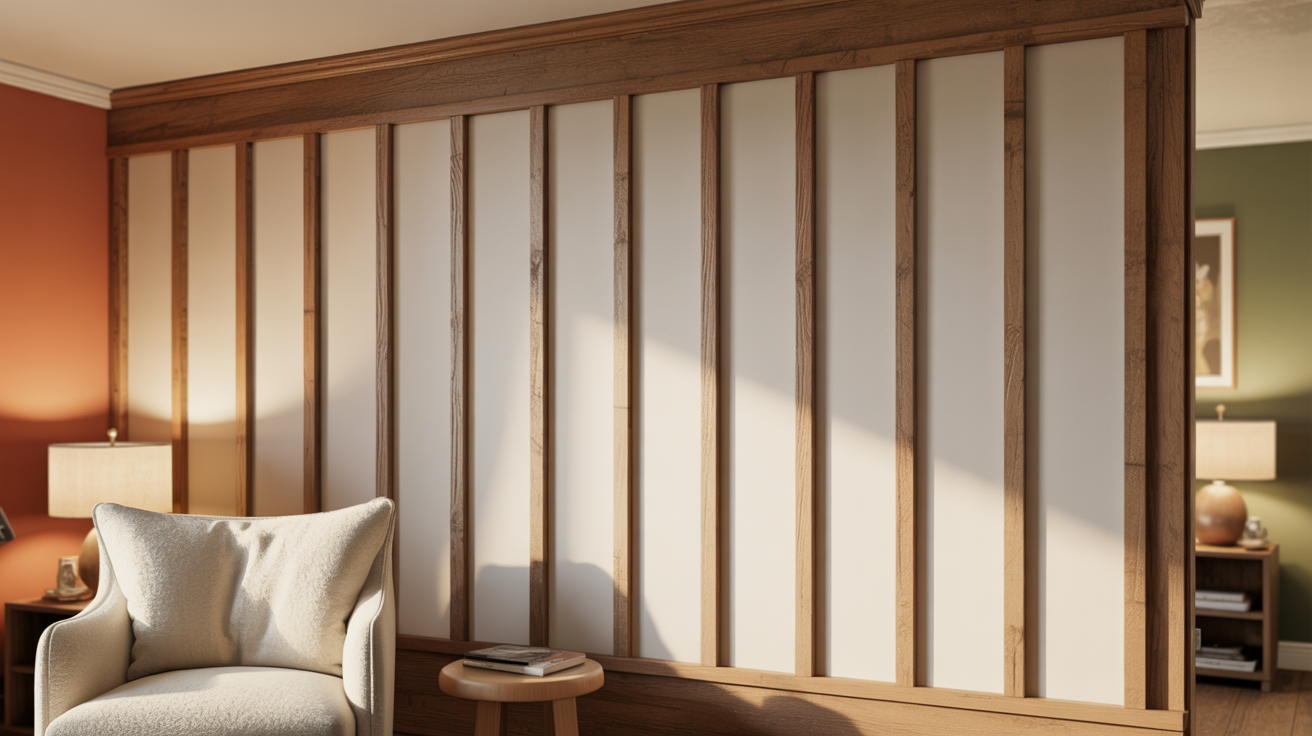
11. Vertical Slat or Fluted Wood Trim Wall
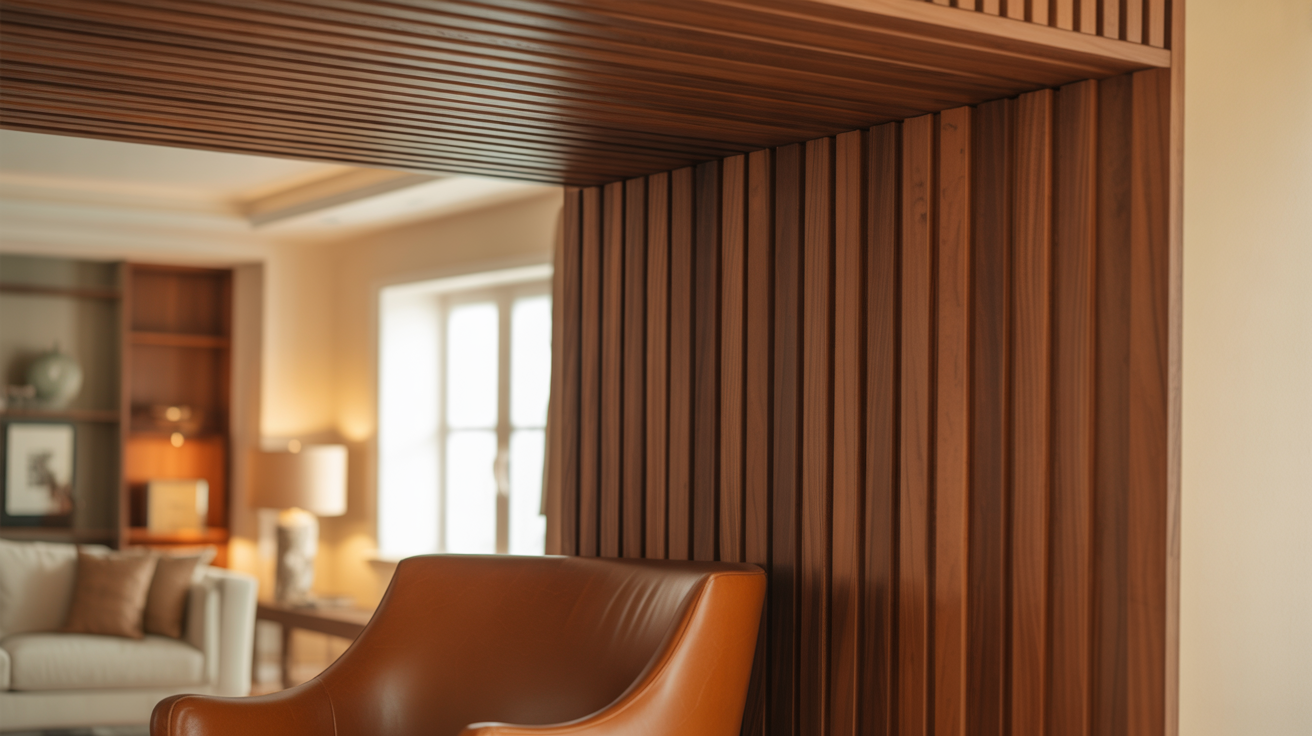
Vertical slats create narrow channels running from floor to ceiling with small gaps between each piece. Popular in Japandi and Scandinavian design. Adds texture without bold contrast.
Space your slats 1-3 inches apart, depending on the look you want. Closer spacing creates more texture.
Wider spacing feels more open. This design hides TV cables and wires beautifully if you route them behind the slats.
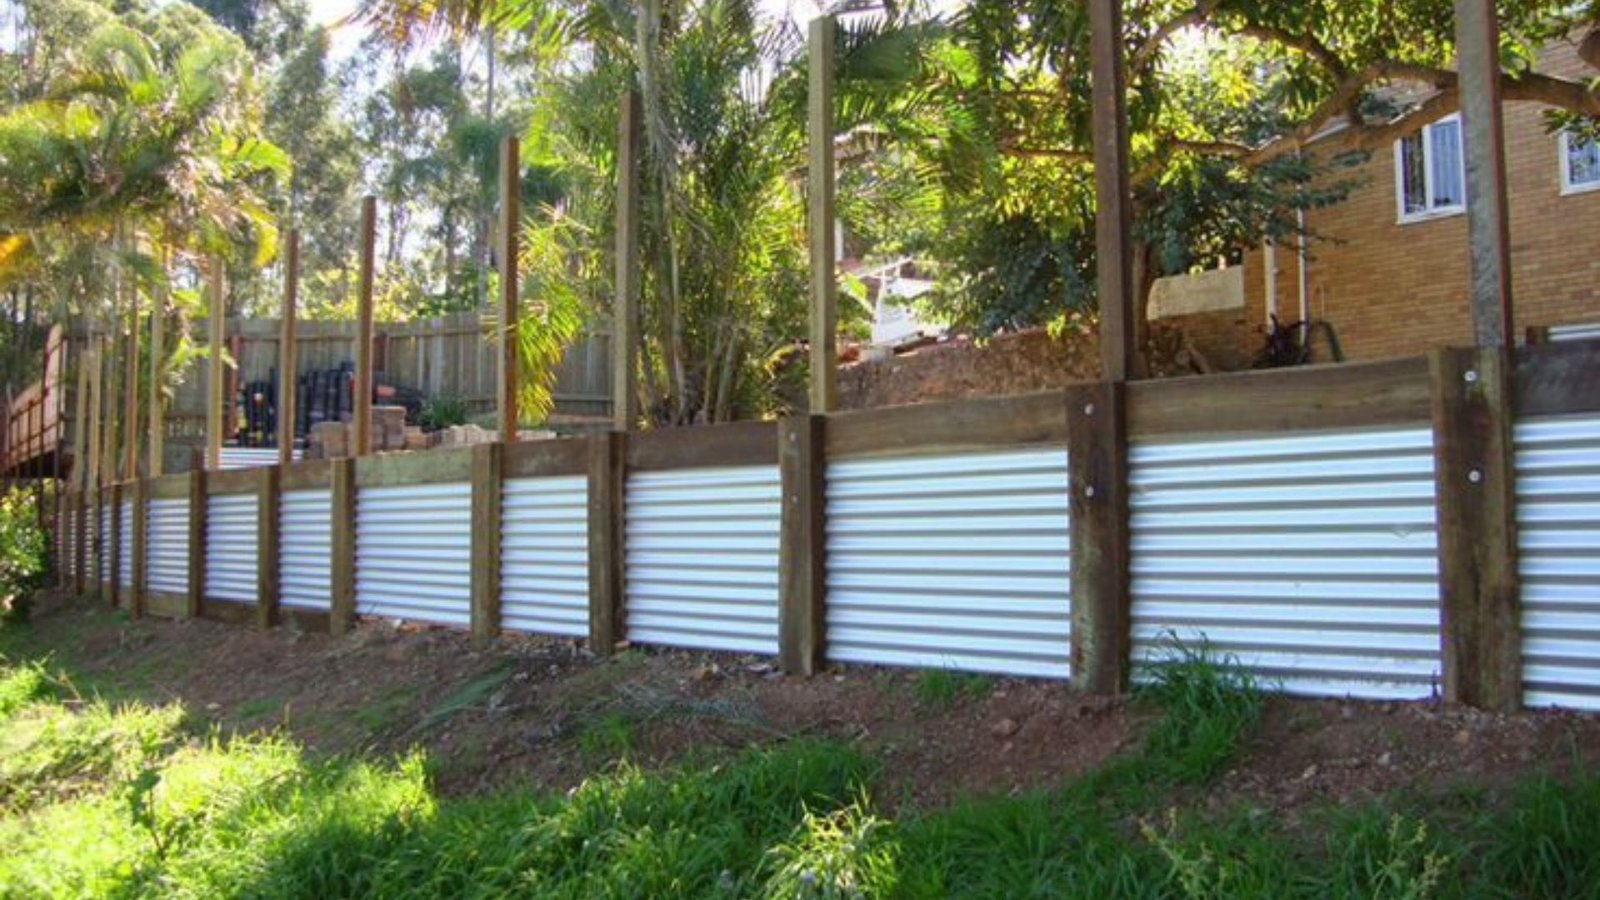
12. Rustic Reclaimed Wood Trim Wall
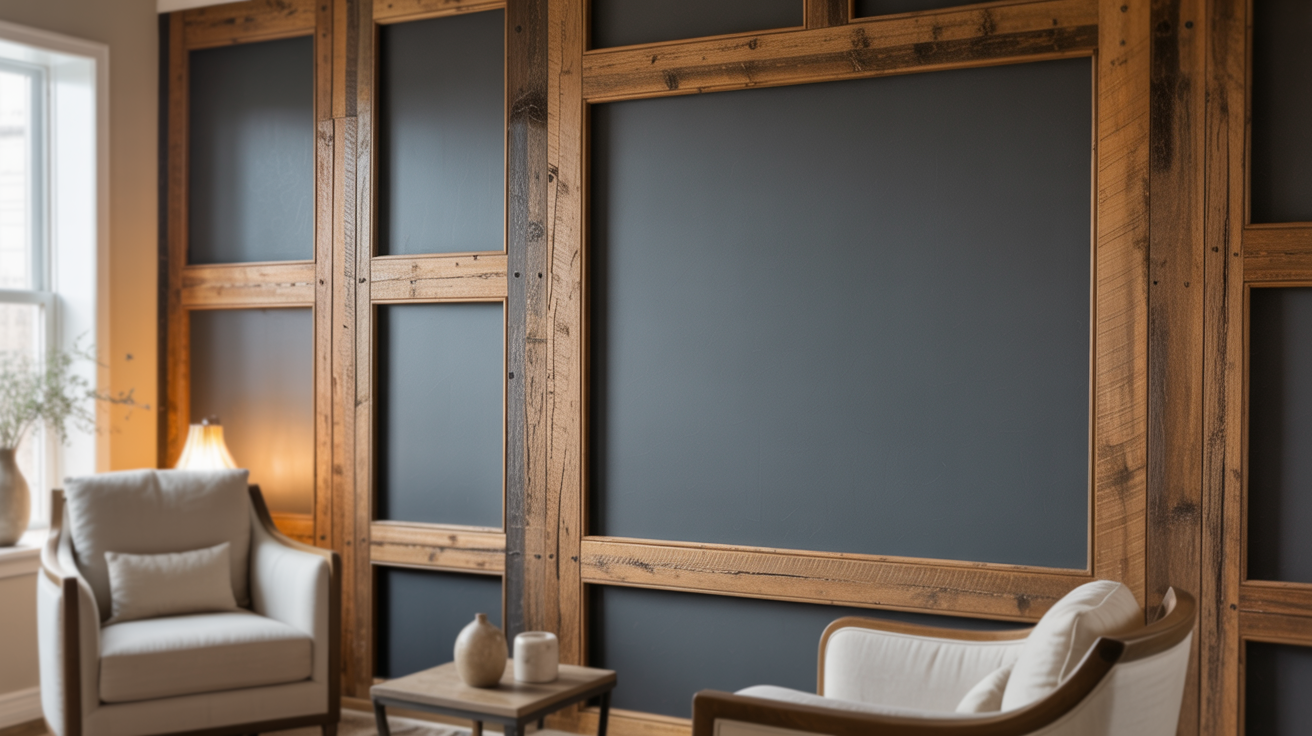
Reclaimed wood brings age and character to your wall. Each board has varied weathering, nail holes, and color variation. The imperfections are the point. Warm. Authentic. Lived-in.
Real reclaimed wood costs $4-$12 per square foot. You can fake the look with new wood and distressing techniques for half that.
I’ve done both. Real reclaimed has character you can’t duplicate, but good faux reclaimed fools most people.
13. Chair Rail or Half Wall Molding
Chair rail molding runs horizontally at 32-36 inches high, dividing your wall into upper and lower sections. Traditional homes used it to protect walls from chair backs. Modern homes use it for visual interest.
Paint the sections different colors or keep them the same. Add beadboard below the rail for extra texture. This design works great in dining rooms and hallways where you want classic detail without covering the entire wall.
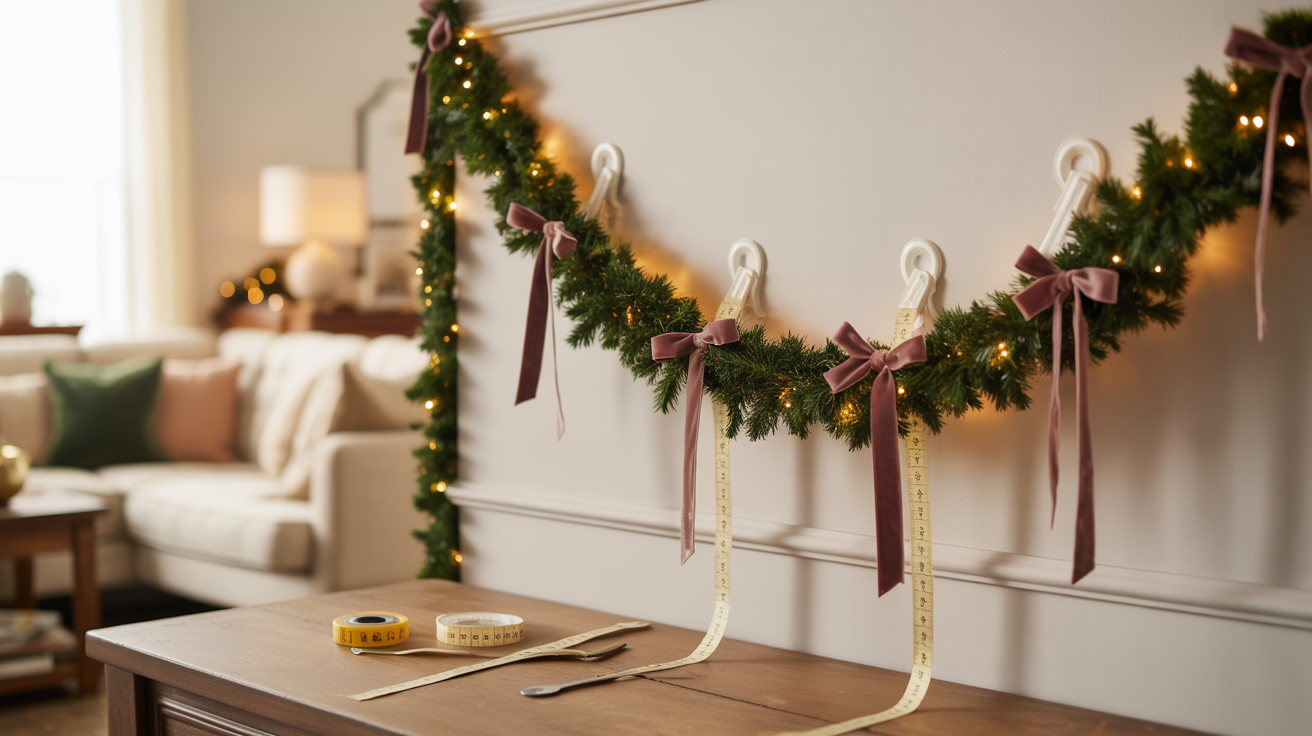
Tips for Designing the Perfect Accent Wall with Wood Trim
Getting the design right matters as much as the installation. A well-planned accent wall looks intentional, as a bad one looks busy. These tips keep your project from going wrong.
- Pick one wall only: Multiple accent walls create visual clutter and confuse the eye. Choose the wall you see when entering the room, or the one behind your bed or sofa, to create a clear focal point that anchors the space.
- Match trim to room purpose: Bold geometric patterns and dark stains work in living rooms and dining areas where you want drama, bedrooms need softer layouts like simple vertical slats or subtle grid patterns that won’t overstimulate before sleep.
- Keep furniture simple: Let your accent wall be the star by pairing it with clean-lined furniture in neutral colors, as too many competing textures, patterns, or bold pieces turn your room into visual chaos instead of a cohesive design.
- Use contrast strategically: Pair flat or eggshell wall paint with satin or semi-gloss trim finishes so the wood stands out, dark trim on light walls creates maximum impact, while light trim on dark walls offers subtle refinement.
- Choose material wisely: MDF costs less and takes paint beautifully for crisp modern looks at $0.50-$1.50 per linear foot, real hardwood like oak or walnut runs $3-$8 per linear foot but delivers natural grain perfect for stained finishes that show wood character.
Conclusion
Your accent wall with wood trim doesn’t have to be complicated. Board and batten, geometric patterns, photo frame molding, or horizontal slats, you’ve got designs that fit any style and skill level. Pick what speaks to you and matches your space.
That boring wall you’ve been staring at? It’s about to become your favorite feature. You’ve got the ideas, the layout tips, and the confidence to make it happen.
Which design are you leaning toward? Drop a comment and let me know. Share this with anyone stuck on how to upgrade their walls. And if you’re finding more accent wall ideas, check out our posts on color choices and texture options. Your room makeover starts now.
Frequently asked questions
What type of wood trim is best for an accent wall?
MDF trim works best for most projects, as it’s affordable, easy to cut, and paints smoothly. Pine is good for stained finishes. Primed finger-joint trim saves prep time. Avoid cheap trim that warps easily. For moisture-prone areas like bathrooms, use PVC trim instead of wood.
How much does it cost to add wood trim to an accent wall?
Expect $200-$600 for materials on a standard bedroom wall, including trim, adhesive, paint, and supplies. MDF costs $1-$3 per linear foot. Professional installation adds $300-$800 in labor. Board and batten runs cheaper than complex geometric patterns due to simpler cuts and less waste.
Can I install wood trim on an accent wall myself?
Yes, most designs are DIY-friendly with basic tools, a miter saw, a nail gun, a level, and measuring tape. Board and batten is easiest for beginners. Geometric patterns need more precision. Watch tutorials first. If you’re uncomfortable with power tools or complex angles, hire a handyman for $50-$75 per hour.
Should I paint the wall before or after installing wood trim?
Paint the wall your base color first, let it dry completely, then install trim. This prevents gaps from showing bare wall color. Paint or stain the trim after installation for the cleanest finish. Use painter’s tape along edges and caulk gaps before final paint for professional results.
What accent wall wood trim design works best in small rooms?
Vertical board and batten or simple photo frame molding works best, as they add interest without overwhelming the space. Avoid busy geometric patterns in small rooms. Stick to lighter paint colors and thinner trim pieces. Horizontal designs can make narrow rooms feel wider. Keep it simple.