Ending a backsplash on an open wall can feel confusing without cabinets or corners to guide you.
Many homeowners struggle with where to stop the tile, and a poor ending can make the whole kitchen feel unfinished.
When the edge is not planned, it draws attention for the wrong reasons. A clean transition helps the backsplash look intentional instead of like an afterthought. The goal is to make the tile feel like it belongs in the space.
This guide explains how to end a backsplash on open wall areas clearly and practically. You will learn simple finishing options like trim pieces and edge tiles that create a polished look.
These methods are commonly used by designers and contractors and work well for both do-it-yourself projects and professional installs.
What Is a Backsplash and Why Does It Matter?
Backsplashes serve two key roles in a kitchen. They protect walls from stains, splashes, and moisture caused by daily cooking. Grease, sauces, and water stay off the wall surface.
Protection is only part of the benefit. A backsplash also adds visual appeal and helps define the kitchen’s style. When the design matches the space, it pulls the entire room together.
Traditional kitchens often used short four-inch backsplashes that stopped just above the counter.
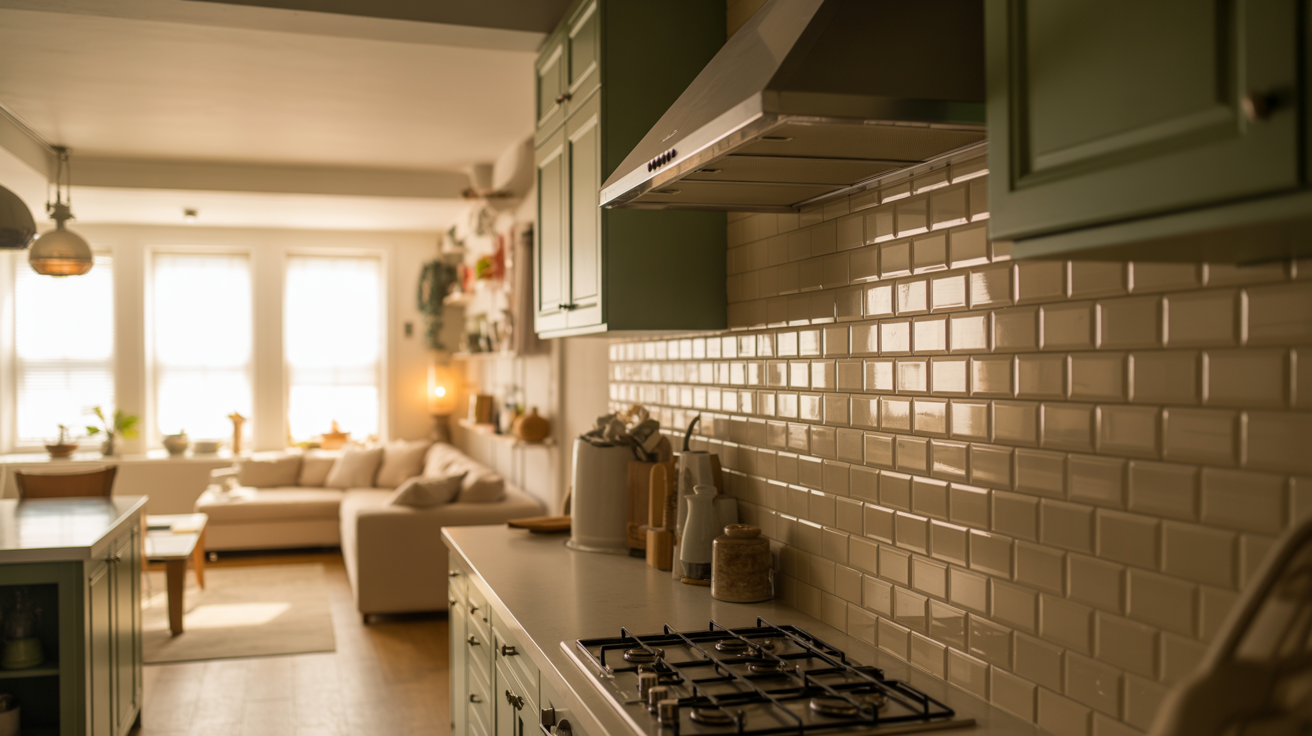
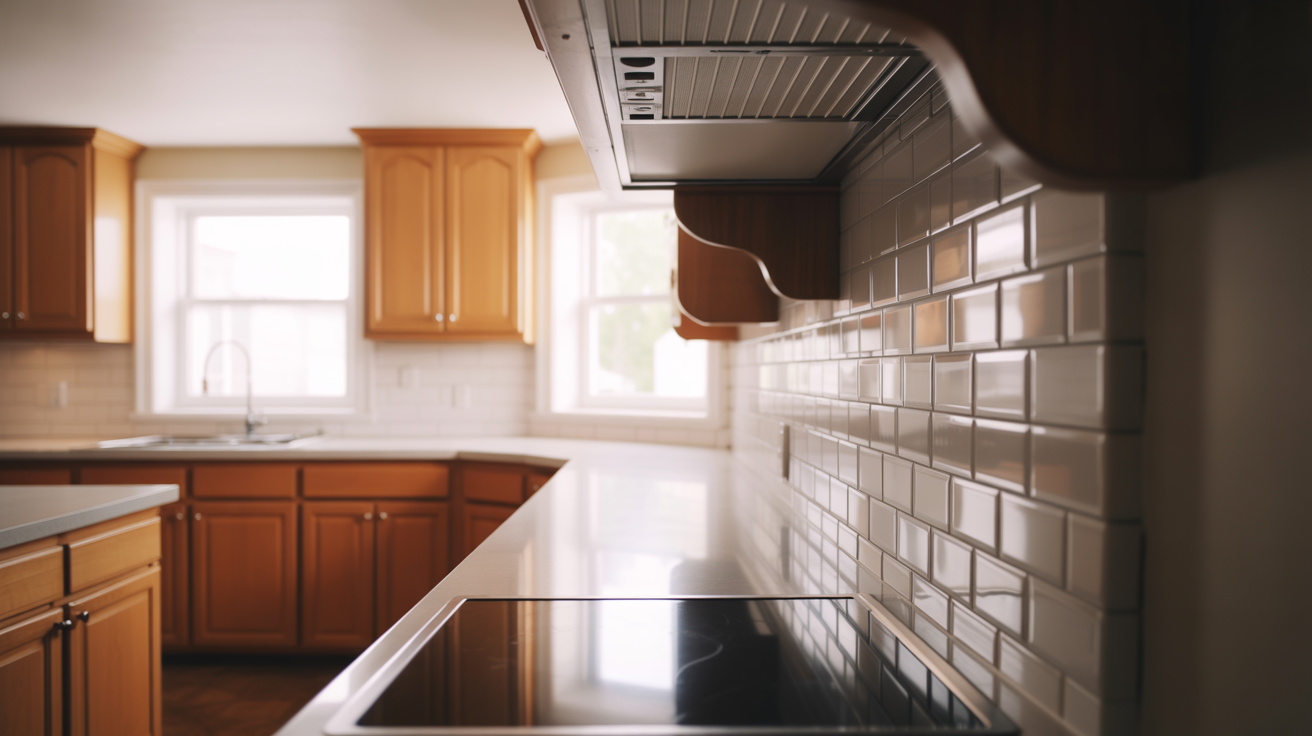
Modern kitchens favor extended designs that run to the cabinets or even the ceiling, offering better coverage, easier cleaning, and a cleaner overall look.
The Challenge of Open Walls
Open walls create a problem. Where do you stop the tile when there’s nothing to guide you?
- Open walls are tricky because there are no natural stopping points, making transitions in open-concept kitchens stand out and risk looking unfinished.
- There are no strict rules for ending a backsplash. Consider visual appeal, functionality, and budget to choose the best solution for your space.
Creative Ideas for Ending Backsplash on Open Walls
Let’s look at proven methods that create clean, professional finishes. These aren’t complicated tricks. They’re what designers use daily.
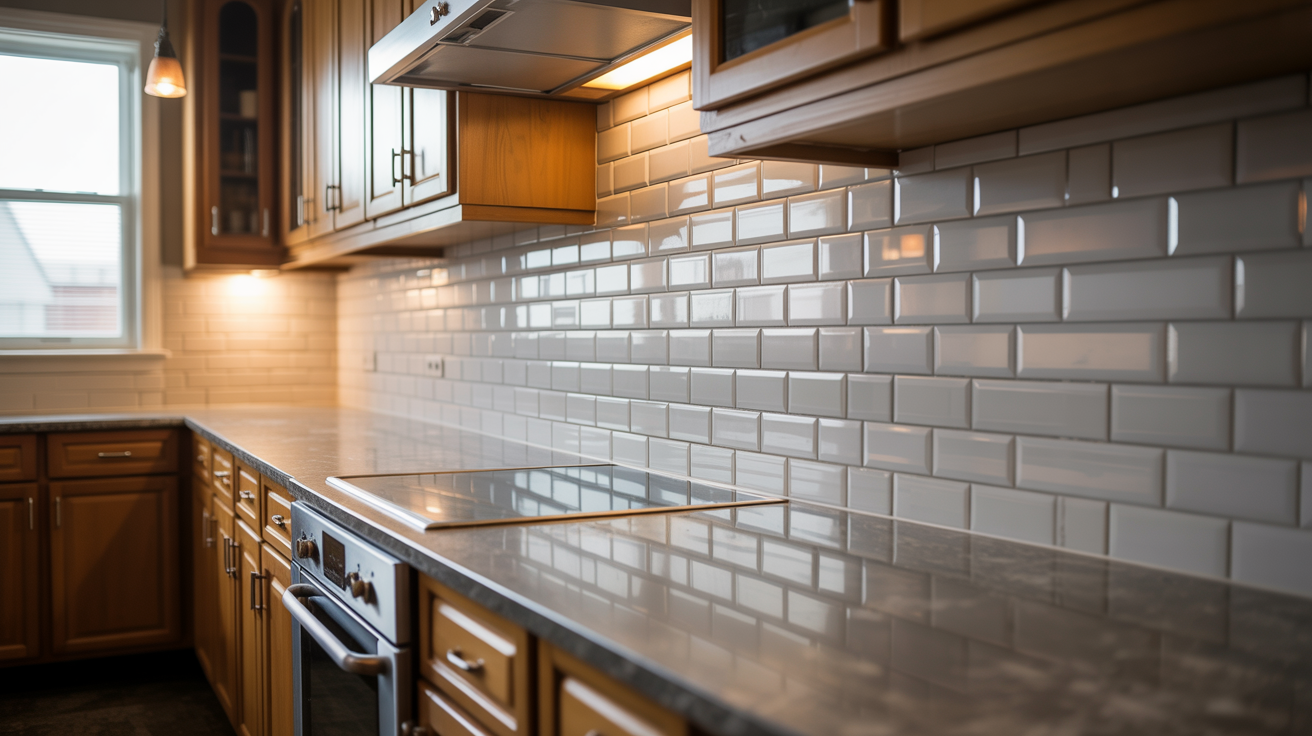
Align with Base Cabinets
End your backsplash in line with your lower kitchen cabinets. This creates visual balance that feels right when you look at it.
The proportions work. Your eye follows the cabinet line naturally. This method works especially well when your cabinets and counters aren’t perfectly aligned.
The backsplash looks considered and intentional, not like you ran out of tile halfway through.
Use Upper Cabinets as a Guide
Extend the backsplash from the countertop to the upper cabinet edge to avoid awkward transitions.
Align base cabinets with upper cabinets so the tile flows cleanly without stopping short or hanging past.
End at Pre-existing Lines or Transitions
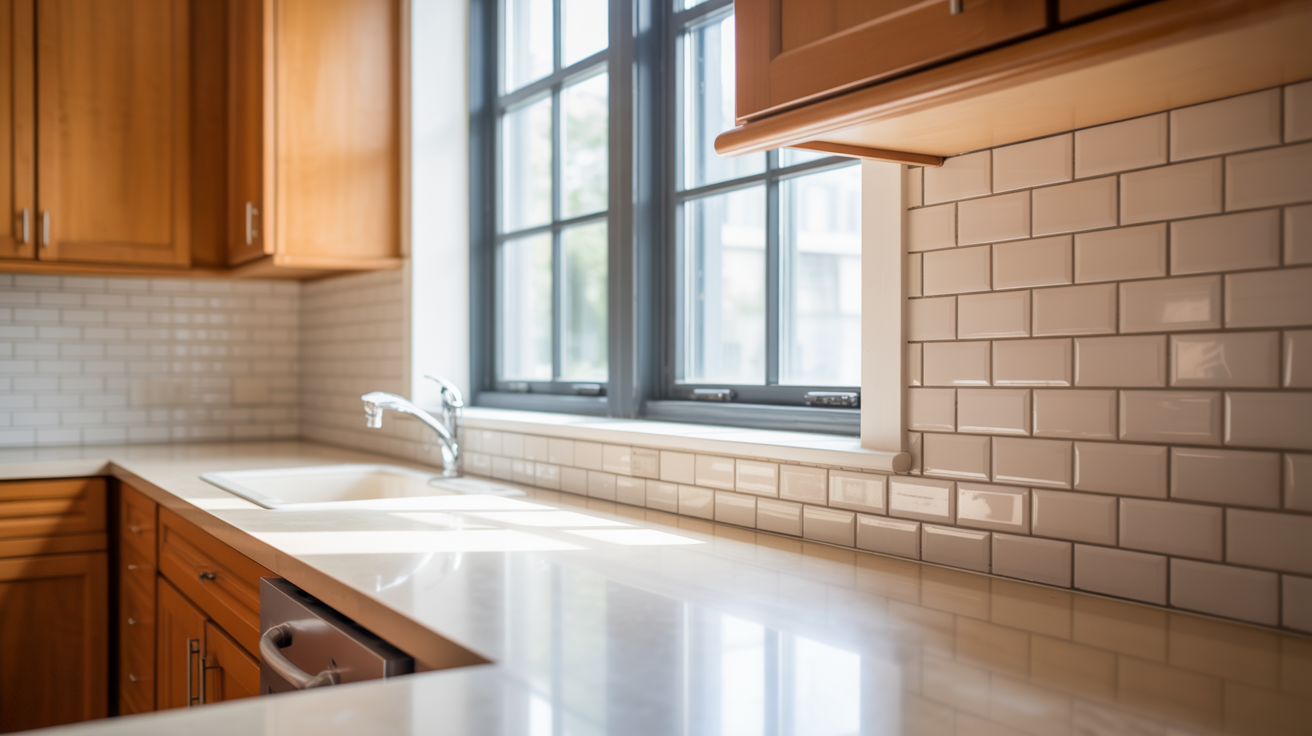
Your wall might already tell you where to stop. Look for natural vertical lines.
Windows, door frames, and architectural details create breaks. Match your cabinets and countertop designs to end at the same line. This creates a cohesive appearance that looks planned from the start.
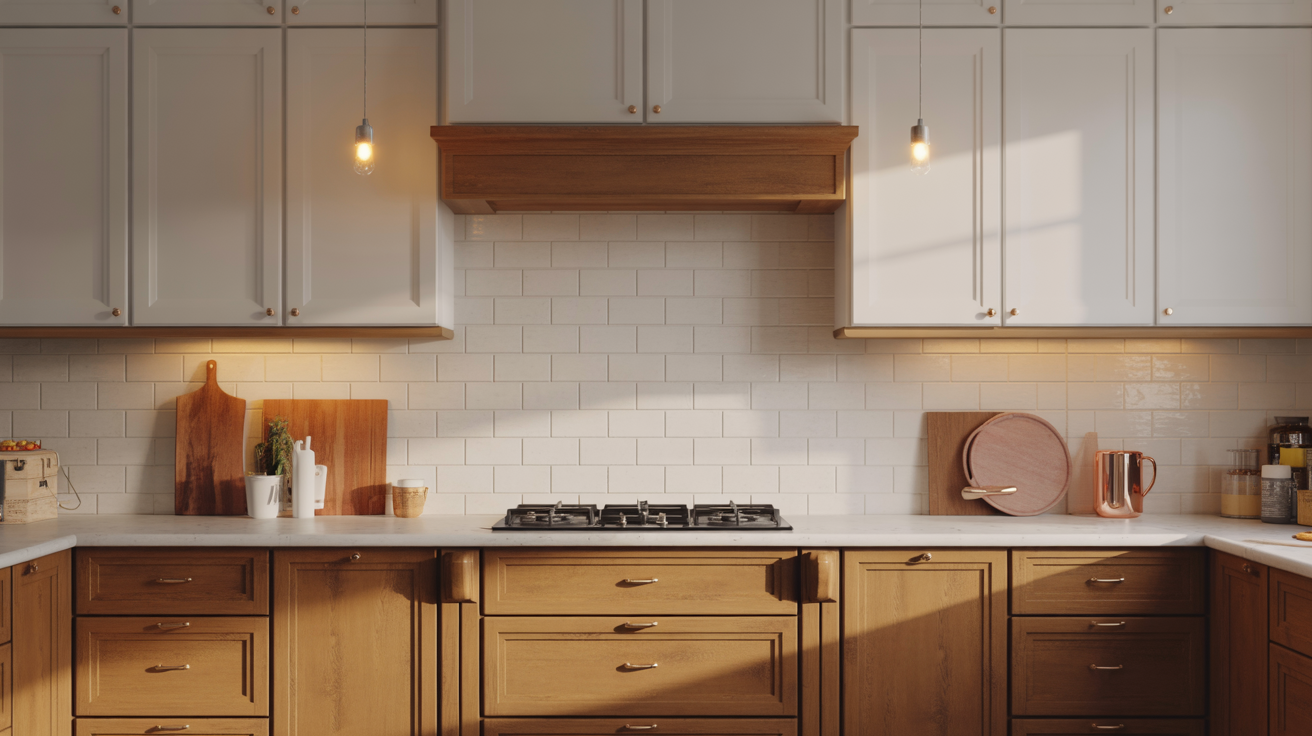
Terminate at Countertop Edge
Some people keep it simple. They extend the backsplash only to the bottom of the countertop.
This makes sense functionally. Backsplashes primarily protect walls from countertop spills. Why go higher if you don’t need to? This minimal coverage approach saves money and materials while still doing the job.
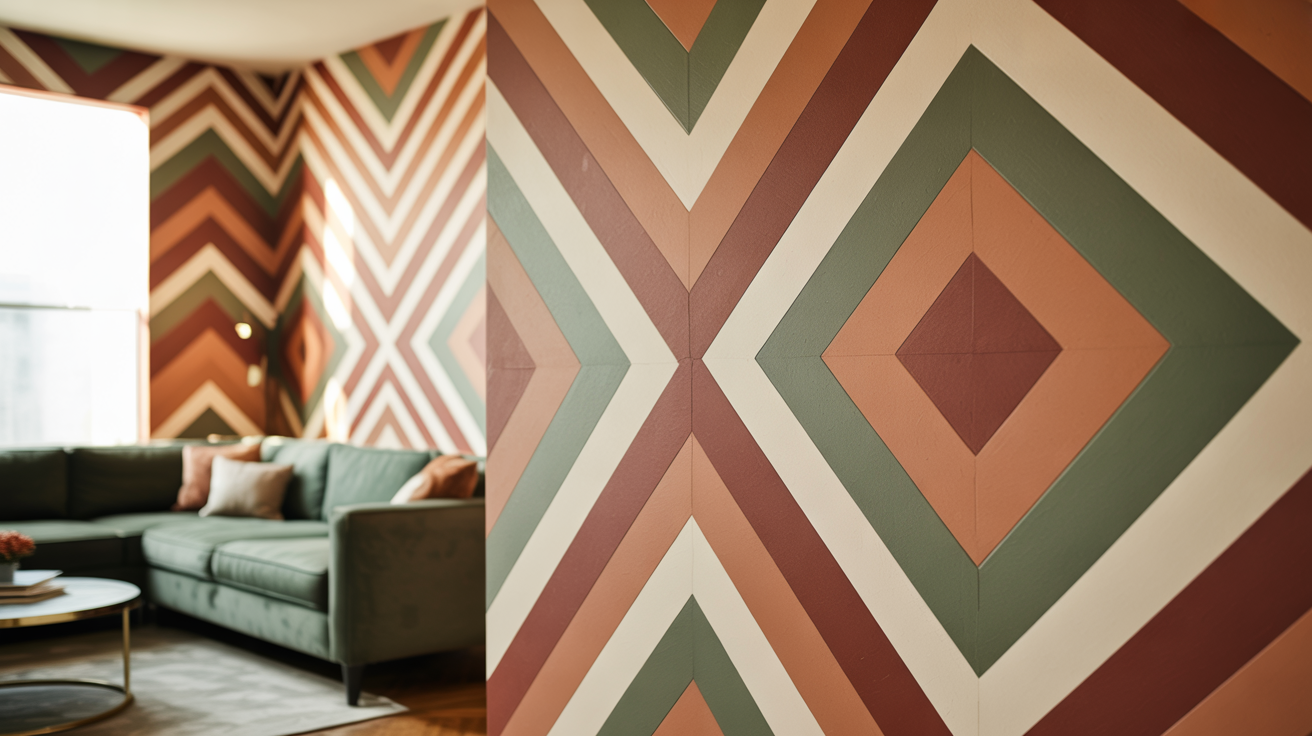
Extend to the Ceiling
For kitchens without upper cabinets, consider full-wall backsplash coverage. Ceiling-height tile creates a modern look and removes the need for wall paint, hiding any surface imperfections.
Choose a tile design you truly like since it will dominate the space. Define clear edges on the sides to create intentional boundaries and a polished appearance.
Align with Lower Cabinets and Extend Up
Start your alignment at the lower cabinets. Then extend all the way to the ceiling.
This method works great for open-concept kitchens. It demarcates the kitchen boundary without building actual walls. You create a clear spatial definition that separates the cooking space from the living areas.
End at an Inside Corner
Corners are your friend. They provide natural transition areas that feel right.
Professional designers recommend this method frequently. It’s ideal for switching from one material to another.
If your kitchen has a sidewall that meets the countertop, try ending your backsplash there. The corner hides the transition better than any trim piece can.
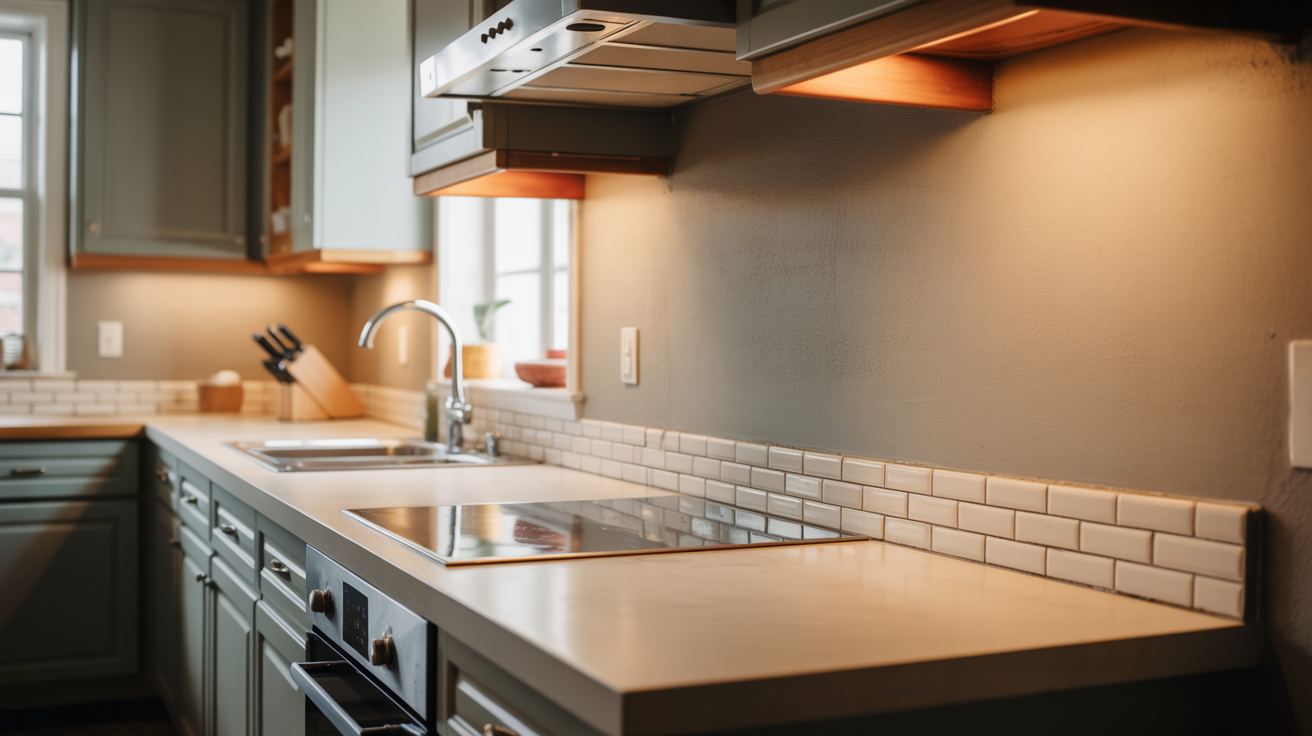
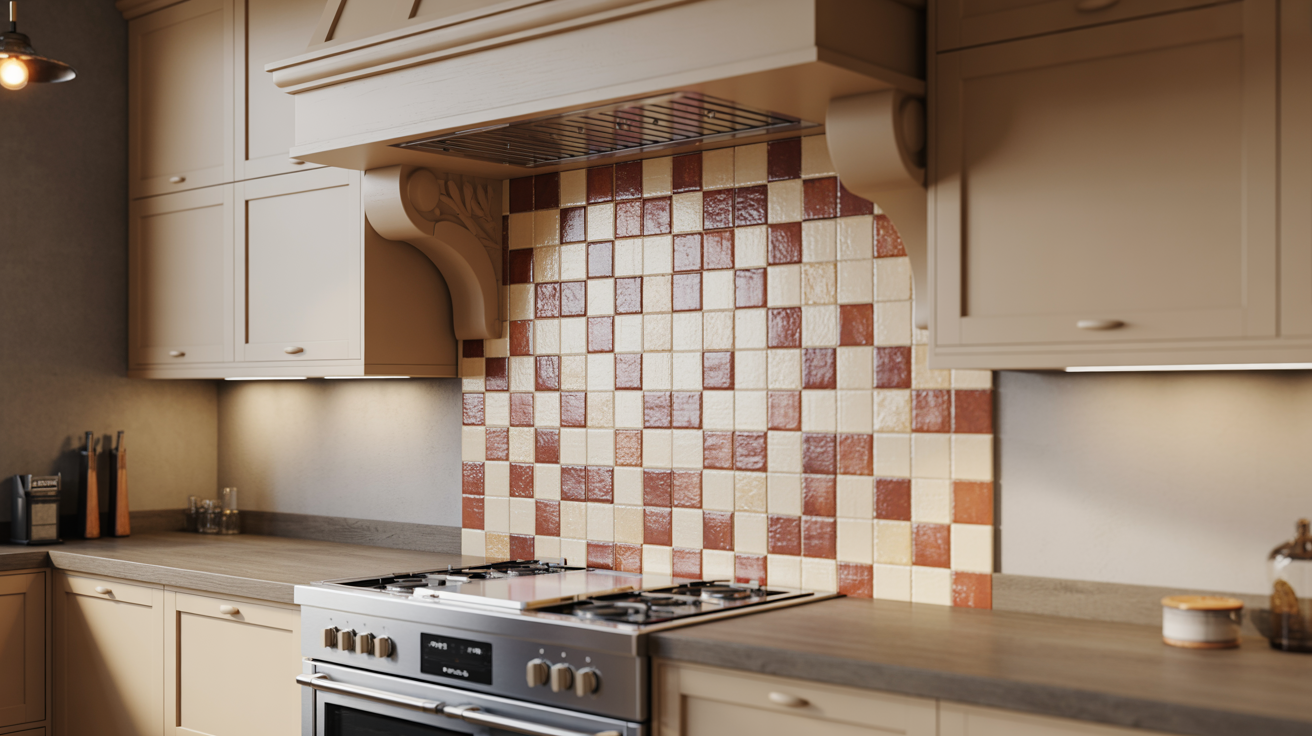
End at Countertop Behind Stove Only
Working with a tight budget? Install a backsplash exclusively behind your stove.
The design should cover only where the stove sits, not an inch more. This requires a bold, eye-catching tile since it’ll be the focal point.
Select materials that prevent food stains from reaching your walls. Get creative with this approach, because the limited coverage makes every tile count.
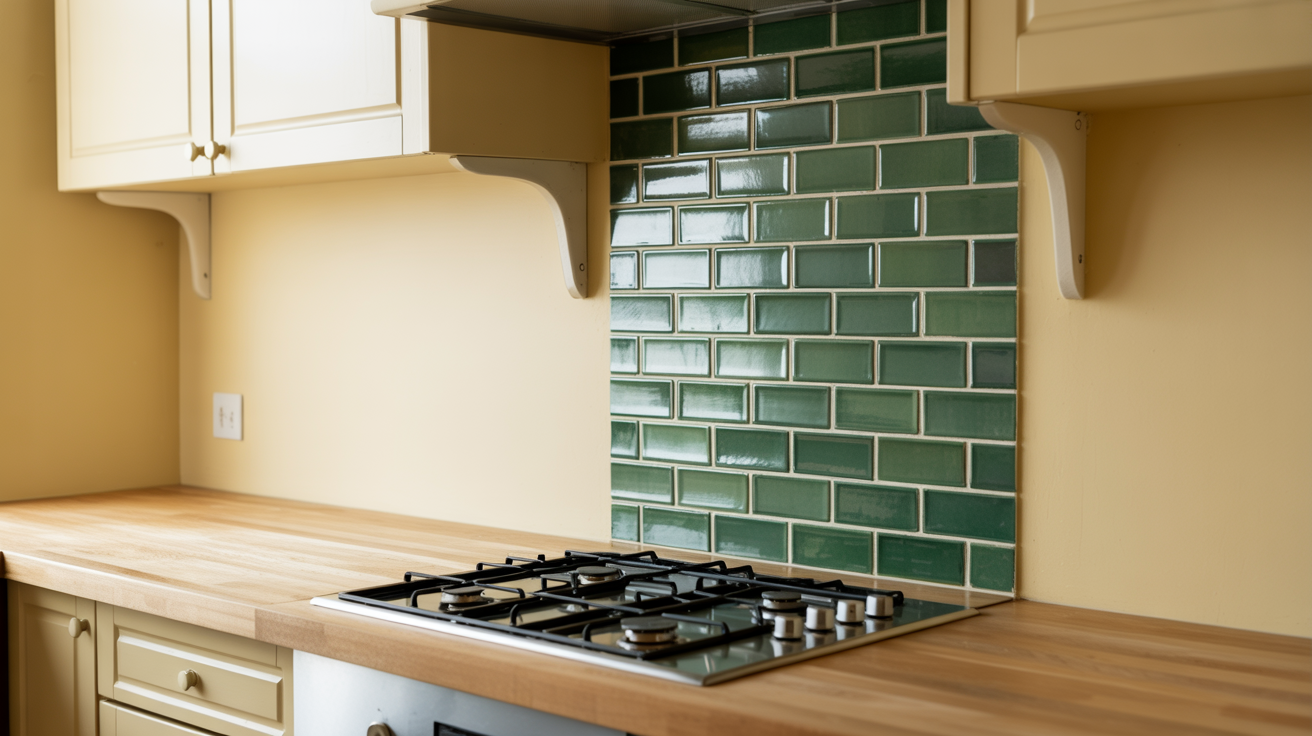
Create a Feature Wall Behind the Range
Extend the backsplash from the counter to the ceiling only behind the stove. This highlights the cooking zone and turns it into a clear focal point. The rest of the wall stays simple and clean.
Limiting coverage lets you invest in better materials. Handmade ceramic or natural stone becomes affordable when you tile a smaller area. You get high impact without overspending.
Stop at Open Shelving Height
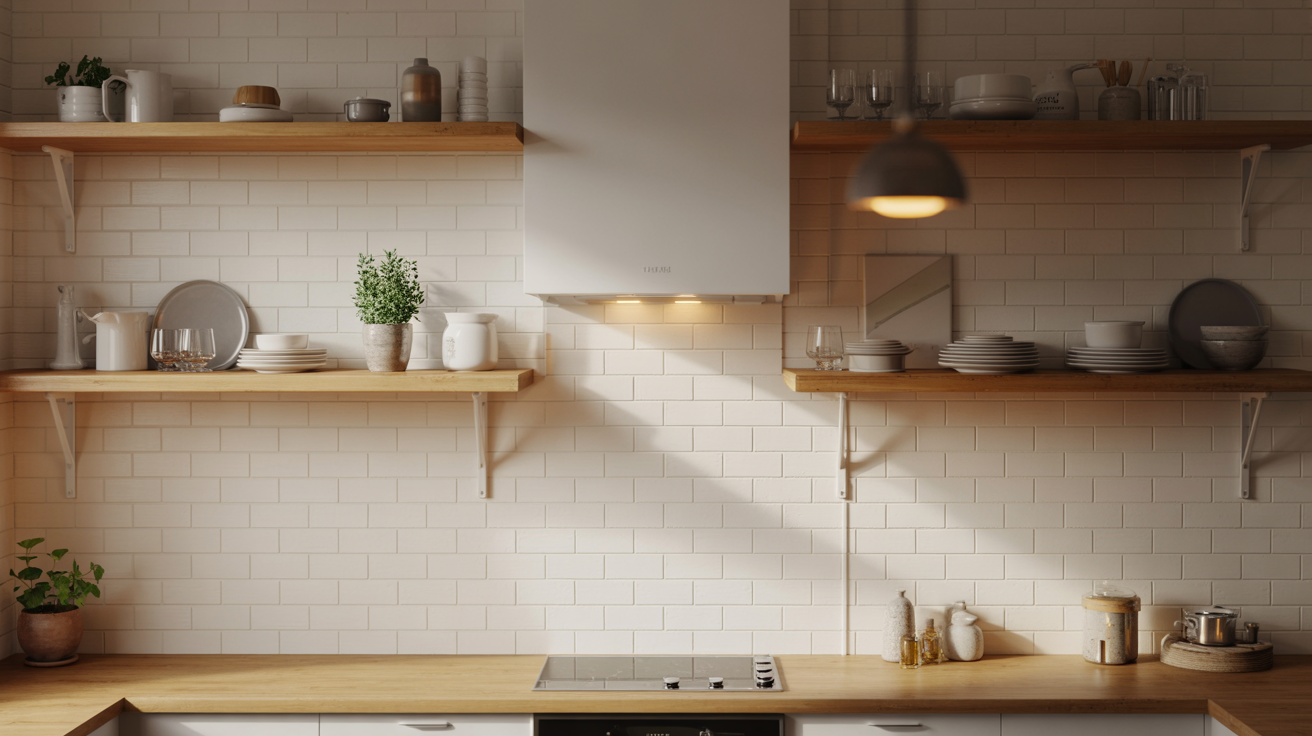
End the backsplash at the same height as floating shelves or open storage. The shelving creates a clear horizontal line that naturally defines where the tile should stop.
This keeps the layout intentional and balanced.
This approach works especially well in minimalist kitchens. The backsplash supports the shelves visually without overpowering them.
It also prevents the awkward look of the tile stopping randomly on an open wall.
End Where Appliances Meet the Wall
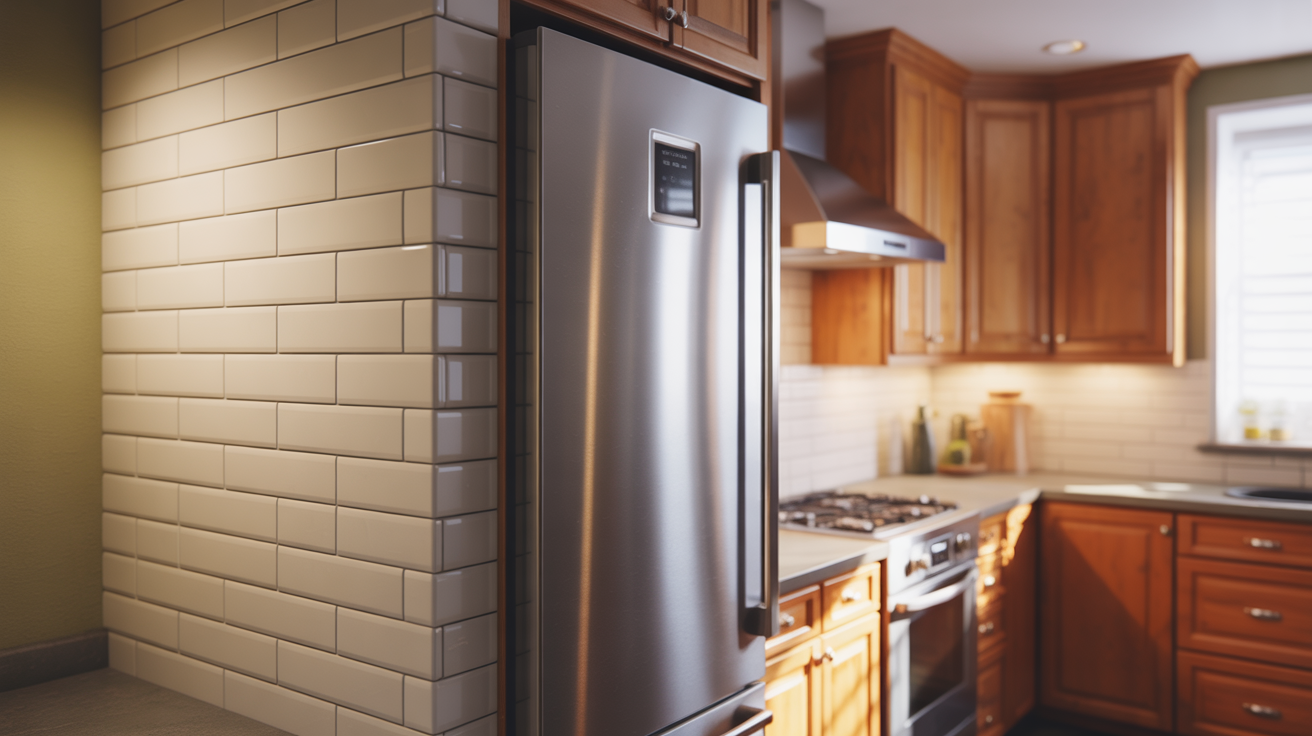
Use major appliances like the refrigerator or range to set the backsplash endpoint. Stop the tile where the appliance edge meets the wall to create a clean vertical finish.
This keeps the transition logical and visually neat.
This method frames key work zones naturally. The appliance itself acts like a built-in trim, so no extra edge finishing is needed. It gives the kitchen a polished and intentional look.
Materials and Finishing Techniques
How you finish the edge matters as much as where you end it. Let’s look at your options.
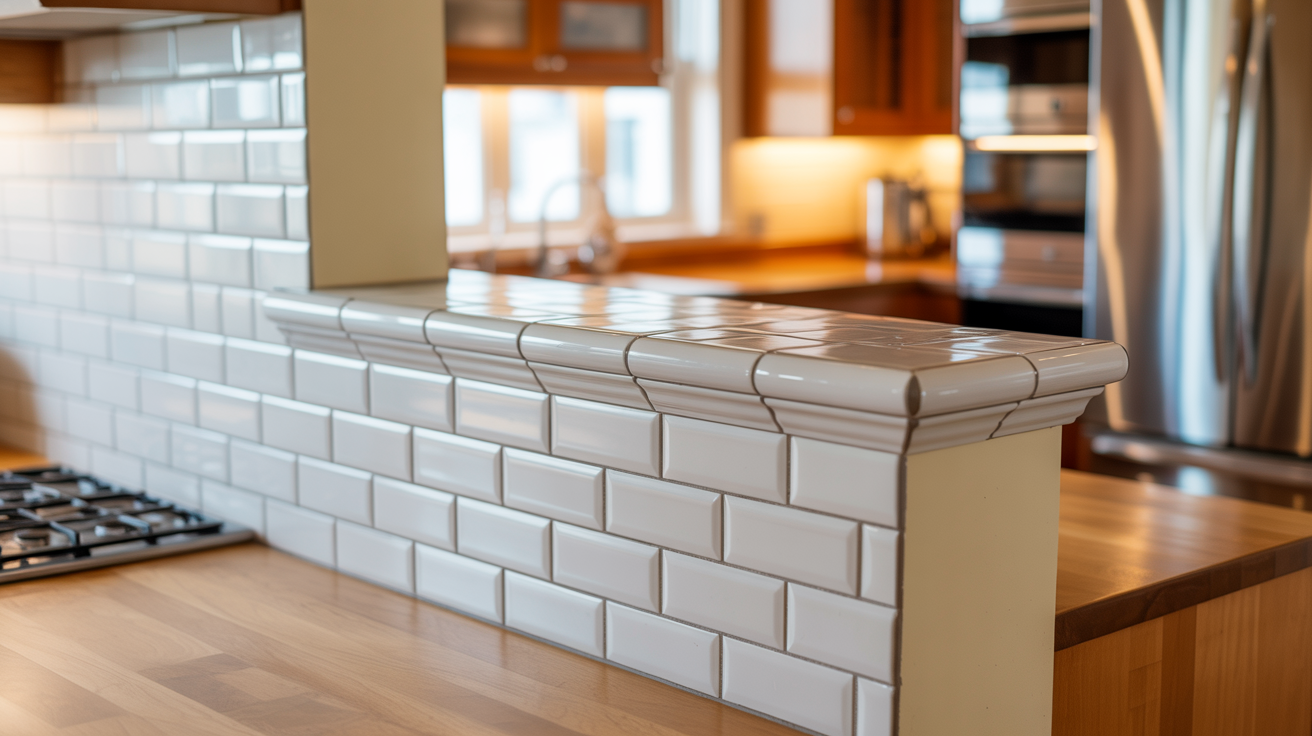
- Bullnose Tile Edging: Rounded tiles match your main tile and can line edges and tops for a neat finish, with options for multiple rounded edges.
- Schluter Trim Systems: Plastic or metal C-channel trims provide clean, solid edges without grout lines, available in various colors and sizes.
- Decorative Trim Pieces: Quarter-round or pencil liner tiles hide uneven surfaces, reduce prep work, and suit classic designs with marble or ceramic options.
- Metal and PVC Trim Options: Aluminum, steel, and PVC trims come in multiple profiles and finishes, offering flexible, smooth, and modern edge solutions.
- Mitered Tile Edges: Angled 45-degree cuts form sharp, custom corners, ideal for thicker tiles like zellige, requiring precision or professional help.
- Caulking Method: Beginner-friendly DIY using painter’s tape and caulk for clean, straight backsplash edges without specialized tools.
Installation Tips and Best Practices
Let’s make sure your installation goes smoothly. Small details make big differences.
- Hire a pro for complex tile work like mitered edges or Schluter systems, and decide edge finishes early so materials and layout are planned correctly.
- Measure tile thickness, get the right trim sizes upfront, and double-check all measurements before mixing mortar to avoid costly delays.
- Plan your design carefully by measuring, buying 10 percent extra, and mocking up layouts with tape or cardboard to catch issues early.
- Think through layout stopping points by considering sight lines, focal walls, and existing features, then review mockups from multiple angles.
- Avoid common mistakes like awkward backsplash endings, misaligned cabinets, mismatched trim, and skipping painter’s tape for clean caulk lines.
Conclusion
You now understand how to finish a backsplash on open wall areas without second-guessing. Clean alignment with cabinets, bullnose tile edges, or trim systems helps define a clear stopping point. These choices make the end feel planned instead of random.
The right option depends on your kitchen layout, budget, and personal taste. Simple solutions like careful caulking or straight alignment work well for many spaces. Other finishes, such as borders or extending countertop material, add visual interest without looking forced.
There is no single solution for every kitchen. What matters is choosing a method that suits your space and looks intentional. A well-finished backsplash ties the room together and avoids awkward transitions. Pick the approach that fits your layout and move forward with confidence.
Frequently Asked Questions
How do you end a backsplash on an open wall?
You can end a backsplash by aligning it with base or upper cabinets, using bullnose tiles for rounded edges, installing Schluter trim for clean lines, or ending at an inside corner. Choose based on your kitchen layout and desired appearance.
What is the cheapest way to finish a backsplash edge?
Caulking is the most affordable method. Apply painter’s tape along the tile edge, run a bead of caulk, smooth it with your finger or tool, then remove the tape. This creates a clean finish for under ten dollars.
Should the backsplash align with the upper or lower cabinets?
Align with lower cabinets for the most balanced look. If upper and lower cabinets don’t line up, stop the backsplash at the upper cabinet edge. Never extend the backsplash past the upper cabinets on open walls, as it looks unfinished.
What is a Schluter trim for backsplash?
Schluter is a metal or plastic channel trim where tile edges slip into to create a clean finish. It comes in various colors and profiles, eliminating grout lines while providing a professional edge. Work with your installer to select the correct size.
Can you end a backsplash in the middle of a wall?
Yes, but use a finishing method like decorative tile borders, bullnose edges, or trim pieces to make it look intentional. Ending abruptly without finishing looks incomplete. Creating a defined border or frame helps the transition appear planned and professional.