Nothing ruins Christmas morning faster than finding your garland on the floor with needles everywhere.
I have dealt with that disappointment more times than I can count, and it always feels frustrating after all the effort of decorating.
Most hooks are not strong enough for a real garland. They either give out overnight or push you to use nails that leave marks behind. For renters, that damage can mean stress and lost deposits.
After years of trial and error, I found methods that truly work. The right hooks can hold heavy garland and still come off clean later. This guide explains different hanging options, how many to use, and where to place them.
I tested each approach on smooth paint, textured walls, and tricky surfaces so you can decorate with confidence and enjoy the season without cleanup worries.
Understanding Garland Weight and Wall Protection
The right hanging method starts with understanding why most attempts fail. Regular hooks can’t support the weight of the garland, leading to crashes and messes on the floor. Standard hooks are made for lightweight frames, not heavy greenery.
Regular hooks may seem fine at first, but they often fail. Garland can fall unexpectedly, spreading cedar flakes and ornaments across the carpet. The frustration isn’t just the cleanup, it’s finding a solution that actually works.
A damage-free method protects your walls now and later. It leaves no permanent holes, keeps paint intact, removes easily, and leaves no residue.
The best methods disappear after the holidays, making your walls look exactly like they did before decorating.
Best Methods to Hang Garland Without Damaging Walls
These five methods actually hold the garland securely without nails, holes, or paint damage. Pick the one that matches your garland weight and wall type.
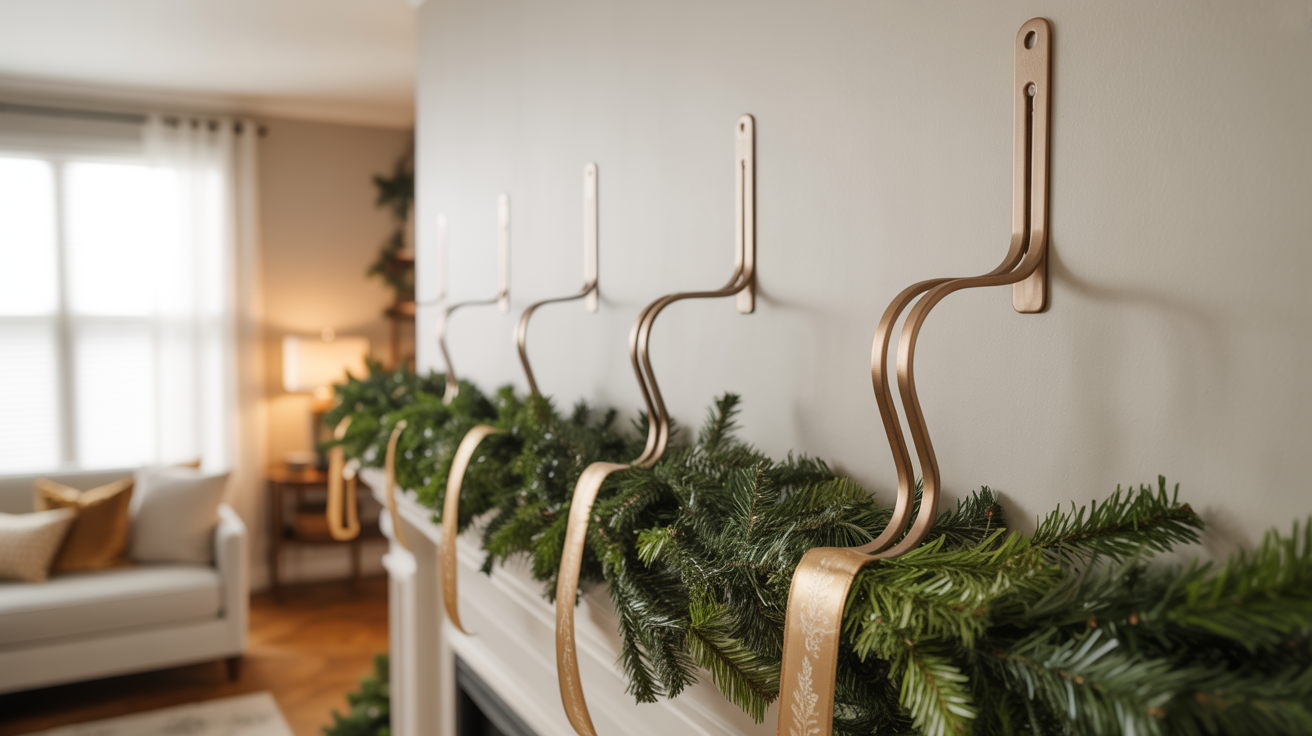
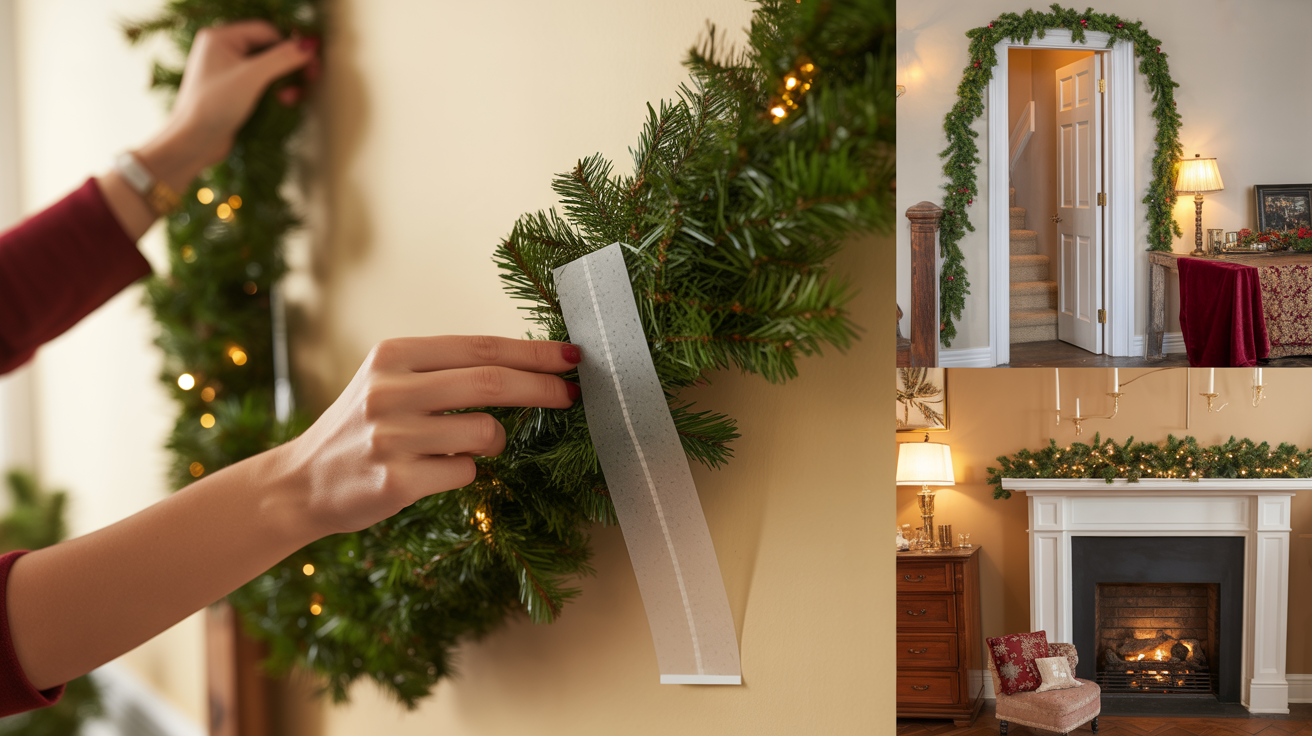
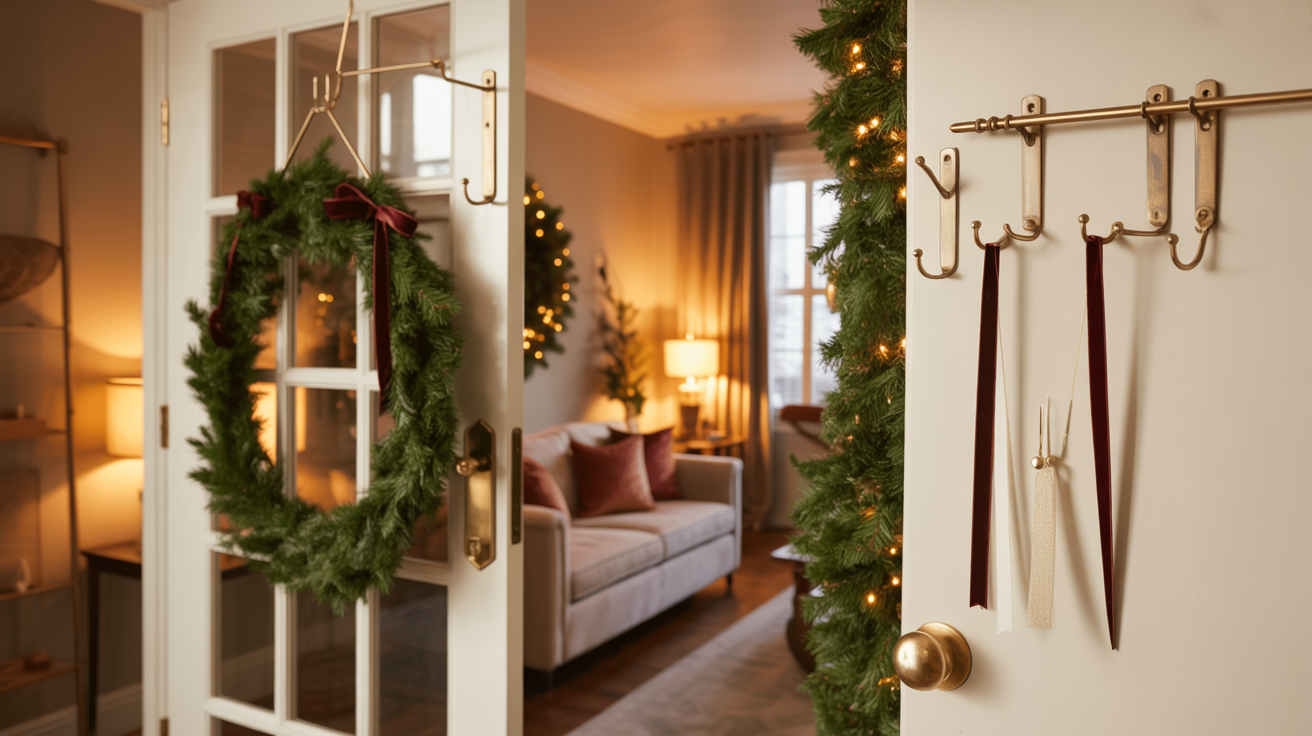
Command Hooks Method (Best for Heavy Garland)
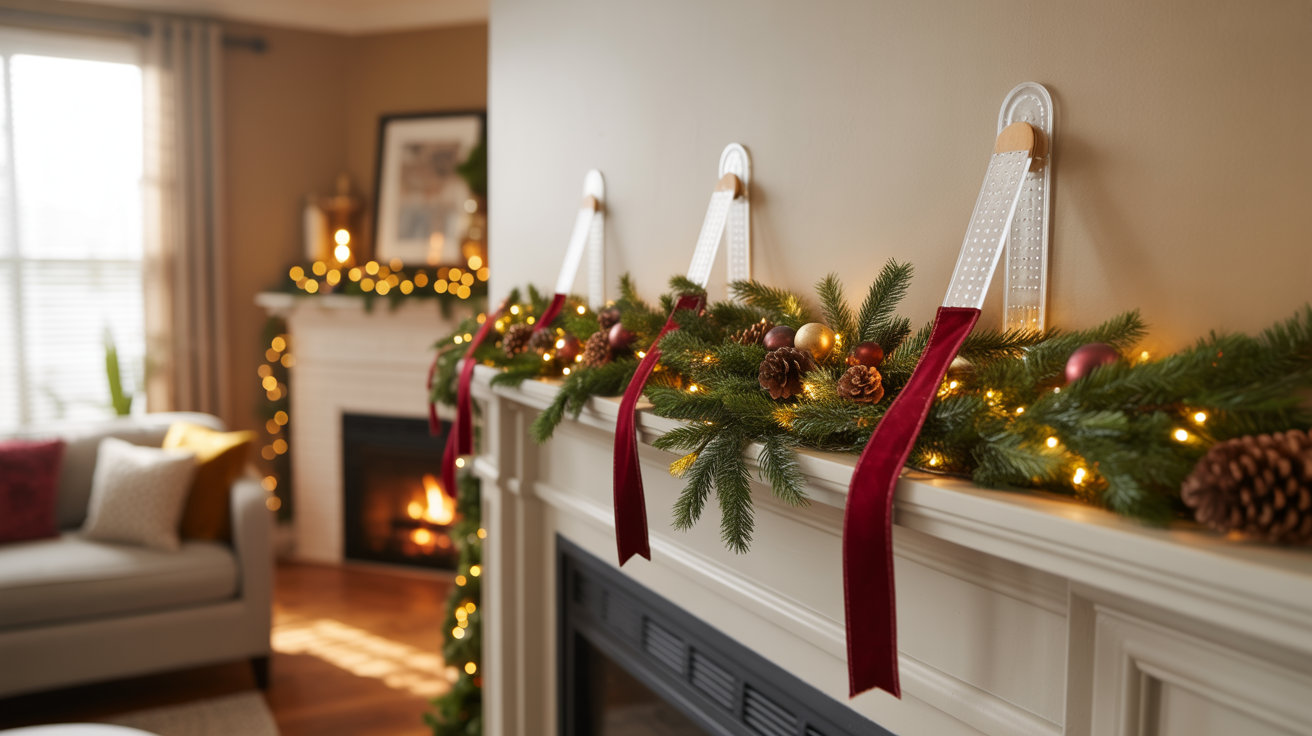
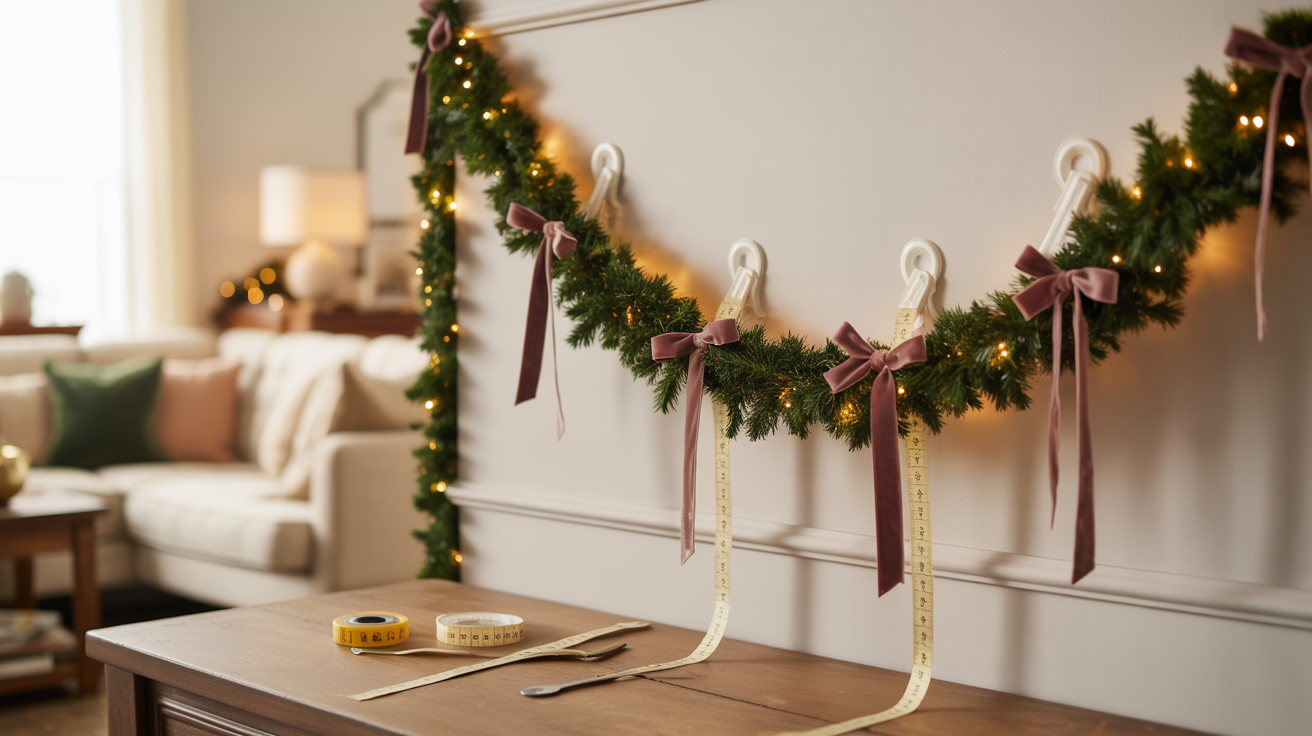
Command hooks are my most reliable option for hanging garland. Heavy-duty versions hold real weight without nails and remove cleanly without damaging paint. I have reused the same hooks for years, and my walls still look untouched.
Use at least three hooks for arches and add more for a fuller garland.
Proper installation matters: clean the surface, follow the instructions exactly, and wait the full hour before hanging. Even spacing with center support keeps the garland secure and sag-free all season.
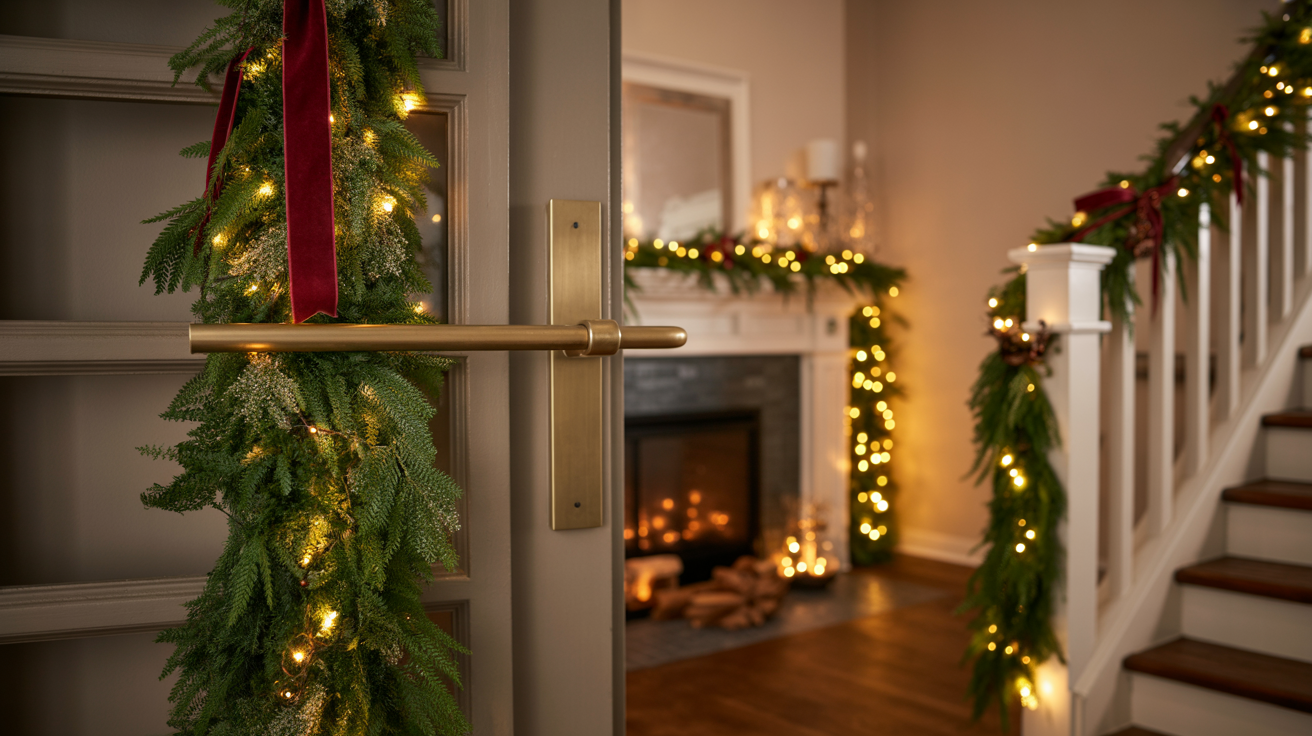
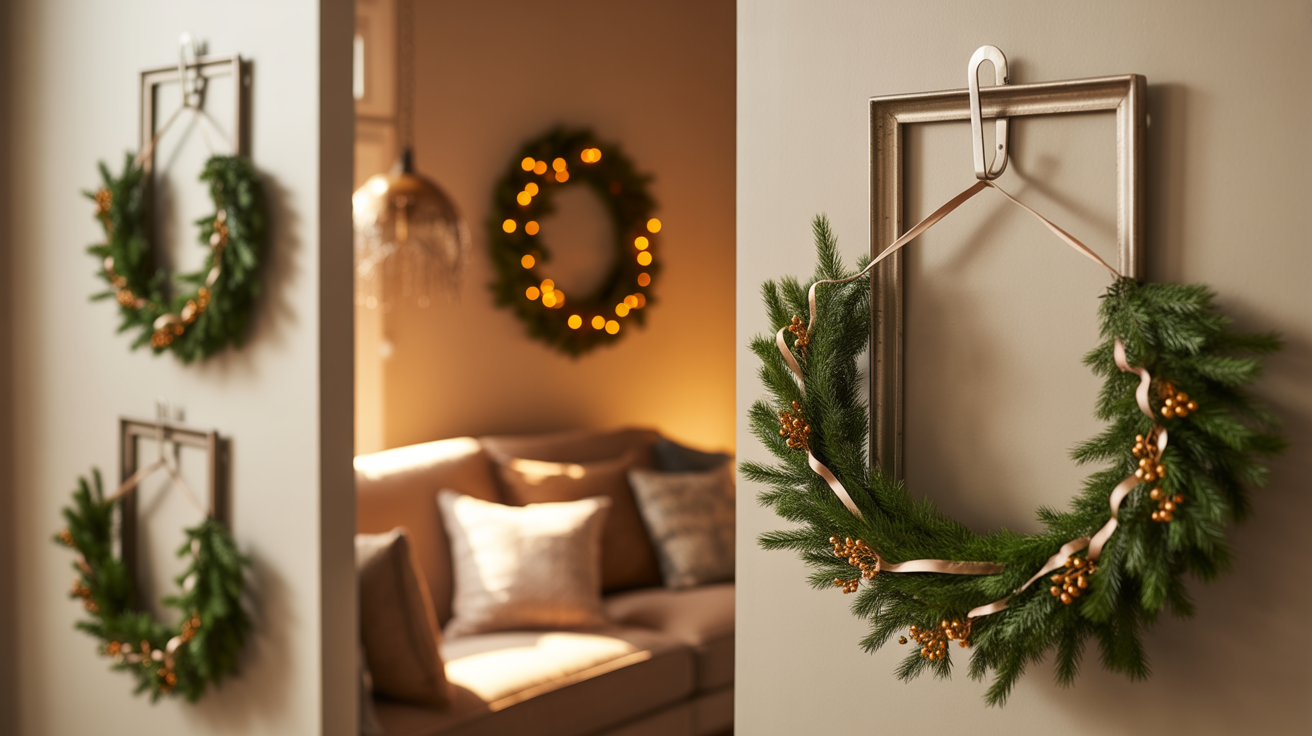
Adhesive Hook Method for Light to Medium Garland
Regular adhesive hooks are a good choice for a lightweight garland without heavy ornaments. They work well on doors, walls, stairs, and even mirrors, and clear versions stay nearly invisible. They also allow easy repositioning while you adjust the look.
Clean the surface first, then apply hooks at even intervals to distribute weight. On stairs, attach hooks along the handrail and use extra garland length for soft draping. Add support at the middle and ends to prevent sagging.
Nylon Fishing Line Method (Nearly Invisible)
Fishing line works because it’s nearly invisible, strong, and doesn’t touch your walls or paint directly.
It supports garland without visible hardware and adapts easily to walls, mantels, doorways, or staircases. Once fluffed, the line completely disappears.
For stairs, tie the line securely at both ends and add a center tie for graceful draping, then hide it with foliage.
On walls, attach nylon to adhesive hooks and thread it through the garland every 12–18 inches. Adjust tension until the swag looks balanced and natural.
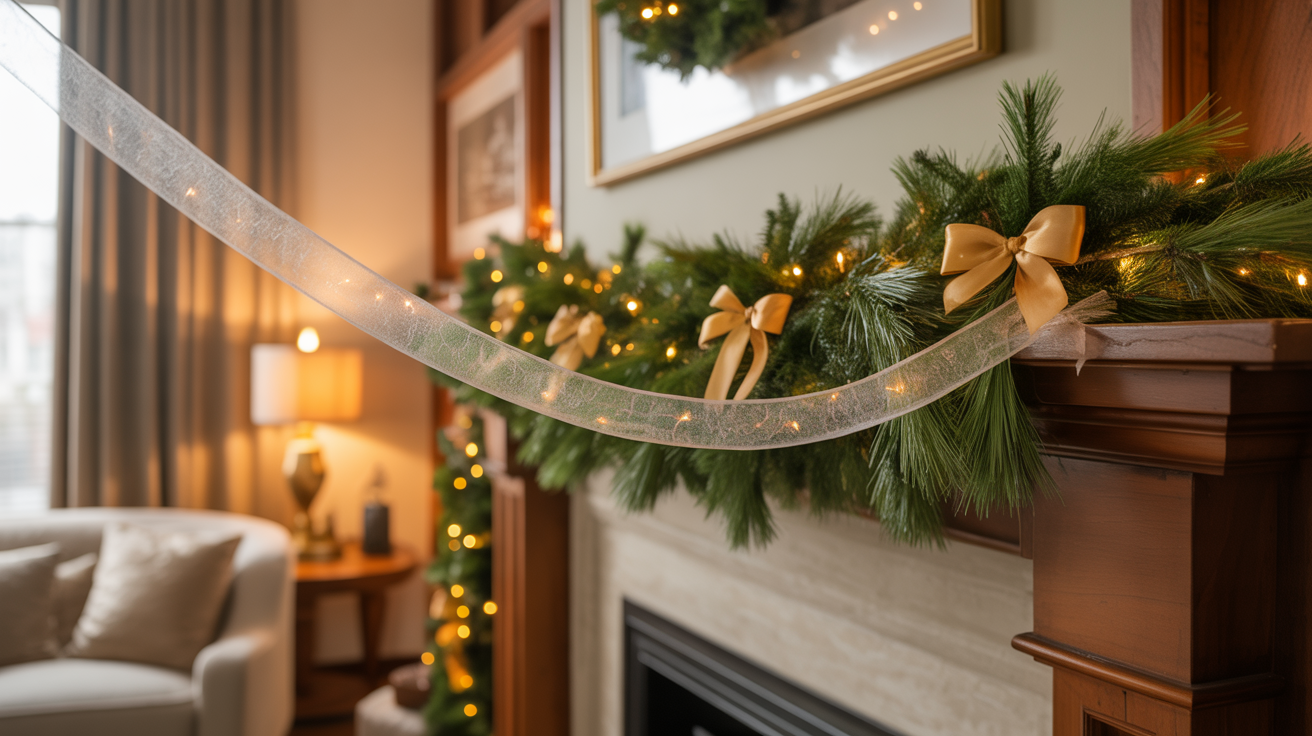
Ribbon and Twine Method (Decorative and Functional)
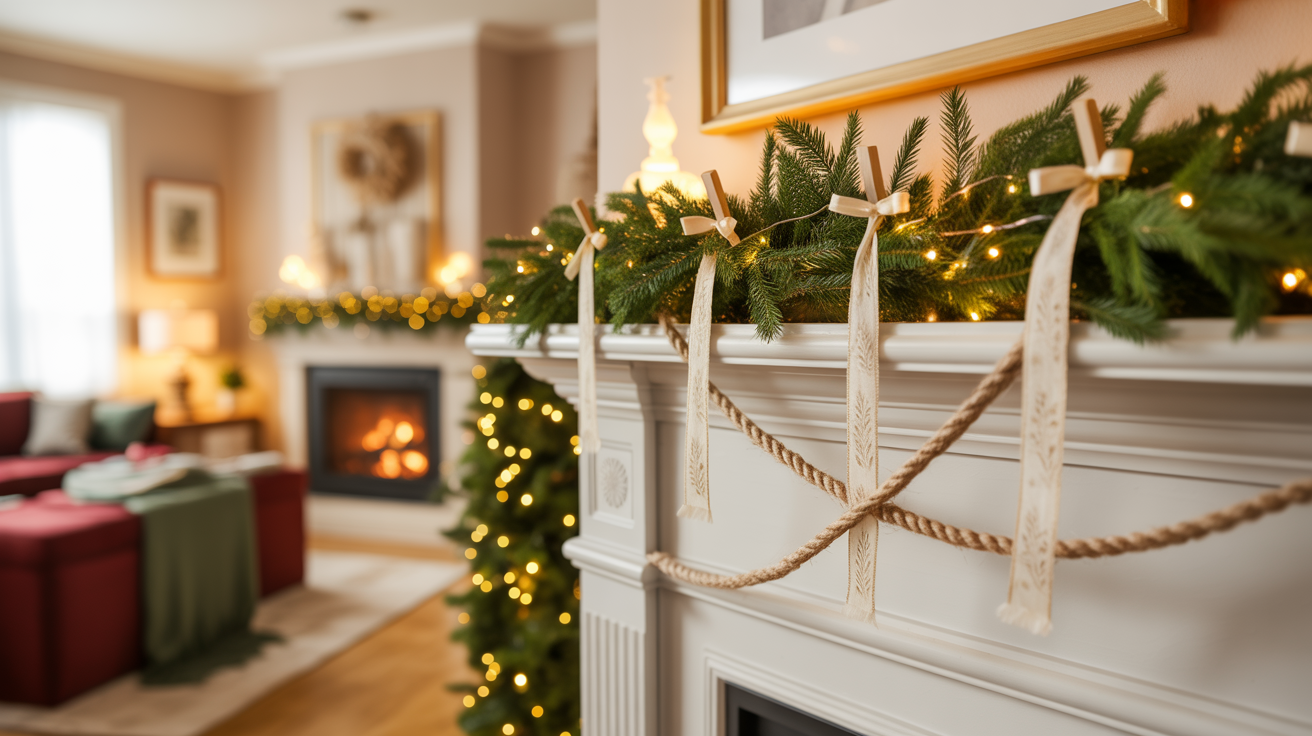
Ribbon works when you want the hanging method to double as decoration. It suits lighter garland and adds style, whether you choose velvet, satin, or rustic twine.
The ribbon becomes part of the overall Christmas look instead of something to hide.
Install by looping ribbon through the garland and tying it to hooks or fixtures, not using ribbon alone for support.
Space ties evenly and uses tight, neat knots. Choose wide ribbon for heavier garland, narrow ribbon for light pieces, and weather-resistant options outdoors.
Garland Hangers (Purpose-Built Solution)
Garland hangers are made specifically for hanging garland, so there’s no guessing or improvising.
They use spring tension instead of adhesive or nails, making them damage-free and easy to adjust. The design works especially well on mantels, door frames, and other flat edges.
Installation is quick: fit the hanger to the width, loop the garland evenly, and fluff to hide the hardware.
They hold all season securely and leave no marks when removed. I use them on my mantel every year because they’re fast, reliable, and foolproof.
Clear Tape for Lightweight Garland
Clear tape can work on smooth walls for a very light garland. This method is best for a simple artificial garland with no added decorations or weight. It’s a quick solution for short-term displays.
For better hold, apply hot glue on top of painter’s tape instead of directly on the wall. The tape protects the paint while the glue grips the garland. Remove slowly at an angle to prevent damage.
Tension Rods for Doorways
A tension rod fits snugly inside a doorframe without nails or adhesive. You twist it to expand, and it holds itself in place through pressure alone. The adjustable width makes it easy to fit different doorway sizes.
Once installed, simply drape garland over the rod in your preferred style. When the season ends, remove it in seconds with no damage. Your doorframe stays clean and untouched.
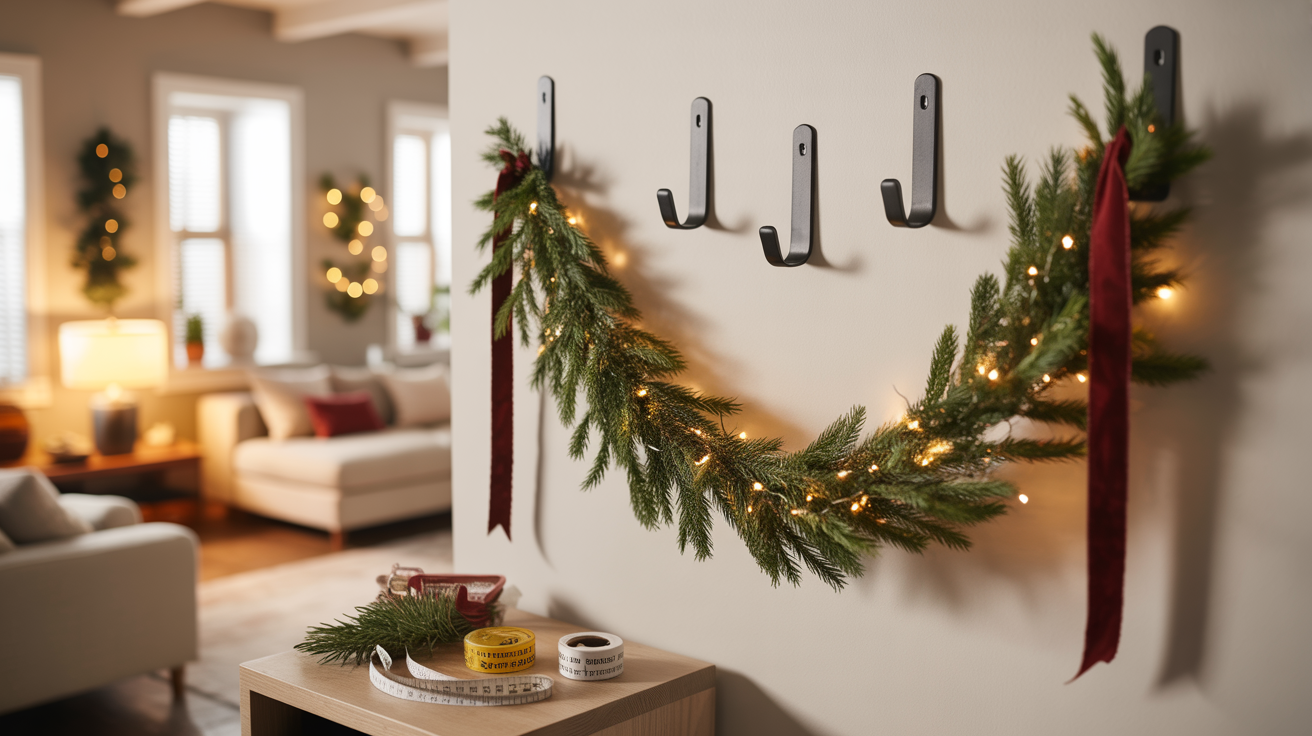
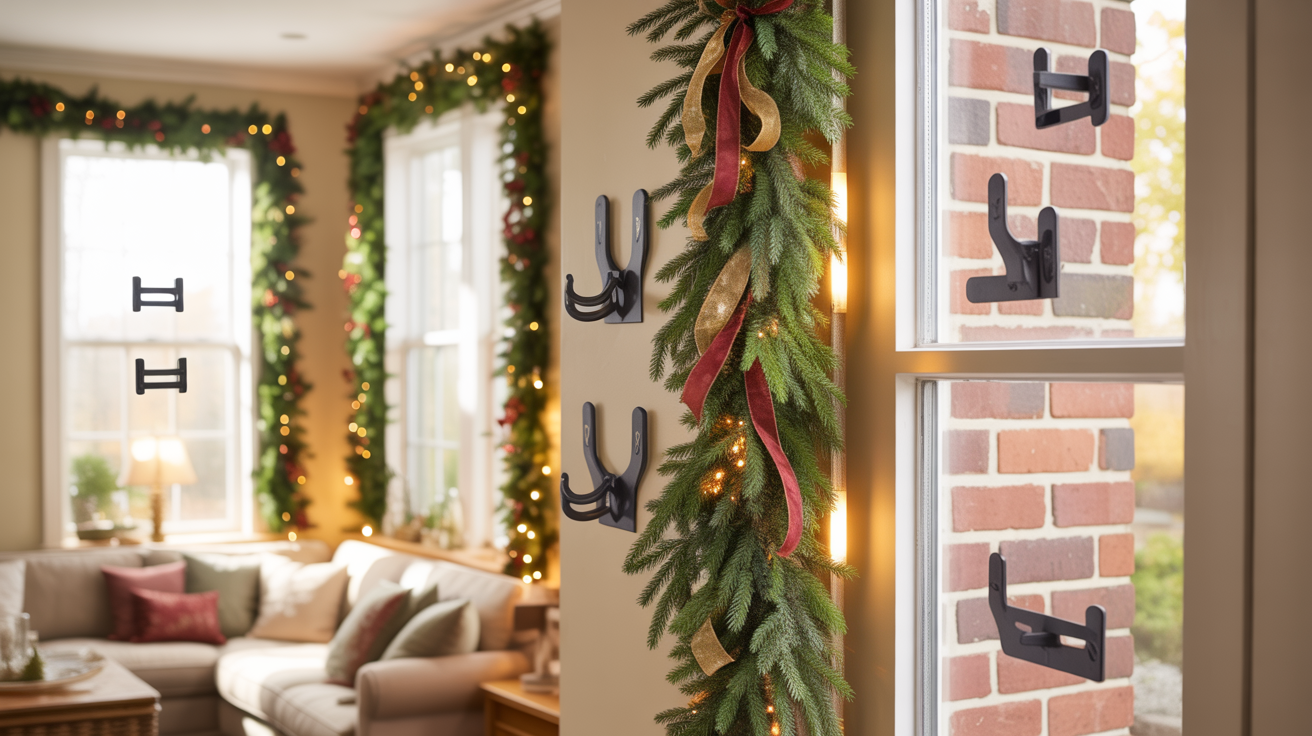
Existing Wall Fixtures
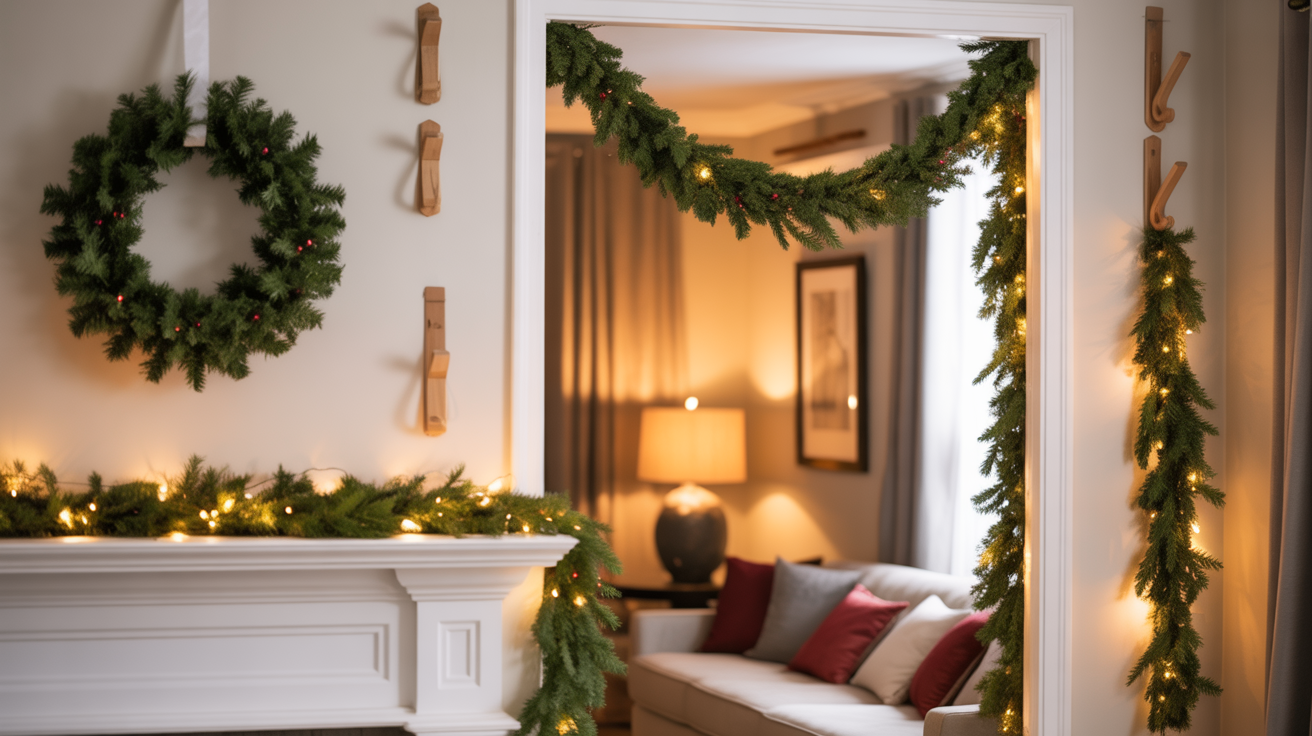
Before buying new hardware, look at what’s already installed on your walls. Wall hooks, curtain rod brackets, and wall sconces can often support garland without adding anything new. Even existing Command strips behind frames can be adapted with hooks.
I always scan the room first before shopping. Reusing what’s already there saves money, avoids extra wall damage, and keeps decorating simple and efficient.
Over-the-Door Hangers (No Installation Required)
Over-the-door hangers hook directly over the top of your door without any installation. They’re made for standard doors and distribute weight evenly across the door edge.
The adjustable height lets you position the garland exactly where you want it.
Simply slip the hanger over the door, adjust the height, and hang your garland. Some versions work on double doors or have multiple hooks for layered displays.
Remove them in seconds without touching your door or walls at all.
Magnetic Hooks (For Metal Surfaces)
Magnetic hooks work perfectly on metal doors, filing cabinets, or metal door frames. They hold surprisingly strongly and move easily if you need to adjust placement. No adhesive means zero risk to any surface.
Choose hooks rated for the weight of your garland, usually 5-10 lbs for standard options. Place magnets at even intervals and hang garland directly, or use them as anchor points for fishing line. They pull off instantly with no trace.
Gutter Hooks and Brick Clips (For Outdoor Garland)
Gutter hooks clip onto standard rain gutters without the need for tools or hardware. Brick clips grip brick edges mechanically, perfect for rough surfaces where adhesive fails.
Both options handle outdoor weather and heavier fresh greenery.
For gutters, simply slide hooks onto the edge and hang garland. For brick, position clips to grab mortar lines or brick edges, then attach garland.
Both remove cleanly when the season ends without damaging exterior surfaces.
What NOT to Do When Hanging Garland
Learning from mistakes is smart. Learning from my mistakes is smarter.
- Avoid wall-damaging fasteners: Nails, pushpins, duct tape, and harsh adhesives leave holes, residue, or peel paint.
- Prep mistakes cause failures: Skipping surface cleaning or rushing installation ruins adhesion and wastes hooks.
- Overloading is a common error: Exceeding weight limits guarantees sagging or falling garland.
- Surface matters: Adhesive hooks and clear tape fail on textured, rough, or brick surfaces.
- Wrong method for the load: Thin fishing line snaps under heavy weight, and ribbon stretches and droops over time.
Tips for Different Wall Types
Your wall type determines which methods work best. Not all walls behave the same way.
- Smooth painted walls: Ideal for adhesive hooks. Clean with rubbing alcohol first and choose hooks based on the garland’s weight.
- Textured or rough walls: Adhesive may fail. Try larger hooks or use tension methods like fishing line or tension rods.
- Test before committing: Place one hook in a hidden spot to check adhesion on tricky surfaces.
- Brick walls: Adhesive won’t hold well. Use brick clips or tie fishing line to existing fixtures instead.
- Wallpapered walls: High risk of damage. Hang from existing hooks or ceiling points, or use ribbon for safety.
Removal and Storage Tips
Taking decorations down properly means an easy setup next year. Rush this step, and you’ll regret it.
- Remove Command hooks slowly and exactly as directed by pulling the tab straight down to avoid paint damage.
- Take your time during removal and clean any leftover residue with rubbing alcohol on a soft cloth.
- Store hooks with their backing sheets in a cool, dry place away from heat or cold extremes.
- Check expiration dates before reusing hooks since the old adhesive loses strength.
- Wipe down walls after removal and touch up paint if needed, so surfaces are ready for next year.
Cost Breakdown for Each Method
Budget matters when decorating.
Here’s what each method actually costs:
- Command hooks: $10-25, depending on quantity and weight capacity
- Adhesive hooks: $5-15 for basic sets
- Nylon fishing line: $3-8 per spool
- Ribbon or twine: $5-1,5 depending on length and quality
- Garland hangers: $15-30 for quality spring-tension models
Fishing line or ribbon is cheap, but reusable Command hooks save money over time. Their long-term use often costs less than replacing cheap hooks each year.
Troubleshooting Common Problems
Something went wrong? Here’s how to fix it without starting completely over.
- Hooks falling off usually mean the surface was dirty, too cold, or the adhesive was not given enough time to bond.
- Overloading hooks beyond their weight rating causes failure, especially with heavy garlands.
- Sagging garland happens when there are too few hooks or uneven spacing along the length.
- Long garlands need center support points since end hooks alone cannot prevent drooping.
- If the garland looks uneven, try fluffing and repositioning before adding more hardware.
- Visible hooks can often be hidden by tucking them behind branches or adding extra greenery.
- Use clear or white hooks and place them slightly behind the garland edge to keep hardware out of sight.
Conclusion
You now know how to hang garland on a wall without leaving holes or damaging paint. With the right method, you can decorate confidently and avoid the mess of fallen greenery on the floor.
Strong adhesive hooks work well for heavier garland, while fishing line and ribbon are better for lighter displays. Cleaning the surface, following the steps, and using enough support keep everything in place throughout the season.
These methods work on smooth paint, textured walls, and tricky areas like stairways. Choose the option that matches your wall and garland weight. Your walls stay intact, removal is easy in January, and your security deposit stays safe. If questions come up, ask for help and enjoy decorating without stress.
Frequently Asked Questions
What’s the strongest way to hang garland on a wall without nails?
Heavy-duty 3M Command hooks holding up to 7.5 lbs each work best. Use three hooks for arches (one on each side, one in the middle) or space them every 2-3 feet for long runs. Follow installation instructions exactly and wait one hour for maximum hold.
How do I hang heavy garland without it falling?
Use multiple Command hooks spaced evenly to distribute weight. Don’t rely on a single hook. For extra-full garland, double up hooks at each location. Clean the wall surface thoroughly before applying hooks and follow all installation steps for the strongest bond.
Can you use fishing line to hang garland on walls?
Yes. Transparent nylon fishing line is strong and nearly invisible. Attach adhesive hooks at desired points, tie fishing line to hooks, then wrap the line around the garland sections. This method works great for lighter garland and creates a floating appearance without visible hardware.
Will Command hooks damage painted walls?
No, when removed correctly. Command hooks are designed for damage-free removal. Pull the removal tab straight down slowly according to the package directions. Don’t rush the process. The adhesive releases cleanly without peeling paint or leaving residue on properly painted walls.
How many hooks do I need for wall garland?
For a 6-foot garland, use 3-4 hooks minimum. Space hooks every 2-3 feet along the length. Heavy garland needs more support, add a hook in the middle and at both ends. For arches, use one hook on each side plus one at the top center.