That blank wall at the end of your hallway is wasted space. Every time you walk past it, you know something should be there, but you’re not sure what. An accent wall design turns that forgotten spot into something you’ll actually want to show off.
This guide covers designs that make an impact, as bold paint colors, textured finishes, wood slat installations, wallpaper patterns, and gallery wall setups.
You’ll see what works in narrow hallways versus wide ones, and how to pick a design that fits your home’s style without overwhelming the space.
I’ve changed countless hallways from boring pass-throughs into memorable features. You need ideas from someone who knows what actually looks good in real homes, not just staged photos.
If you want drama, refined style, or something cozy, you’ll find end-of-hallway designs here that are worth copying.
Why an End-of-Hallway Accent Wall Matters?
Hallways are transitions, not destinations. Most people ignore them completely. A simple accent wall at the end changes that instantly.
- Turns wasted space valuable: Hallways feel like empty tunnels without purpose, an accent wall at the end changes that dead zone into a visually appealing feature that makes walking through your home more interesting.
- Creates a visual destination: Long, narrow hallways need a focal point to draw your eye forward. Painting or decorating the end wall gives you something to look at instead of staring down a boring corridor toward nothing.
- Improves home flow: A well-designed end wall ties your hallway into the rest of your home’s style, it signals transitions between spaces, and makes your entire house feel more cohesive and intentionally designed.
13 Creative End of Hallway Accent Wall Ideas
These ideas range from simple paint jobs to full installations. Pick one that matches your budget and skill level. I’ve done most of these in my own home or for clients.
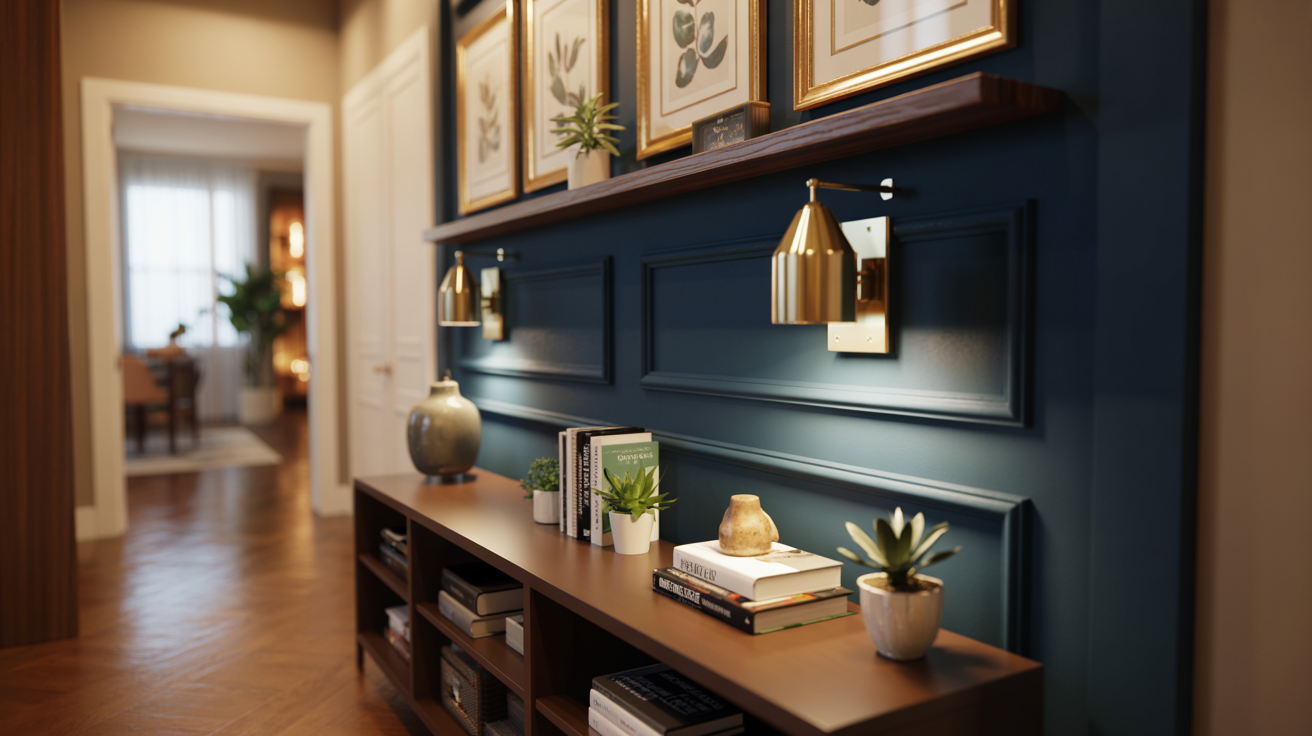
1. Bold Paint Color

Paint your end wall in a contrasting or deep color that stands out from the hallway walls. Navy, charcoal, emerald green, or terracotta creates an immediate impact.
The bold color draws your eye forward and makes the hallway feel intentional.
Choose colors one shade darker than you think you need. Hallway lighting is typically dim, which makes colors look lighter than they appear on the paint chip.
I test samples in low light conditions before committing to the full wall.
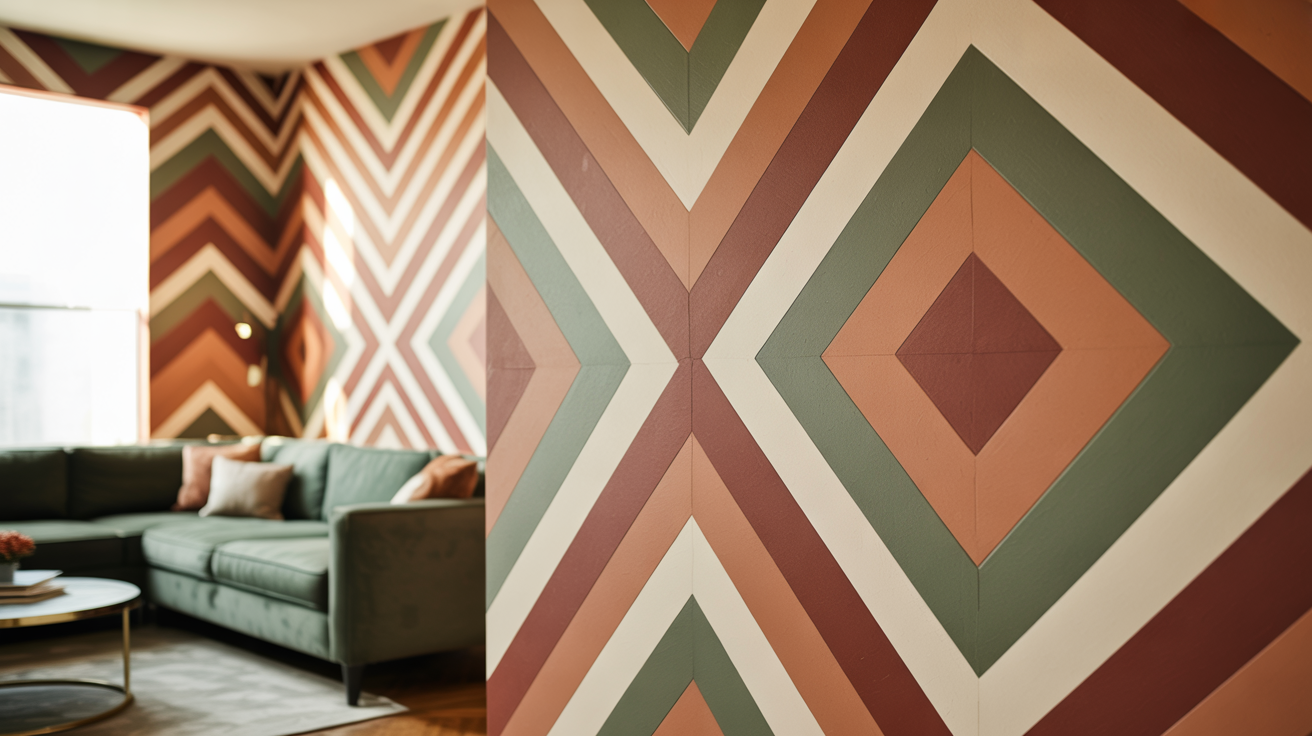
2. Geometric Patterns
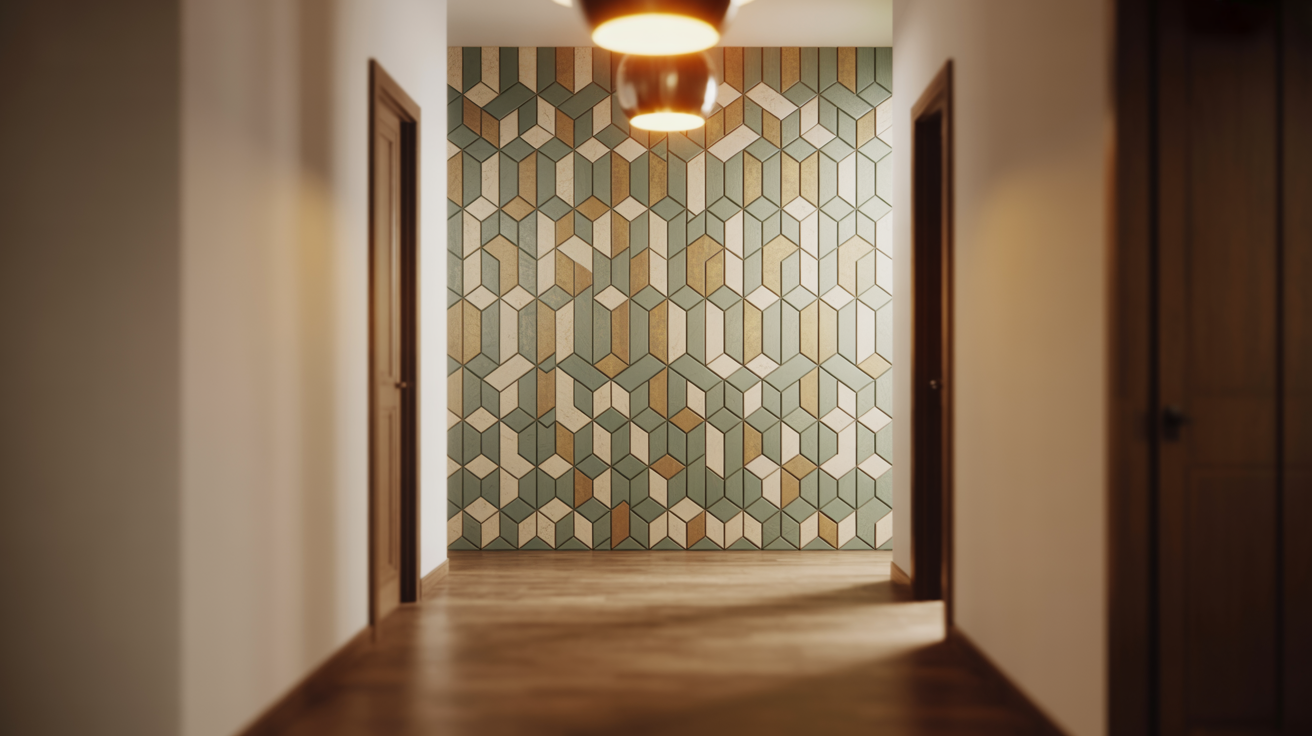
Paint stripes, chevrons, or triangles on your end wall for visual interest. Use painter’s tape to create clean lines. Measure carefully so your pattern stays symmetrical. Uneven spacing ruins the effect fast.
Start by marking your pattern lightly in pencil. Apply tape along your lines. Paint one color at a time, letting each dry completely before taping over it.
Remove tape while the paint is slightly damp for the cleanest edges. I’ve seen people wait too long and pull dried paint off with the tape.
3. Textured Wallpaper
Textured wallpaper adds depth without overwhelming narrow spaces. Grasscloth, linen-look, or subtle geometric textures work best. They catch light and create shadows that flat paint can’t deliver.
Measure your wall height and width. Add 2 inches to each measurement for trimming. Cut wallpaper sections before applying paste.
Smooth from the center outward to avoid bubbles. Pre-pasted wallpaper is easier for beginners than traditional paste-the-wall methods. I always buy one extra roll in case of mistakes.
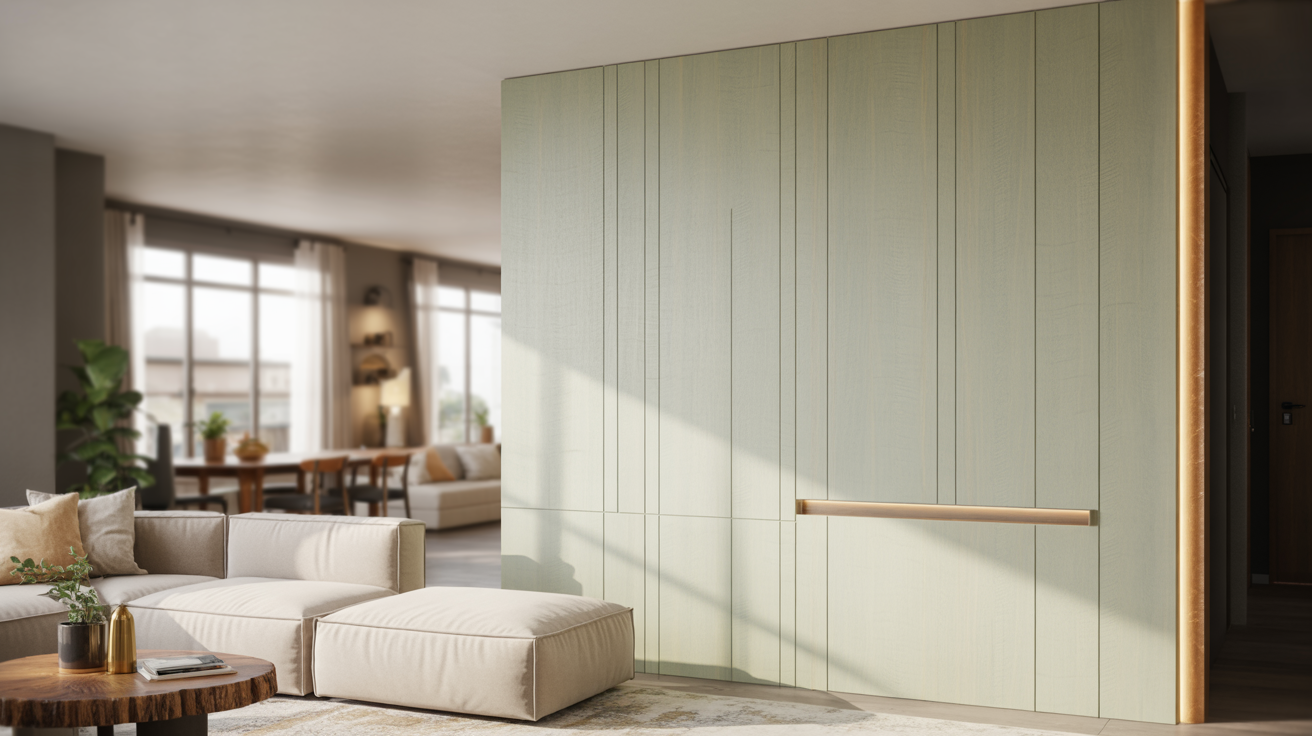
4. Wood Paneling or Shiplap

Install horizontal shiplap or vertical wood planks on your end wall. This creates classic farmhouse style or modern rustic texture. Paint it or leave it natural, depending on your look.
Cut boards to the wall width using a miter saw. Find wall studs with a stud finder. Nail boards directly into studs, starting from the bottom.
Use a level to keep each row straight. Space boards with nickel coins for consistent gaps between each piece. I caulk seams before painting for a seamless finish.
5. Brick or Stone Veneer
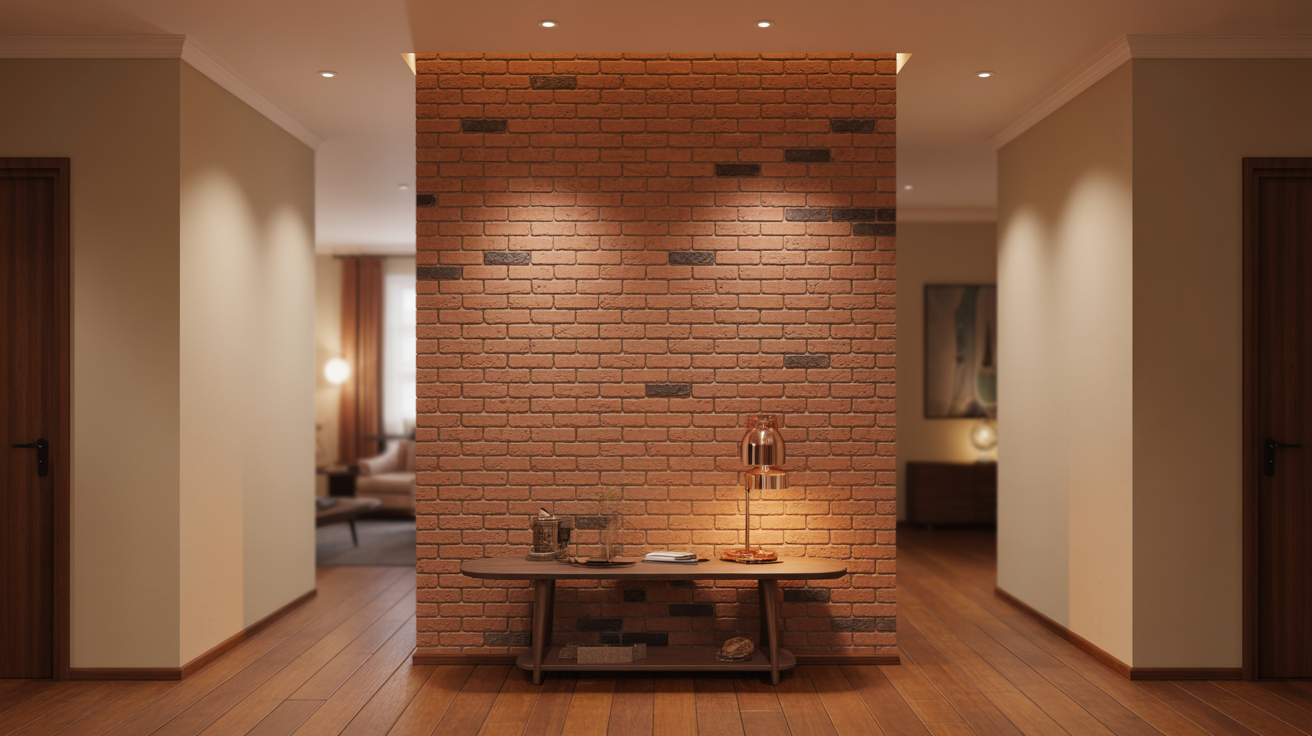
Thin brick veneer or faux stone panels add warmth and architectural character. They weigh less than a real brick but deliver a similar visual impact. This works especially well in older homes.
Apply construction adhesive to the back of each veneer piece. Press firmly onto the wall, starting from the bottom corner. Work in small sections so the adhesive doesn’t dry. Cut pieces with a masonry blade when needed.
Grout or seal joints for a finished look if using brick veneer. Stone panels usually butt together without grout.
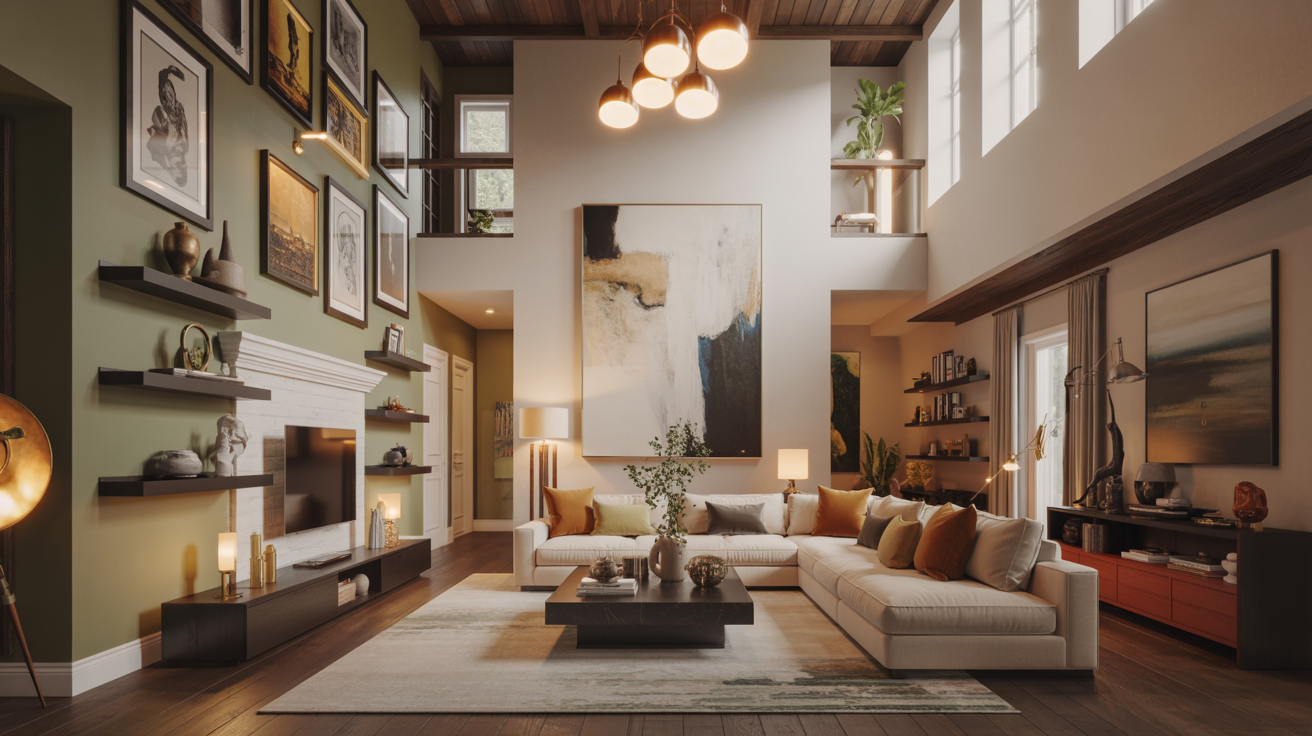
6. Gallery Wall
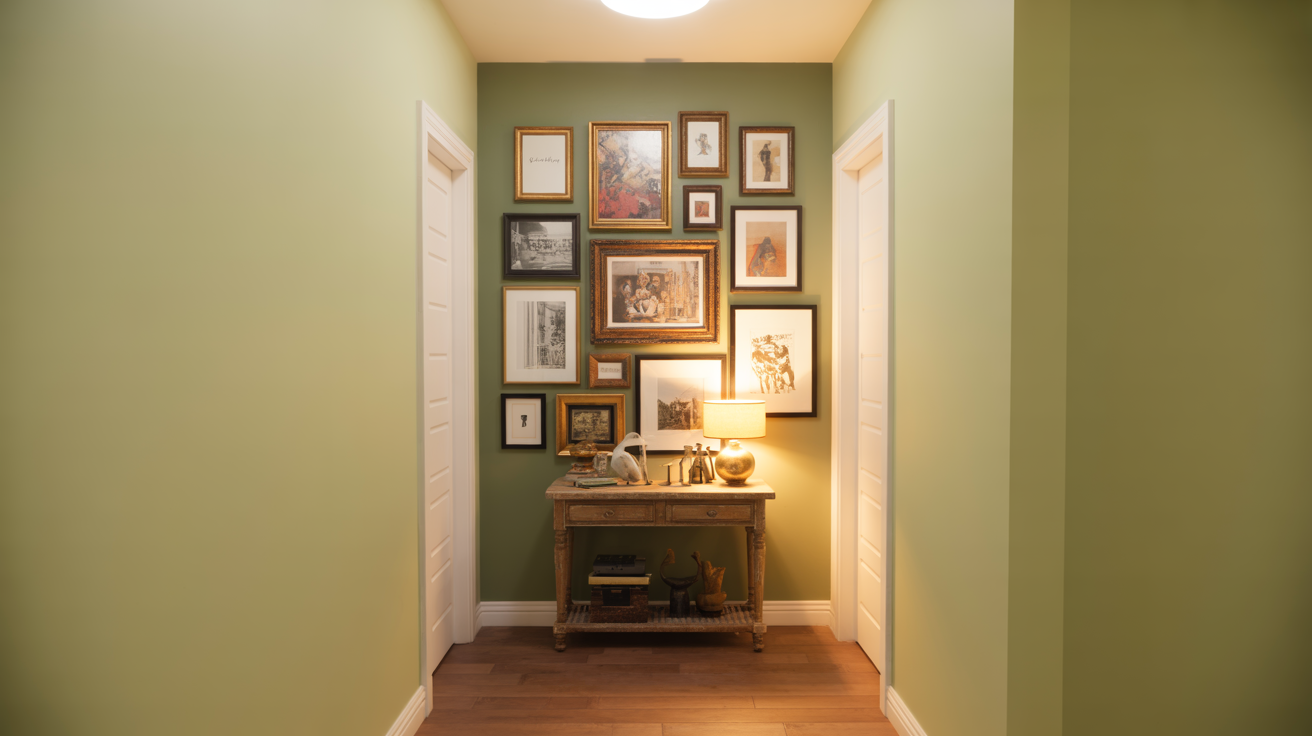
Create a gallery wall with family photos, prints, or art in a cohesive layout. This personalizes your hallway and gives people something interesting to look at while walking through.
Lay out your arrangement on the floor first. Take a photo for reference. Mark wall positions with painter’s tape or paper templates.
Hang the center piece first, then work outward. Keep spacing consistent, 2-3 inches between frames looks intentional. I use a laser level to keep rows straight.
7. Large Statement Mirror
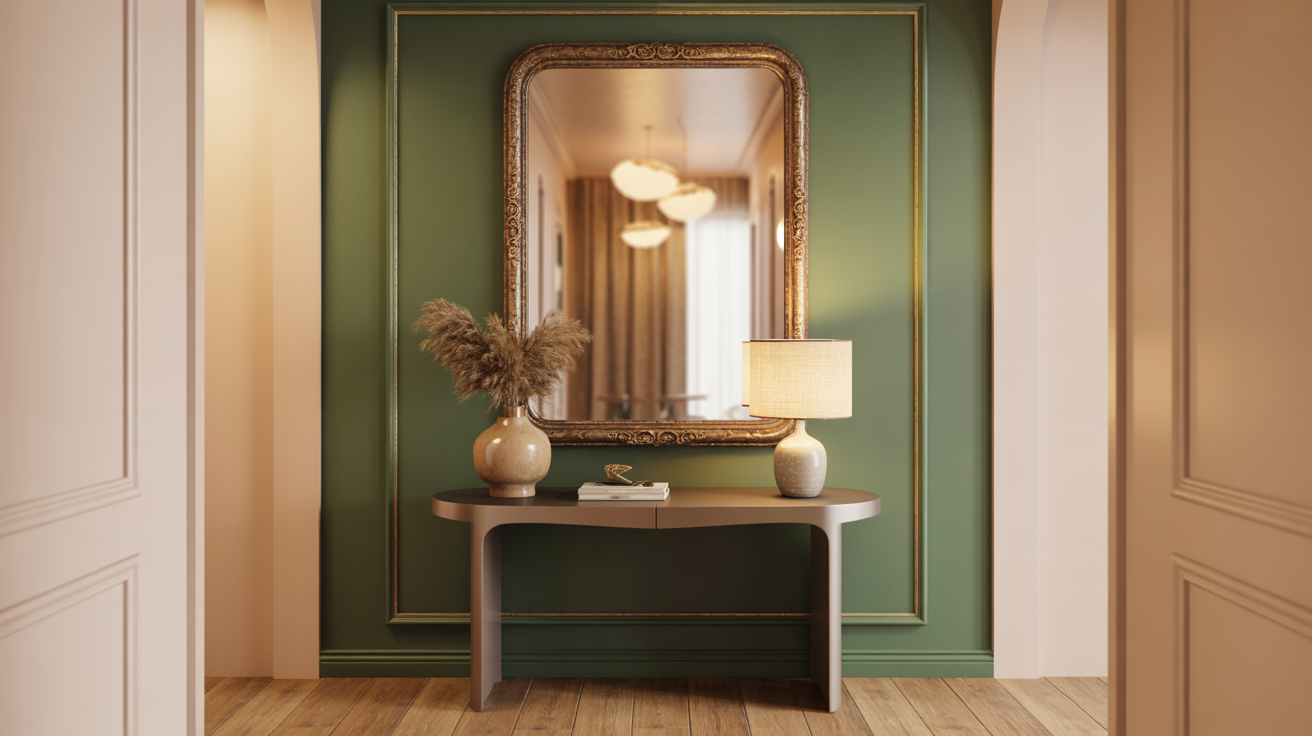
Hang one large mirror on your end wall to reflect light and create an illusion of space. Mirrors make hallways feel wider and brighter. They’re especially valuable in dark corridors.
Find wall studs and mark them. Use heavy-duty wall anchors rated for your mirror’s weight if studs aren’t positioned right.
Hang the mirror at eye level, roughly 60 inches from the floor to the center. Use two people for mirrors over 30 pounds. I’ve cracked mirrors trying to hang them solo.
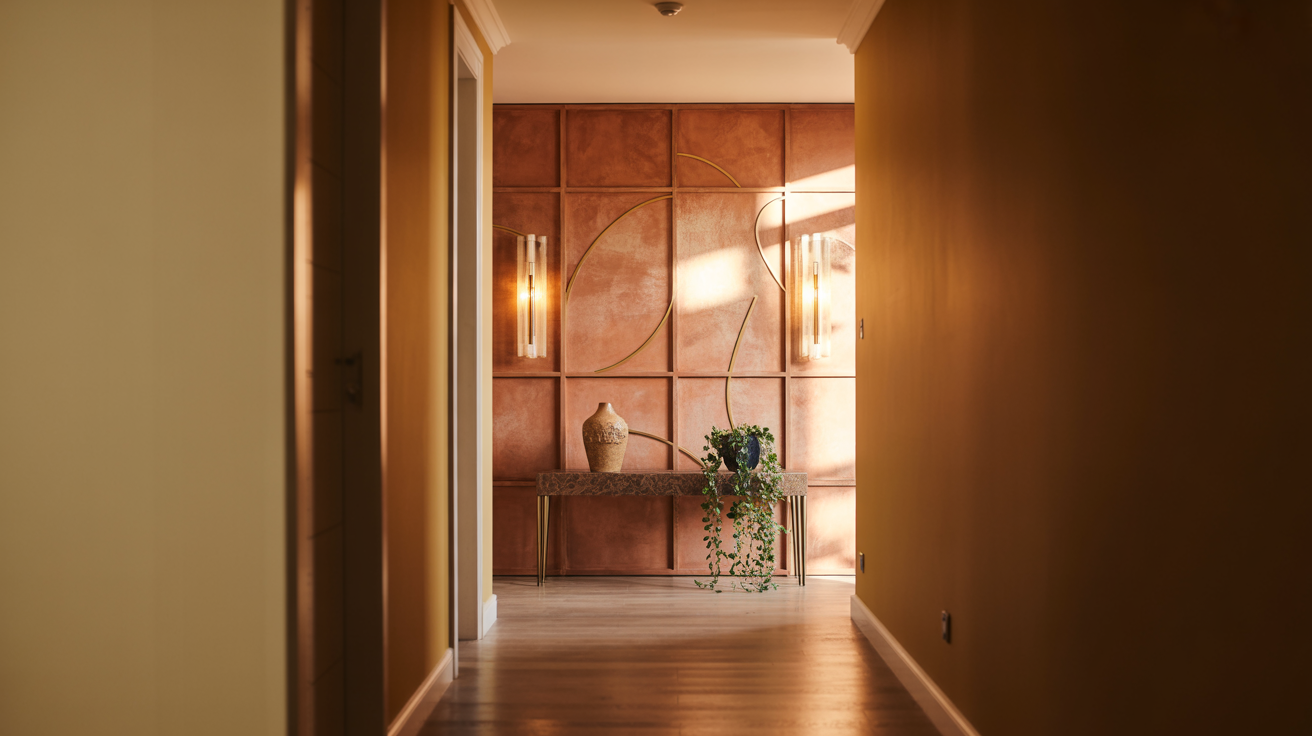
8. Slim Console Table
Place a slim console table against your end wall, 24 inches deep maximum. Style it with a lamp, a small plant, and one decorative object. This adds function without blocking the walkway.
Anchor the table to the wall if it’s wobbly or in a high-traffic area. Keep decor minimal so people don’t knock things over while walking past.
Choose tables with lower shelves for extra storage without adding visual clutter above. I use these for key drops and mail sorting.
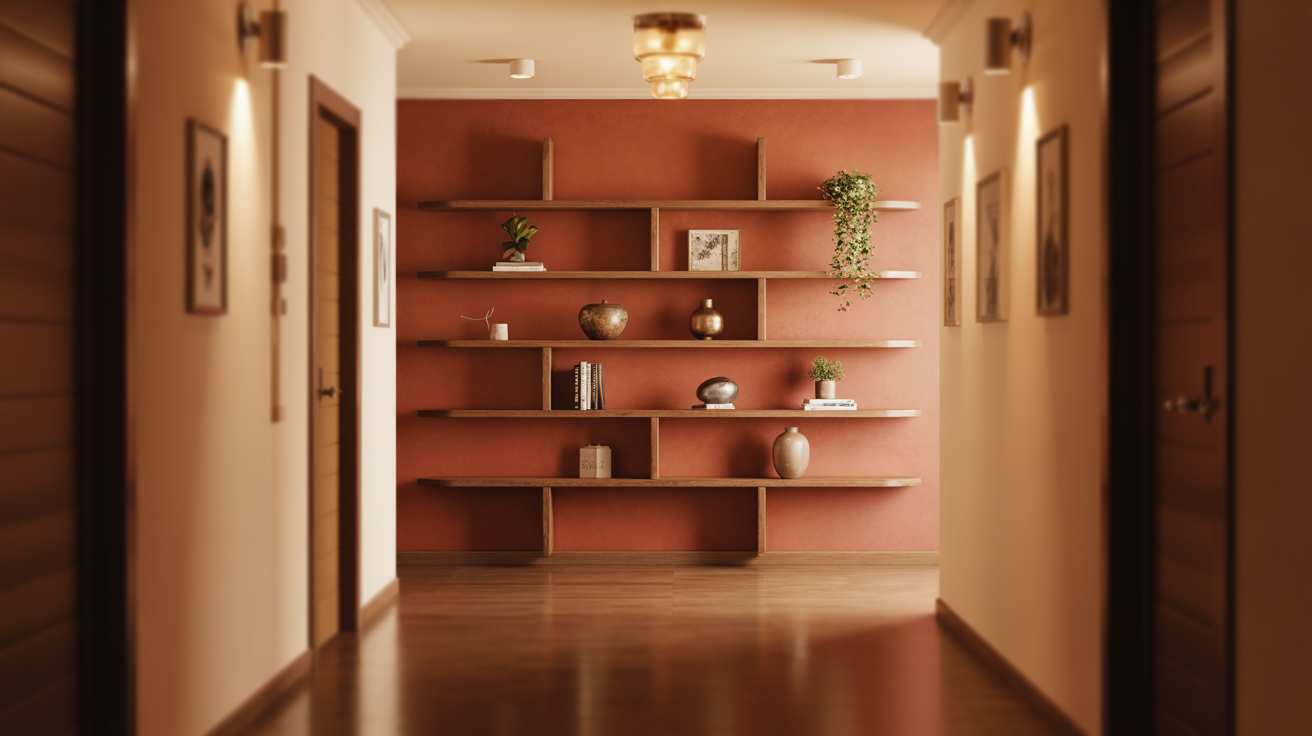
9. Floating Shelves
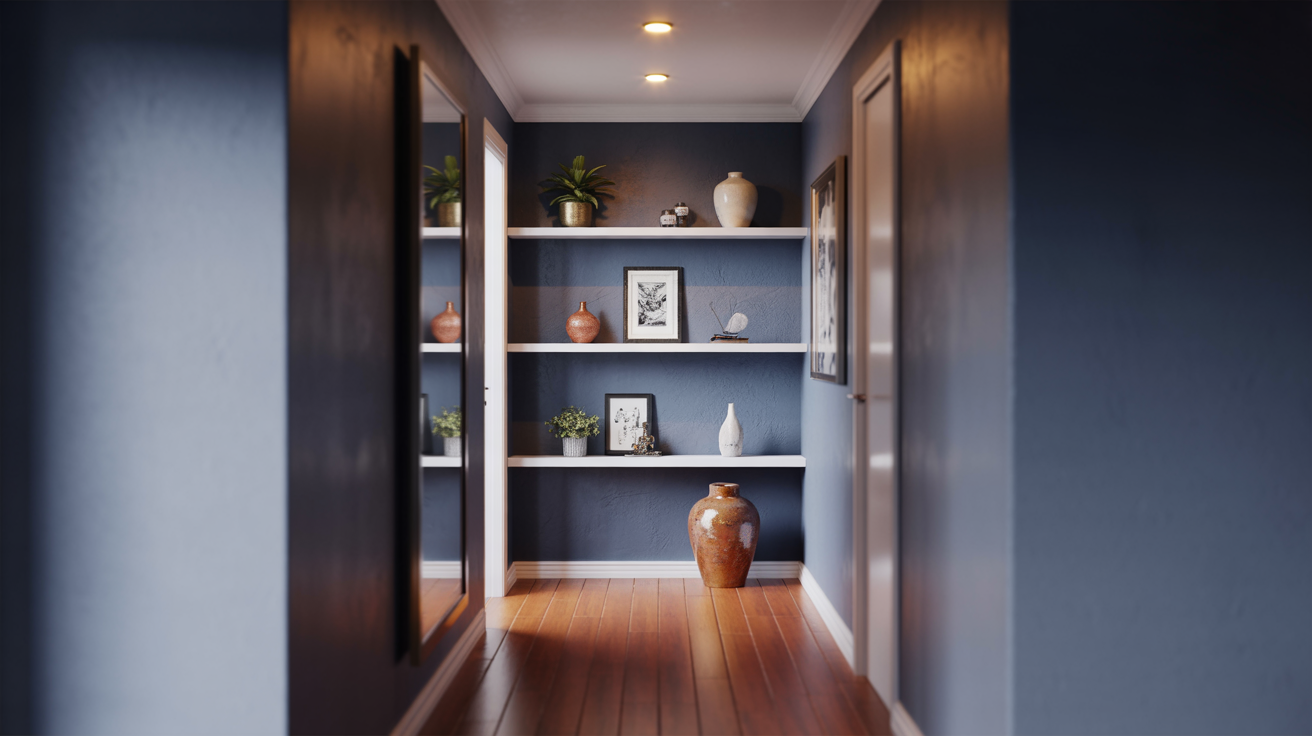
Install 2-3 floating shelves to display small plants, books, or collectibles. Keep items lightweight so shelves don’t sag over time. This adds interest without taking floor space.
Mark shelf positions with a level. Drill into studs whenever possible. Use heavy-duty anchors in drywall between studs.
Mount the bracket, then slide the shelf onto it. Test the weight capacity before styling, as overloaded shelves pull out of the walls. I limit each shelf to 10-15 pounds max.
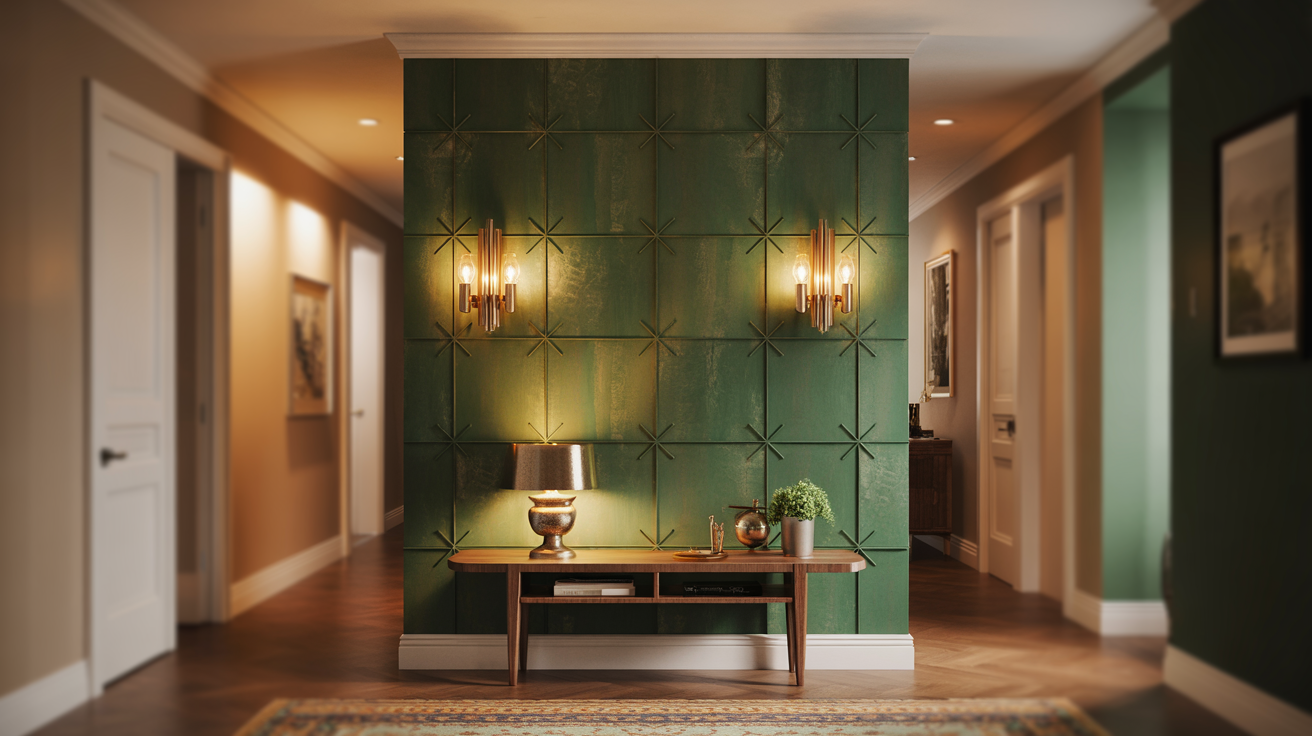
10. Statement Lighting
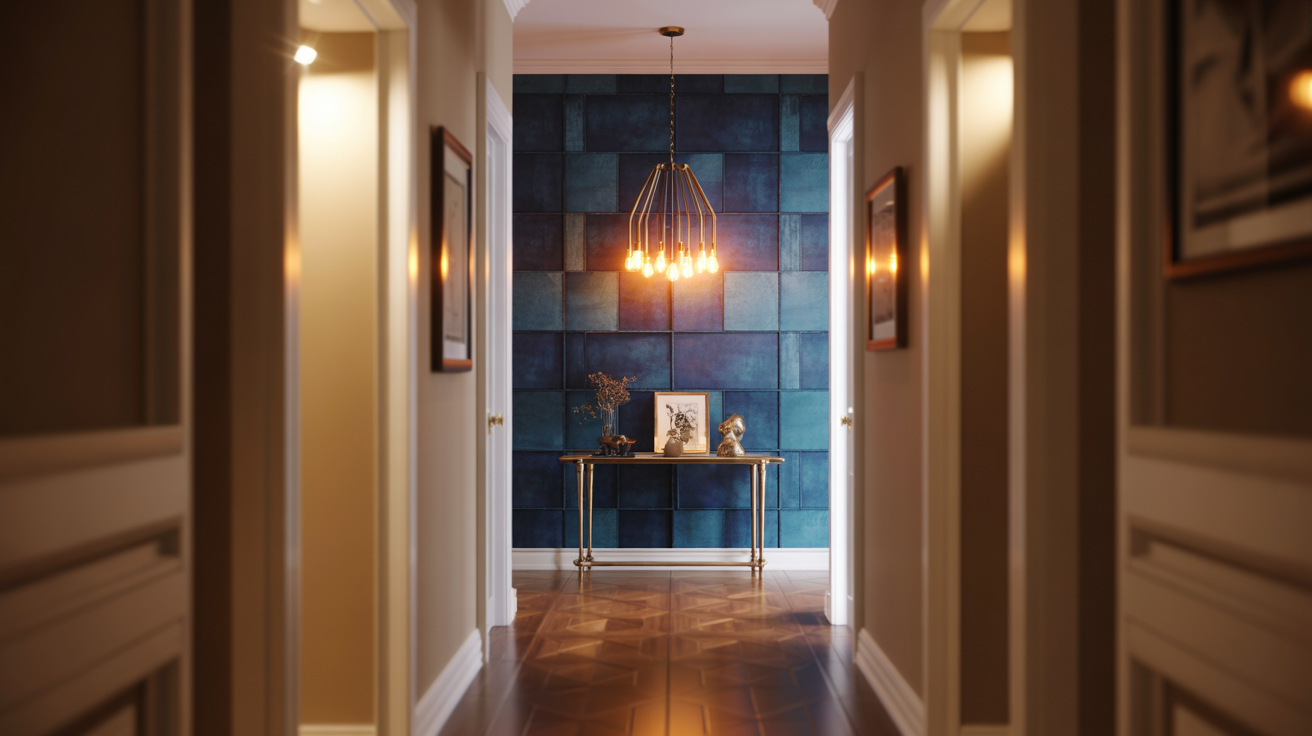
Add wall sconces, a pendant light, or LED strip lighting to highlight your accent wall. Lighting changes the mood and makes your hallway feel designed instead of utilitarian.
Turn off the power at the breaker before installing wired fixtures. Mount sconces at 60-66 inches high, flanking a mirror or art piece.
Battery-powered LED strips work great for renters who can’t hardwire fixtures. I use them under floating shelves for ambient glow.
11. Mural or Wall Art
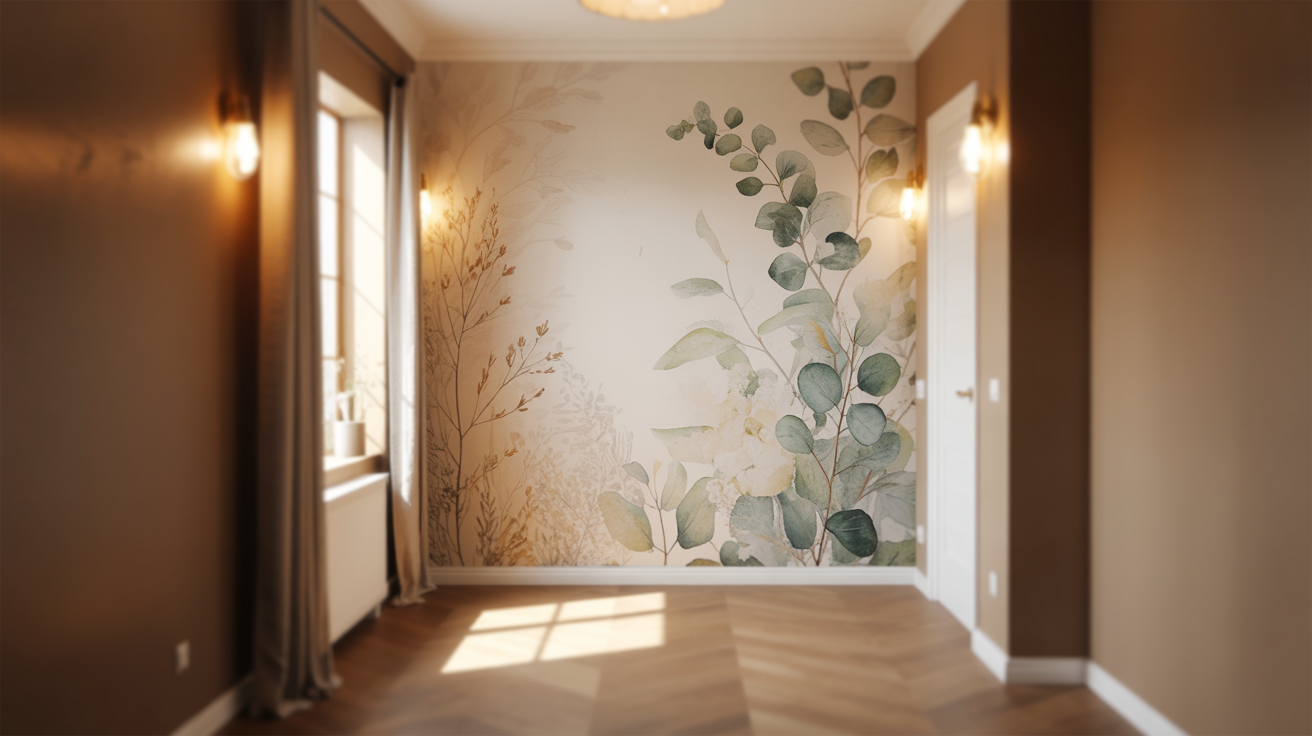
Commission a mural, apply a large wall decal, or hang oversized canvas art. This creates an eye-catching focal point that turns your hallway into an experience instead of just a pass-through.
Murals need primer first for the best paint adhesion. Sketch your design lightly in pencil or use a projector to trace an image.
Paint large areas first, add details last. Seal finished murals with a clear coat to protect them from scuffs. Wall decals peel and stick, just smooth out bubbles as you apply.
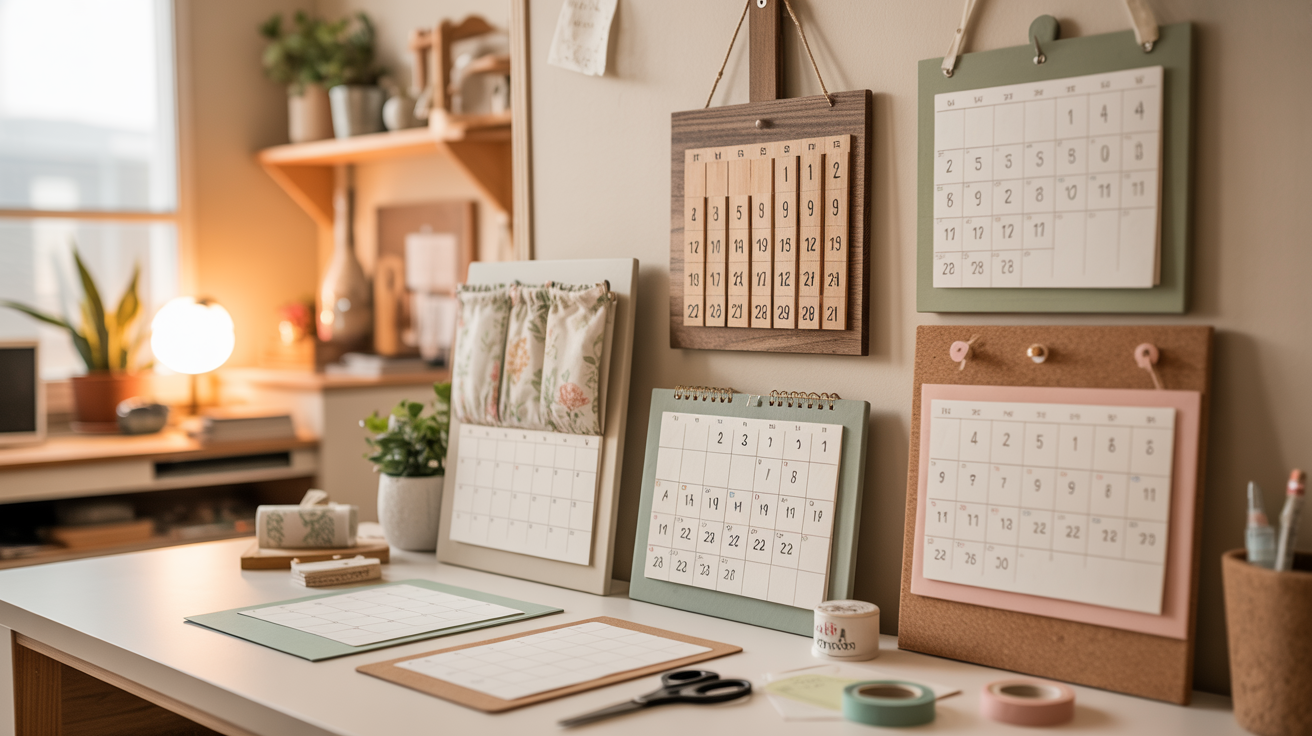
12. Functional Decor
Integrate hooks, wall-mounted planters, or small storage baskets that look good while serving a purpose. Function and style don’t have to compete, as they can work together.
Mount hooks into studs for coats or bags. Use command hooks for lightweight items if drilling isn’t allowed. Hang planters at varying heights for visual interest.
Keep functional items at proper heights: coat hooks at 5 feet, key hooks at 4.5 feet. I group functional pieces so they look intentional.
13. Bench or Chair with Decor Above
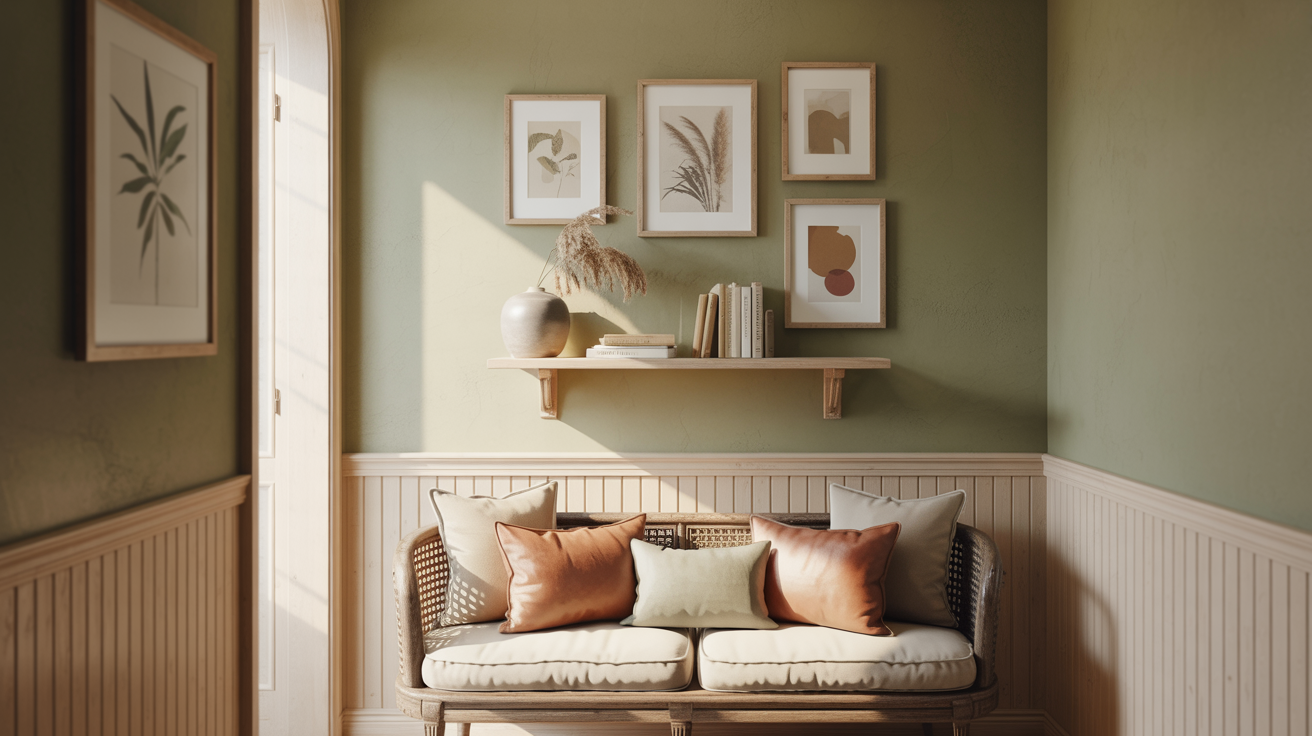
Place a small bench or accent chair at the end of your hallway with artwork or a mirror hung above it. This creates a styled vignette that adds both seating and visual appeal.
Choose seating under 18 inches deep so it doesn’t block traffic. Hang art 6-12 inches above the furniture back.
Add a throw pillow and a small plant on the seat for a finished look. Secure the bench to the wall if it’s lightweight to prevent tipping. I use this setup in wider hallways where there’s room to sit.
Tips for Styling Your End-of-Hallway Accent Wall
Getting the styling right prevents your hallway from feeling cramped or cluttered. One wrong choice makes a narrow space feel even tighter. These tips keep it functional and beautiful.
- Light it properly: Hallways lack natural light and feel dark fast. Add sconces, picture lights, or overhead fixtures that illuminate your accent wall directly so it doesn’t disappear into shadow and make the space feel like a tunnel.
- Go lighter in tight spaces: Narrow hallways under 4 feet wide need light colors on the end wall. Deep navy or black creates drama, but also makes tight spaces feel claustrophobic and smaller than they actually are.
- Keep it clear: Hallways are pathways, not storage. Skip console tables, benches, or bulky decor that block traffic flow and make people turn sideways to pass through your home’s main circulation route.
- Match adjacent rooms: Your hallway connects other spaces, so the end wall color should complement the rooms it leads to. Pulling accent colors from your living room or bedroom creates continuity instead of jarring color shifts.
- One focal point wins: Hang one large piece of art, install one statement mirror, or add one floating shelf with minimal decor. Multiple competing elements turn your accent wall into visual chaos that distracts instead of enhances.
Conclusion
Your end-of-hallway accent wall doesn’t have to stay boring. Bold paint, textured finishes, wood slats, statement wallpaper, or a gallery setup, you’ve got designs that turn that forgotten space into something worth noticing. Pick what fits your style and hallway size.
That awkward blank wall? It’s about to become a feature people actually comment on. You’ve got the ideas and the confidence to make it happen.
Which design caught your eye? Drop a comment and tell me what you’re planning. Share this with anyone who’s got a hallway that needs help. And if you’re exploring more ways to upgrade your walls, check out our posts on wood trim designs and texture options. Time to make that hallway count.
Frequently asked questions
What’s the best color for an end-of-hallway accent wall?
Bold, dark colors work best, as navy, charcoal, or forest green create dramatic focal points. Warm terracotta or mustard adds personality. In narrow hallways, lighter bold colors like sage or dusty blue add interest without closing in the space. Avoid stark white, as it wastes the opportunity for impact.
Should I use wallpaper or paint for an end-of-hallway accent wall?
Either works depending on your style. Paint is cheaper and easier to change. Wallpaper adds instant pattern and texture, and peel-and-stick is renter-friendly. For high-traffic hallways, paint holds up better. Textured wallpaper or wood treatments add dimension that flat paint can’t match. Choose based on maintenance and budget.
How do I light an end-of-hallway accent wall properly?
Install a picture light or wall sconce to highlight the wall after dark. Recessed ceiling lights work if positioned to wash the wall evenly. Track lighting adds flexibility. Natural light from nearby rooms helps during the day. Proper lighting turns your accent wall into a feature 24/7, not just during daylight hours.
Can I hang art on the end of the hallway accent wall?
Yes, a gallery wall or single large piece works beautifully. Choose art that pops against your wall color, as contrasting frames grab attention. Keep it centered and at eye level. Or skip art entirely and let bold paint or textured treatments be the statement. Both approaches work, just don’t overcrowd the space.
What’s the easiest DIY end-of-hallway accent wall design?
Bold paint is easiest, one color, one weekend. Peel-and-stick wallpaper comes second for instant pattern without commitment. Wood slats take more effort but create eye-catching texture. Skip complicated designs in narrow spaces. Simple, bold choices deliver maximum impact with minimum hassle. Start easy, upgrade later if desired.