Want to turn plain drywall into something interesting? These designs will change how you see your walls. This article shares creative techniques that go beyond basic paint and texture.
I’ve worked with drywall for over a decade, trying different methods to make walls stand out. You’ll learn practical designs that actually look good, not trendy ideas that seem silly after a month.
I’ll show you how to add depth, patterns, and visual interest using tools you can find at any hardware store.
I know you’re searching for fresh ideas that won’t break your budget. That’s why these projects use affordable materials and straightforward steps.
I’ve made plenty of mistakes on my own walls, so you don’t have to. You’ll get honest advice about difficulty levels and time required. Let’s start with the easiest design first.
What Is Drywall Art?
You know that white paste drywall workers use to patch walls? That’s joint compound. And here’s the thing, you can use it to create eye-catching, textured art. I’m talking about raised patterns, swirls, and designs that catch light in ways regular paint never could.
Why do people love this for modern homes? Texture. Minimalist spaces often feel flat and boring. Drywall art fixes that without adding clutter. The raised surfaces create shadows and depth that change throughout the day as light moves.
Here’s the budget part you’ll love. Traditional canvas art costs $200 to $500 in stores. Your DIY drywall art? Maybe $30 total. I’ve made pieces for less than the cost of a pizza. You get something different that nobody else has.
Materials and Tools Needed
You need the right supplies before you start. Nothing fancy, just stuff that gets the job done.
Materials
I always gather everything first, so I’m not running to the store halfway through.
- Canvas base: Buy a pre-made canvas from the craft store, or build your own frame using wooden boards if you want to save money and customize the size.
- Joint compound mix: Get both lightweight and heavyweight types, as the lightweight works for top layers, and the heavyweight gives you a strong base that won’t crack.
- Paint and wood: Use matte wall paint to seal everything when you’re done, and grab 1×2 pine or MDF boards if you’re building your own frame.
Tools
Having the right tools makes this project way less frustrating.
- Spreading tools: Keep multiple trowels and putty knives in different sizes on hand, small ones for details, big ones for covering large areas fast.
- Finishing supplies: Wear gloves to keep your hands clean, use paintbrushes for sealing coats, and have an orbital sander ready to smooth rough spots.
- Fastening options: A brad nailer or staple gun makes frame assembly quick and sturdy, but wood glue and screws work fine if you don’t own power tools.
Preparing the Canvas for Drywall Art

Getting your canvas ready is the foundation of everything. Skip this step, and your art won’t last.
- Canvas size: Pick a size that fits your wall, small for practice, large for statement pieces.
- Seal first: Brush matte paint over the canvas before adding mu, this stops moisture from warping the fabric.
- Build frame: Cut 1×2 pine boards to size and connect corners with glue and nails, then stretch the canvas tight and staple it to the back.
Step-by-Step Drywall Art Process
You’re about to turn a bucket of mud into art. Don’t overthink this. The process is simpler than you think, and mistakes actually make it look better.
Let me walk you through each stage so you don’t waste materials or time.
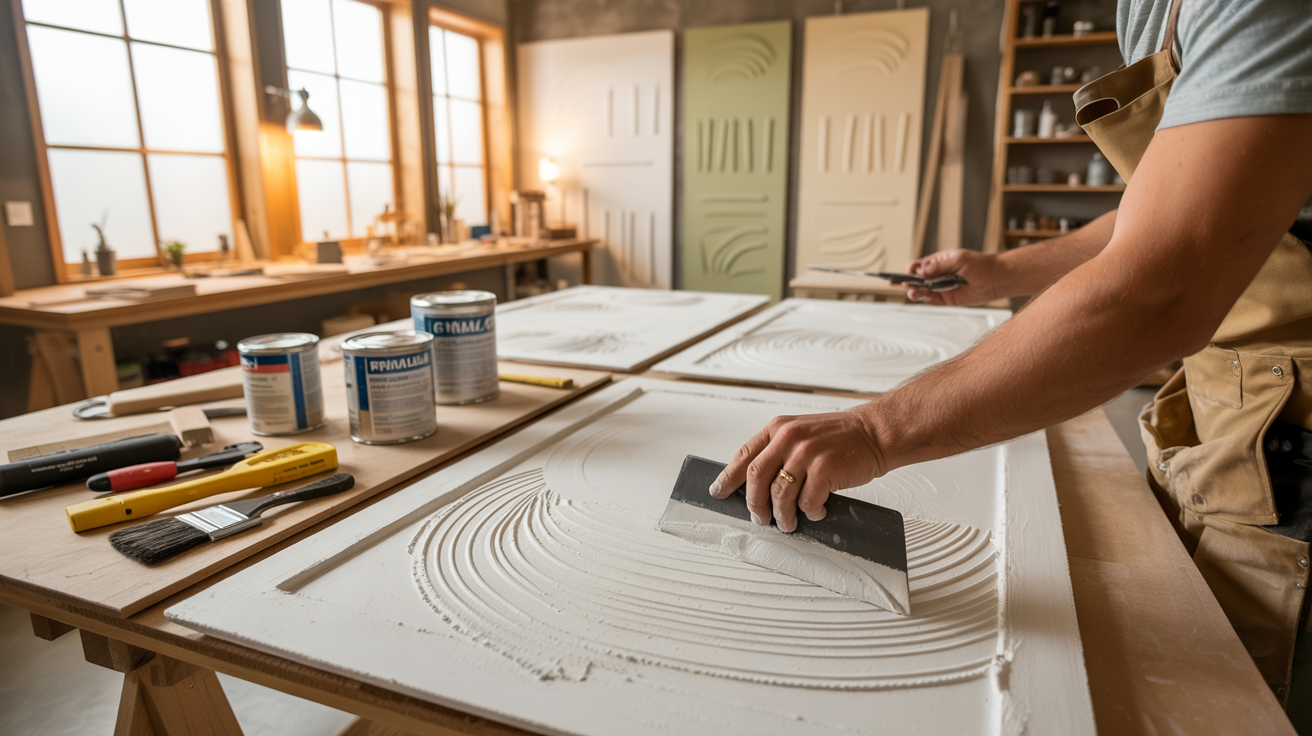
Applying the Drywall Mud
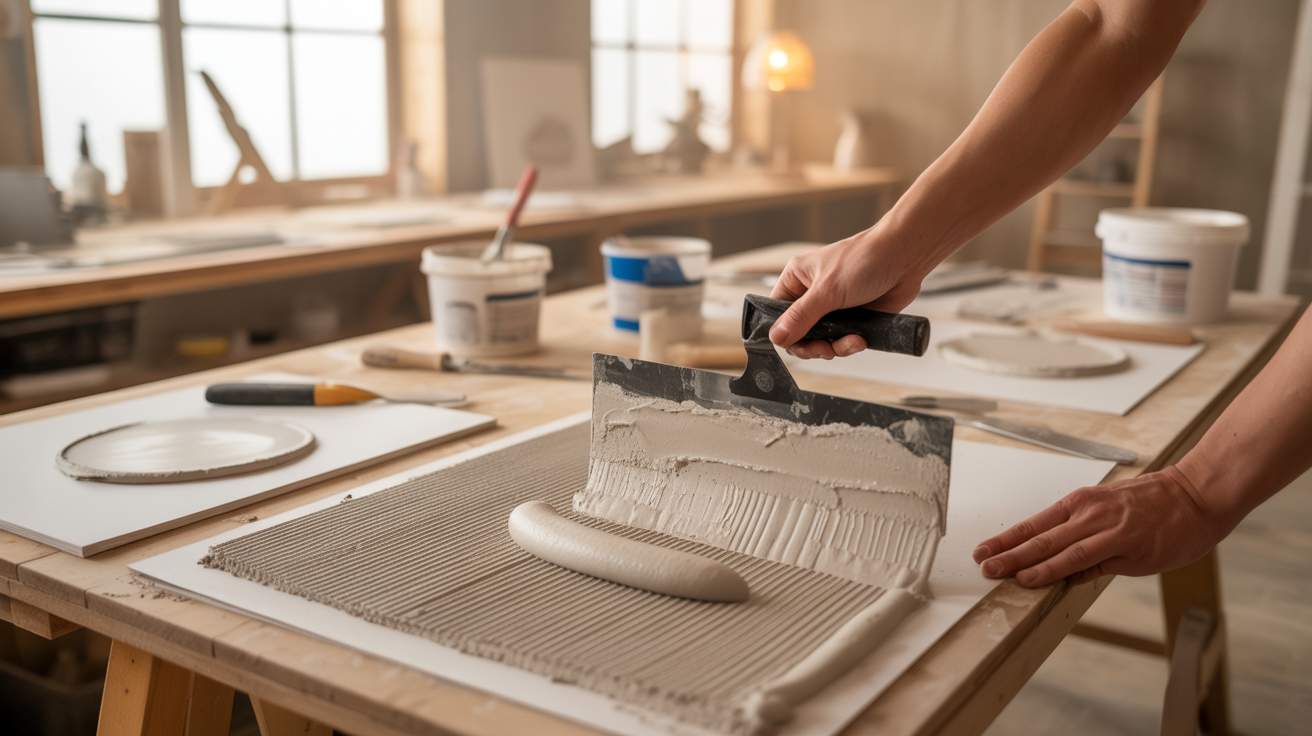
Start with your surface flat on a table. Scoop joint compound onto your board or canvas. Spread it like you’re frosting a cake, but messier.
Use a trowel or putty knife to push the compound around. Don’t worry about perfection here. Now for the fun part. This is where your art comes alive.
You can create texture in dozens of ways:
- Drag a trowel in smooth waves
- Use a putty knife for sharp lines and peaks
- Press your fingers in for organic patterns
- Swirl with the back of a spoon for circles
- Layer thick in some spots, thin in others
I like building up layers while it’s still wet. Thick areas create dramatic shadows. Thin areas let light through differently. Your texture choices define the whole piece.
Drying and Refining Texture
Joint compound takes 24 hours to dry completely. Thicker sections need longer, sometimes 48 hours. Touch it lightly. If it feels cool or damp, wait longer. Rushing this step ruins everything.
Small cracks happen as the compound dries. Don’t panic. Mix a tiny bit of fresh compound and fill those cracks with your finger.
Let it dry again. Want more drama? Add a second layer after the first dries. This creates stronger ridges and deeper valleys. Just remember, each new layer needs another full day to dry.
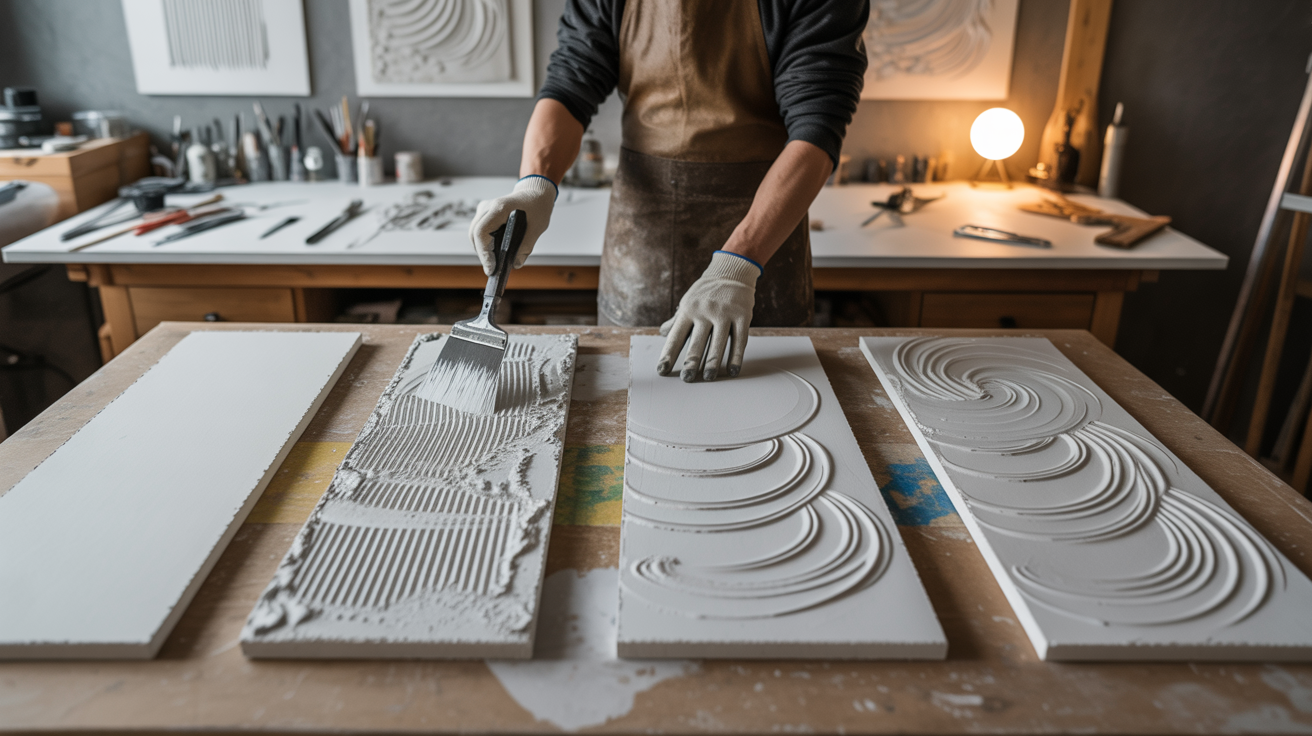
Sealing and Finishing
The dried compound is fragile without paint. Use a foam roller for the first coat. Roll gently, as hard pressure flattens your texture. Two thin coats work better than one thick coat. Let each coat dry before adding the next.
Most people choose white or cream colors. These show off texture best because of how shadows fall. All-white looks clean and modern. Beige adds warmth without competition. After painting, seal everything with clear matte sealer.
This protects your art from humidity and accidental bumps. Sealed pieces last for years. Unsealed ones can chip or crumble within months.
Creative Drywall Art Ideas You Can Try
You need inspiration before you start. These seven styles work for beginners and experienced creators alike.
I’ve tried most of these myself. Pick one that matches your room’s vibe and your skill level.
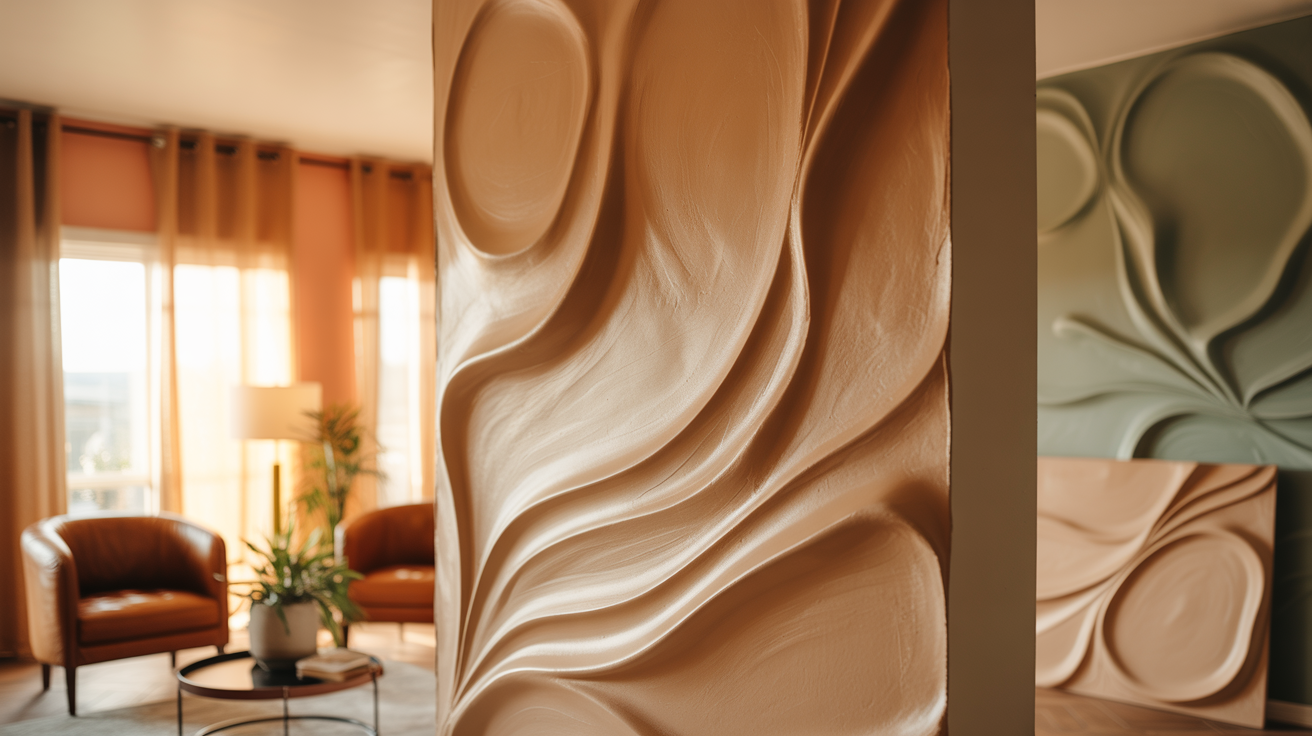
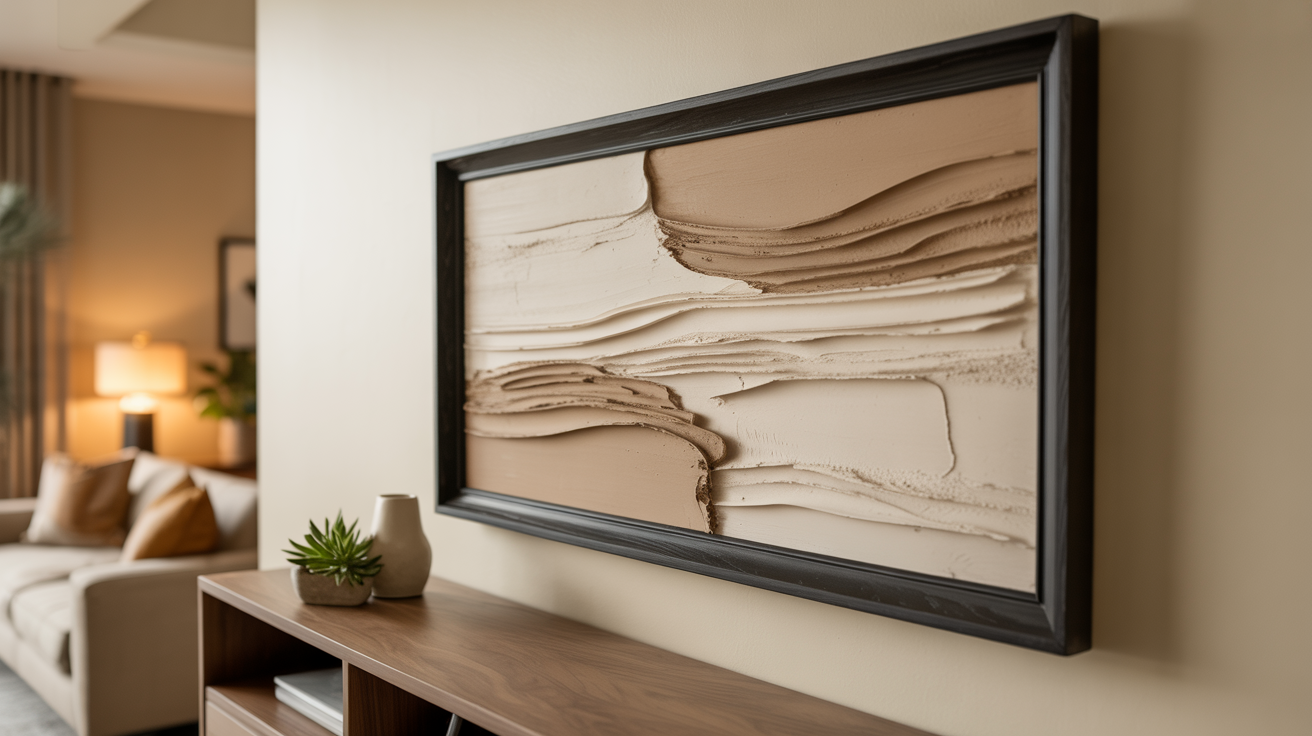
Minimalist Abstract Swirl Art
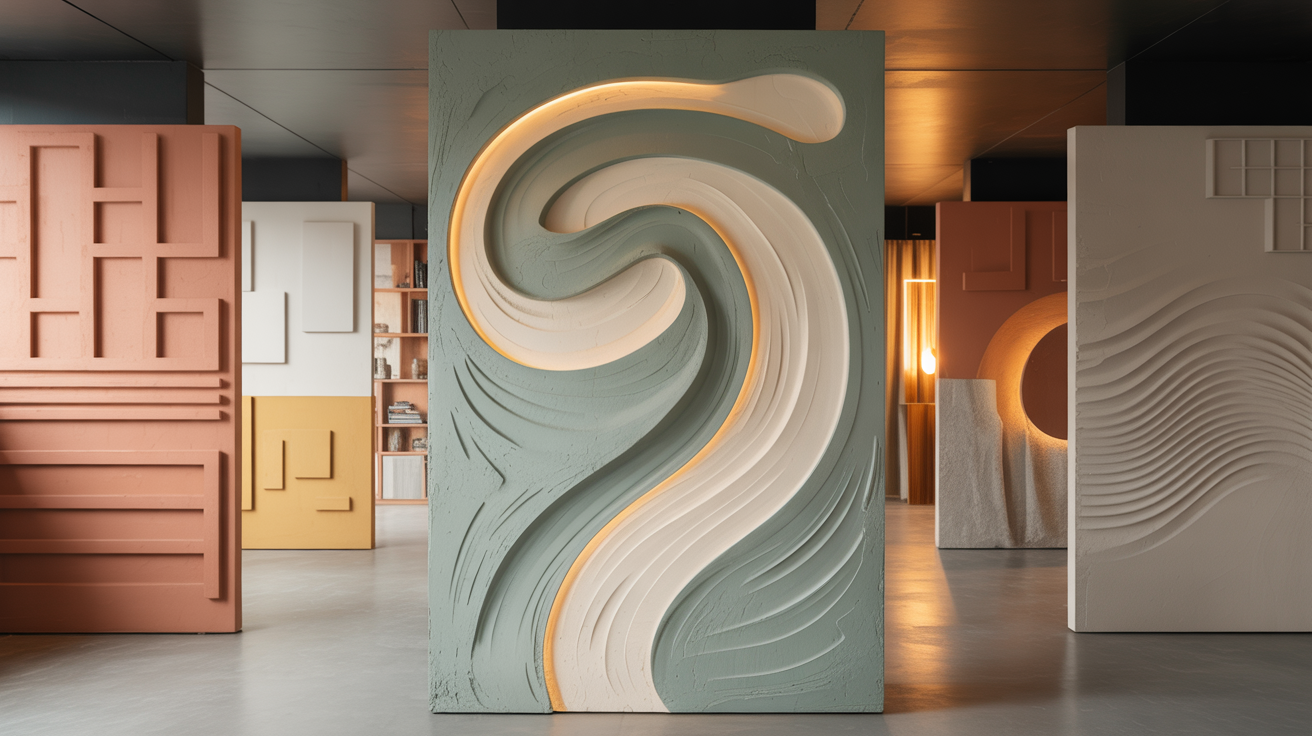
This is the easiest place to start. You’re creating gentle curves with smooth, flowing motions. Use the flat side of your trowel and move in S-shapes or spirals. The compound glides across your surface like butter.
This style fits ideally in bedrooms and living rooms with neutral colors. Gray walls? White furniture? This is your match.
The soft texture adds interest without screaming for attention. I made my first piece this way, and it still hangs in my hallway.
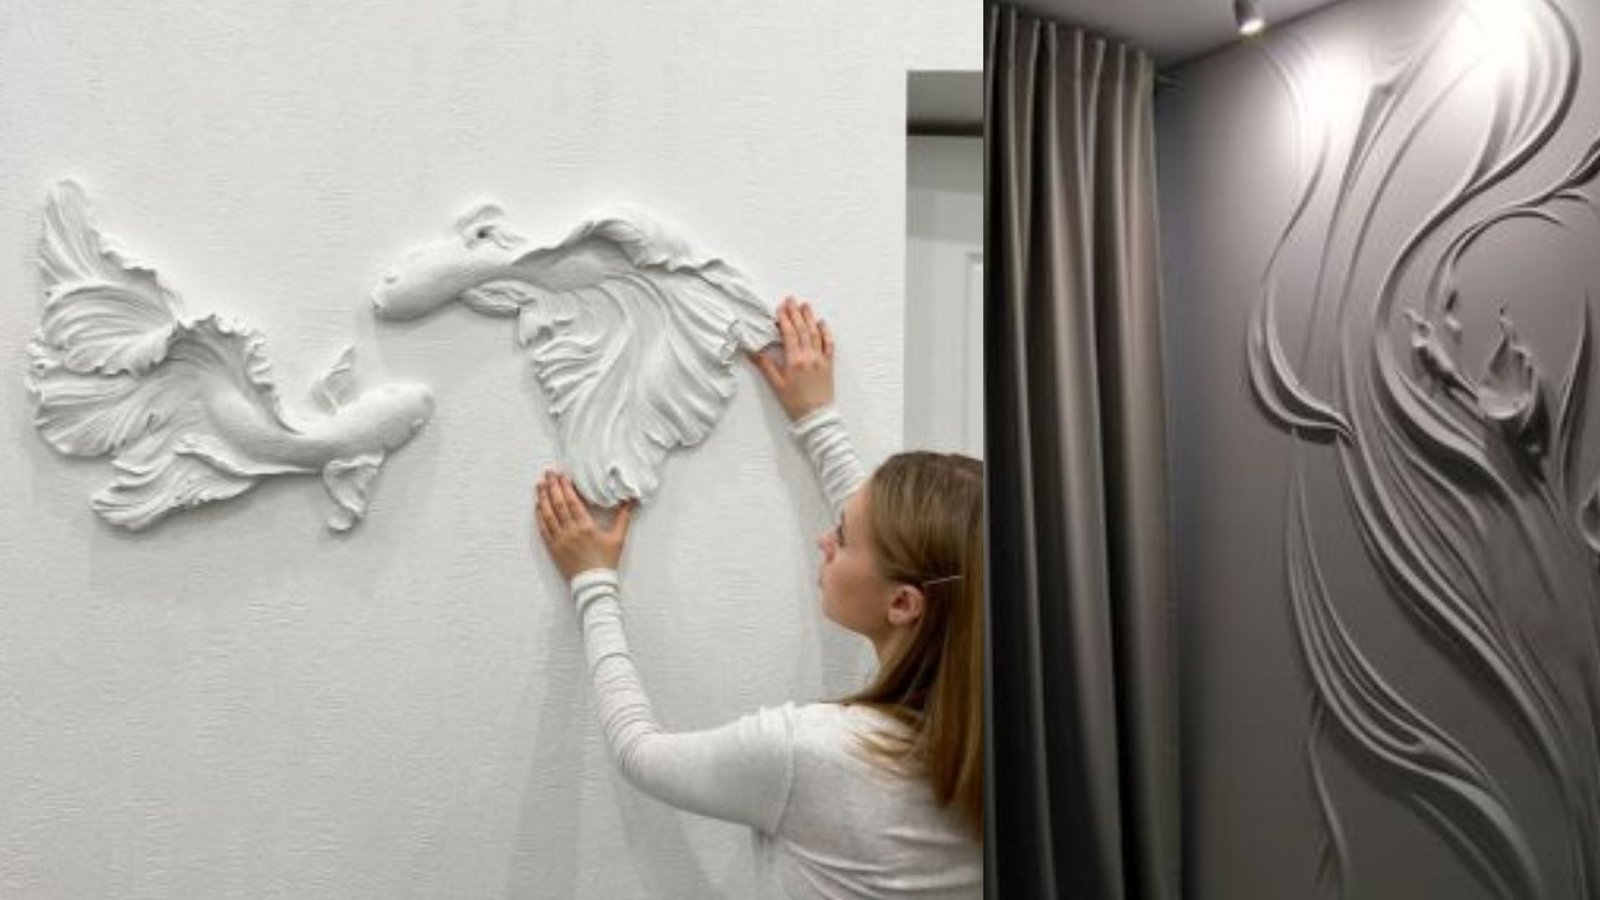
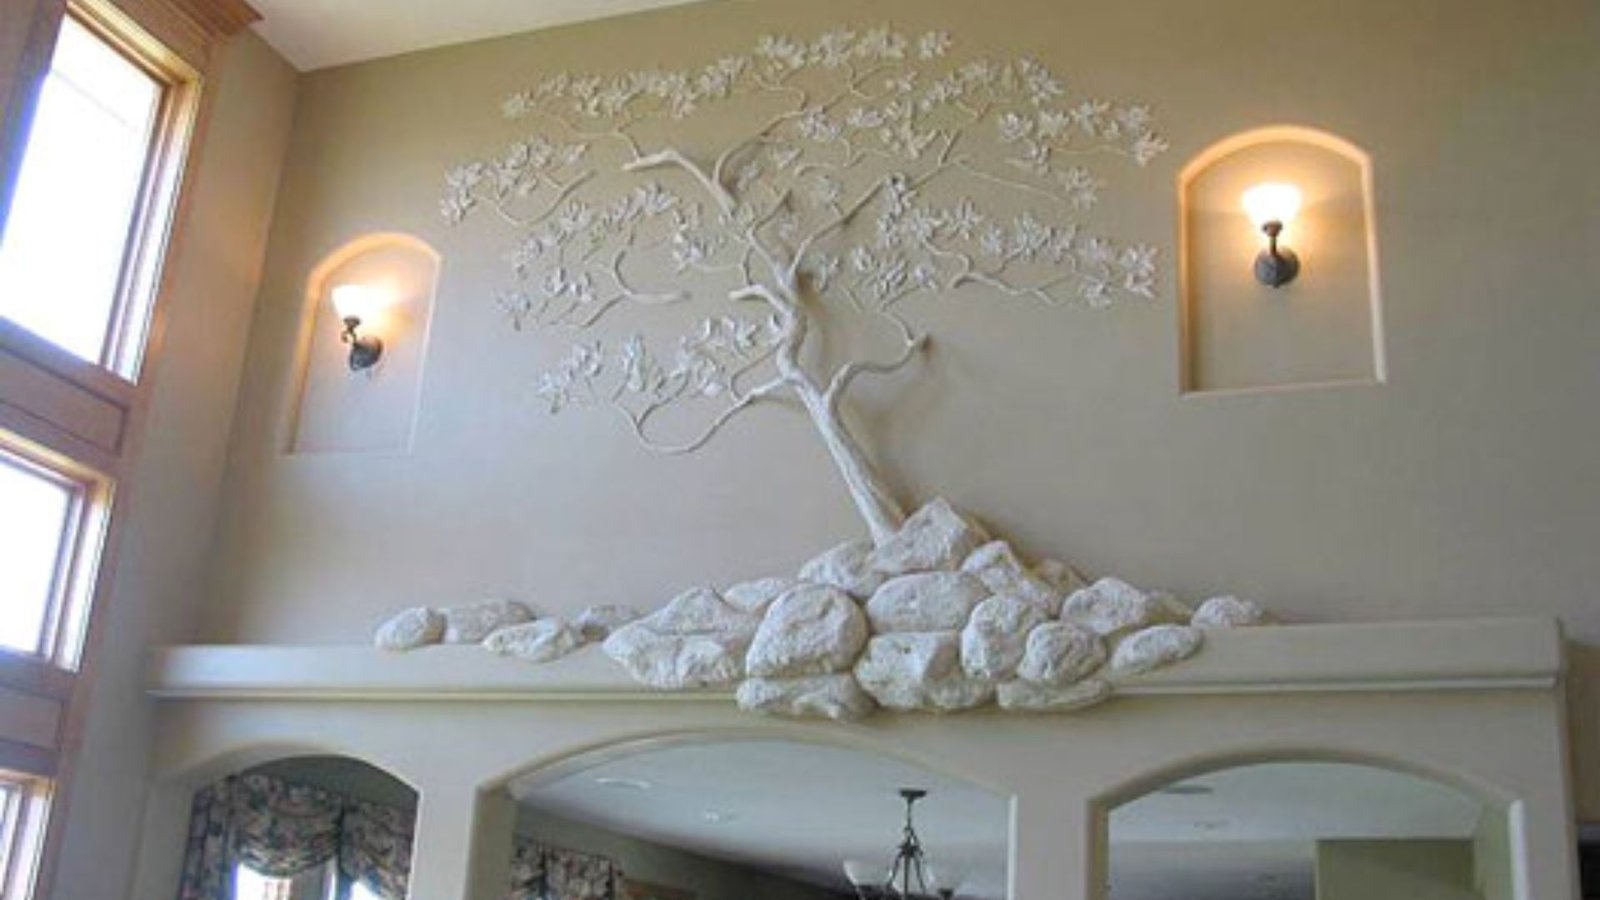
Raised Tree or Branch Texture Art
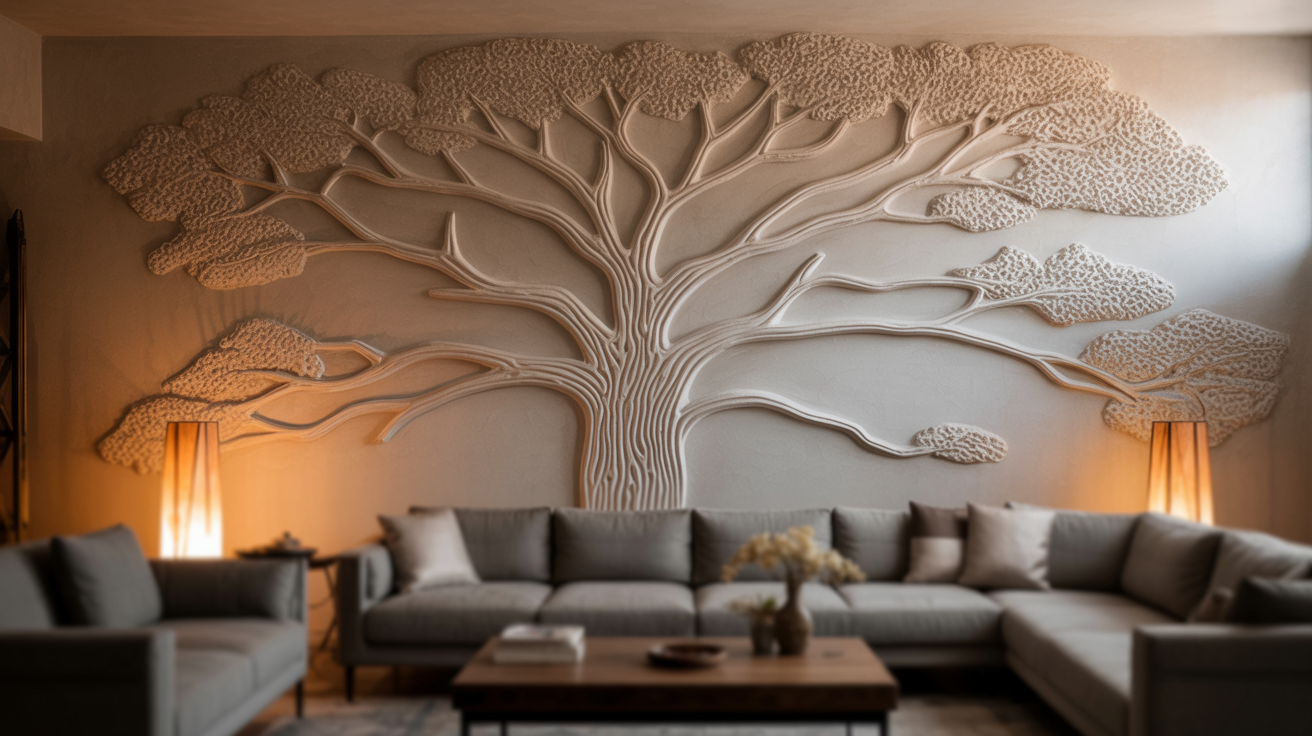
Now you’re building something recognizable. Use a putty knife to drag the compound upward for a trunk. Add branches by pulling the knife outward in different directions. Let some branches be thick, others thin.
The organic shapes bring nature indoors without actual plants. This works beautifully in entryways or dining rooms.
The texture creates movement that draws your eye upward. You don’t need to be precise, as real trees aren’t perfect either.
Sculptural Wave Pattern Art
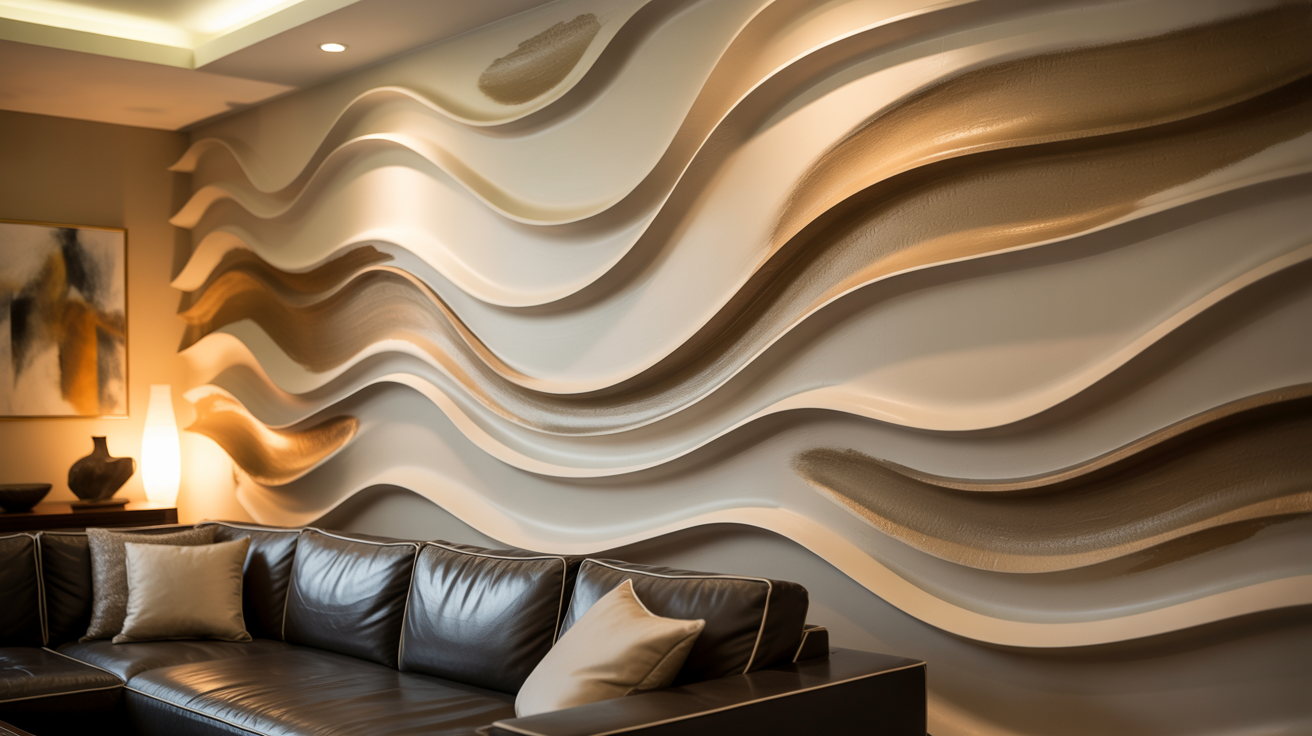
Think ocean waves frozen in time. You’re creating rolling hills and valleys across your canvas. Start at one edge and push the compound in wave motions toward the other side. Build some waves higher than others.
This style belongs in bathrooms, beach houses, or any calming space. The flowing texture mimics water without looking literal.
I’ve seen these in spa-like bedrooms, and they create instant relaxation. The shadows change as daylight moves across the room.
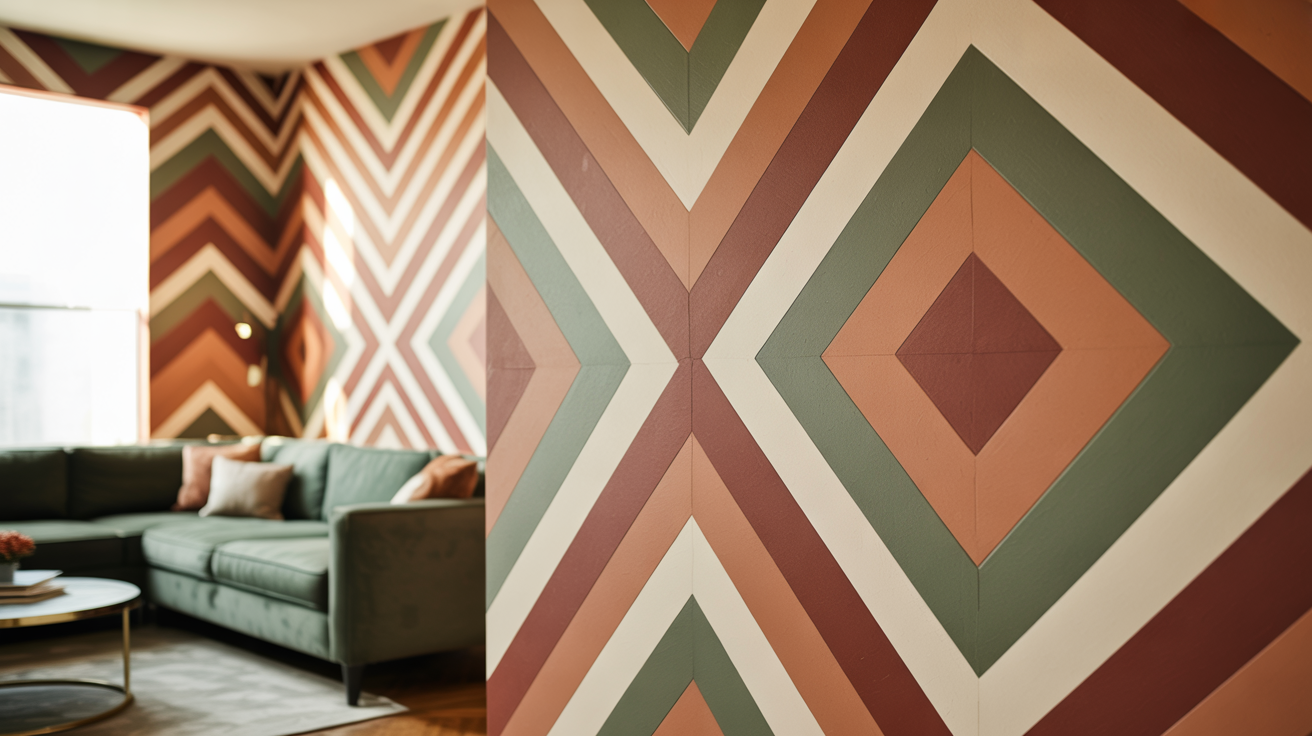
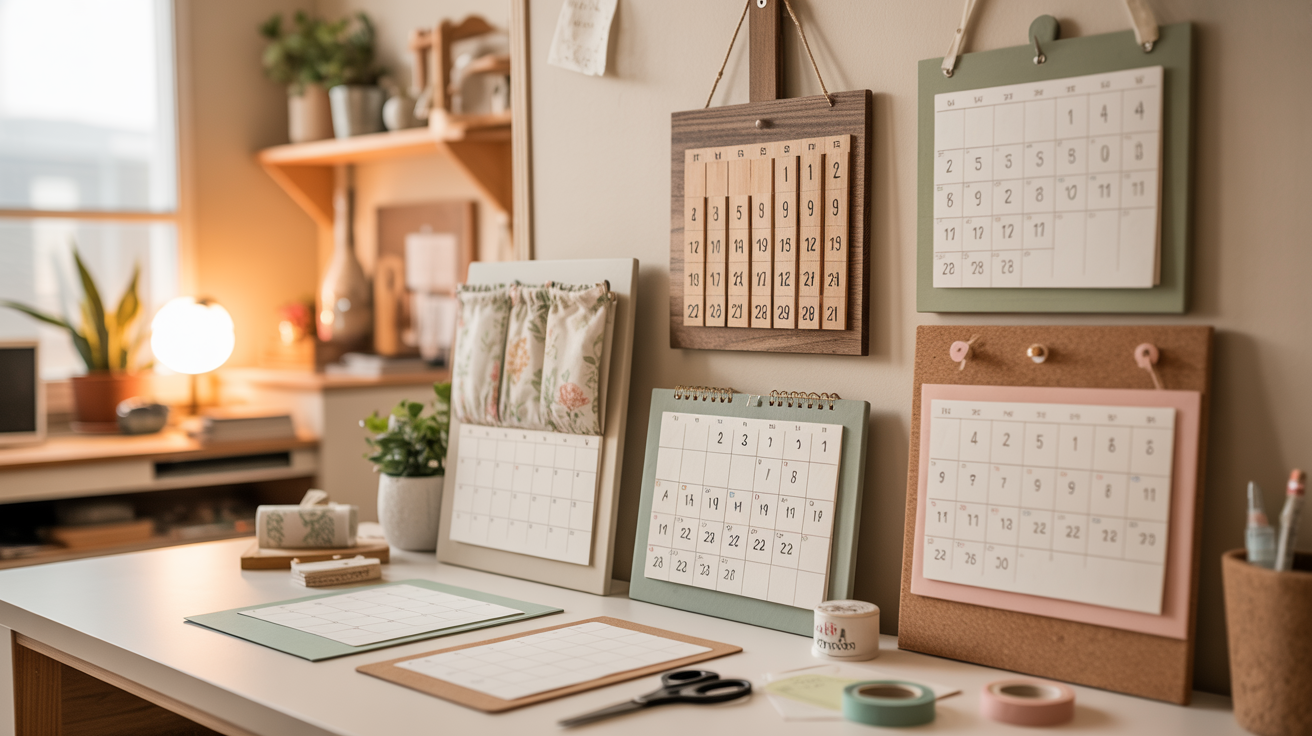
Geometric Textured Panels
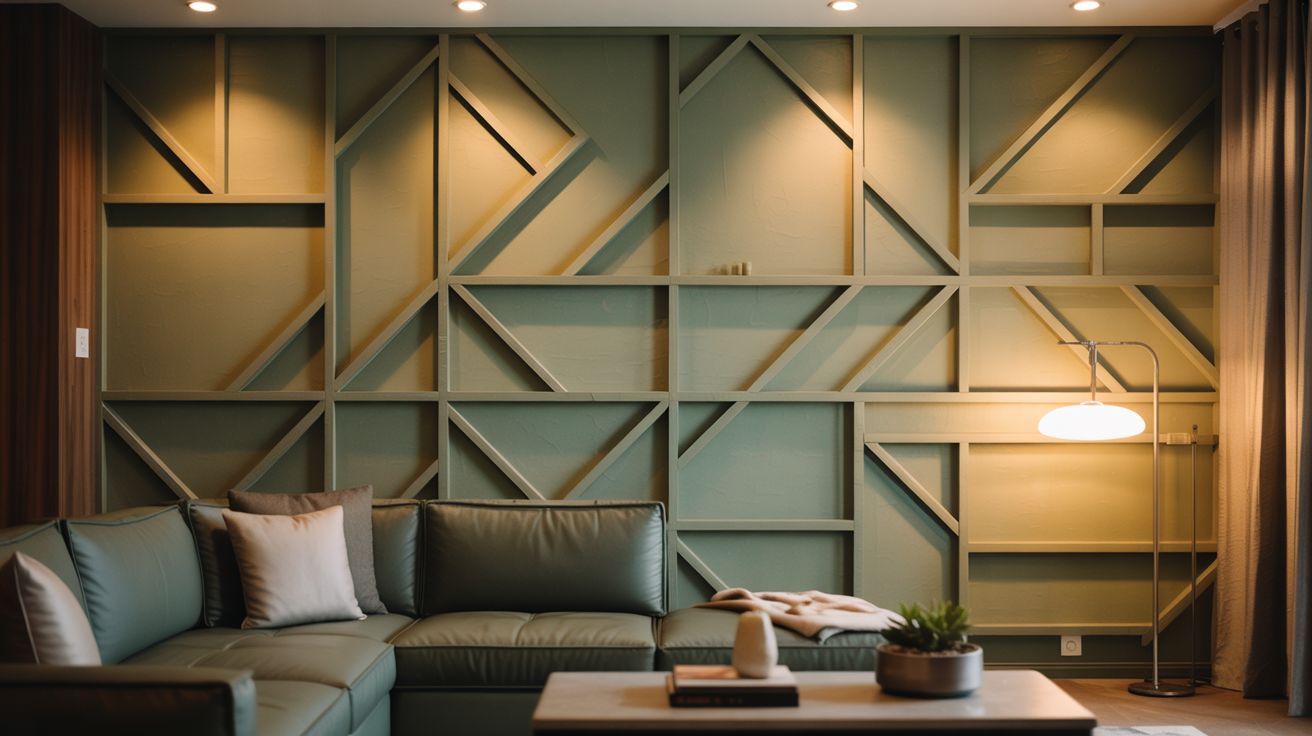
Here’s where tape becomes your best friend. Place painter’s tape in straight lines across your surface. Fill sections with compound, creating raised geometric shapes. Triangles, rectangles, or diagonal lines all work.
Peel the tape before the compound fully dries. You’ll get clean edges and modern shapes. This style fits contemporary homes with sharp furniture lines.
It’s geometric art without hiring an architect. The contrast between smooth and textured areas creates visual punch.
Organic Free-Form Texture Art
No plan. No pattern. Just you and the compound. Slap it on, push it around, layer it randomly. Use your hands, tools, or whatever feels right. Build up thick spots. Leave bare patches.
This approach celebrates imperfection. Every piece turns out different because you’re working intuitively.
It’s perfect for creative spaces like home offices or studios. The chaos creates a focal point that feels alive and unplanned.
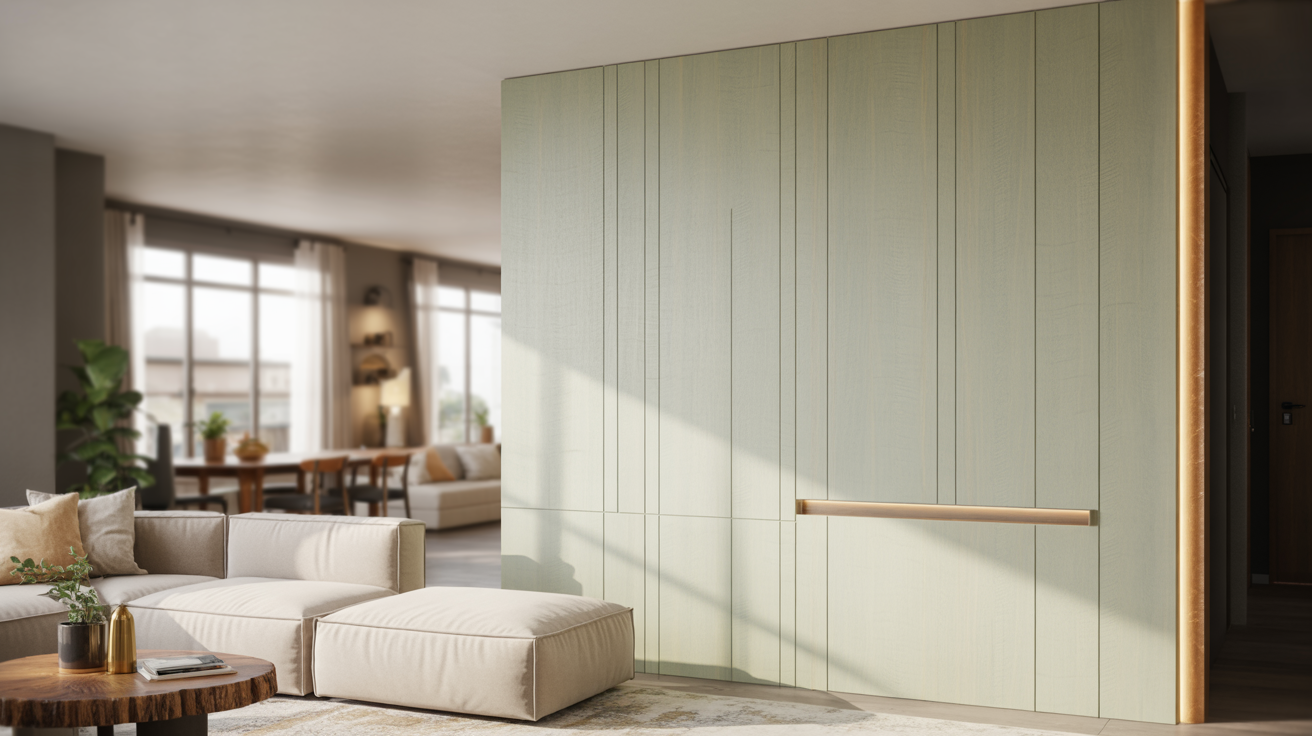
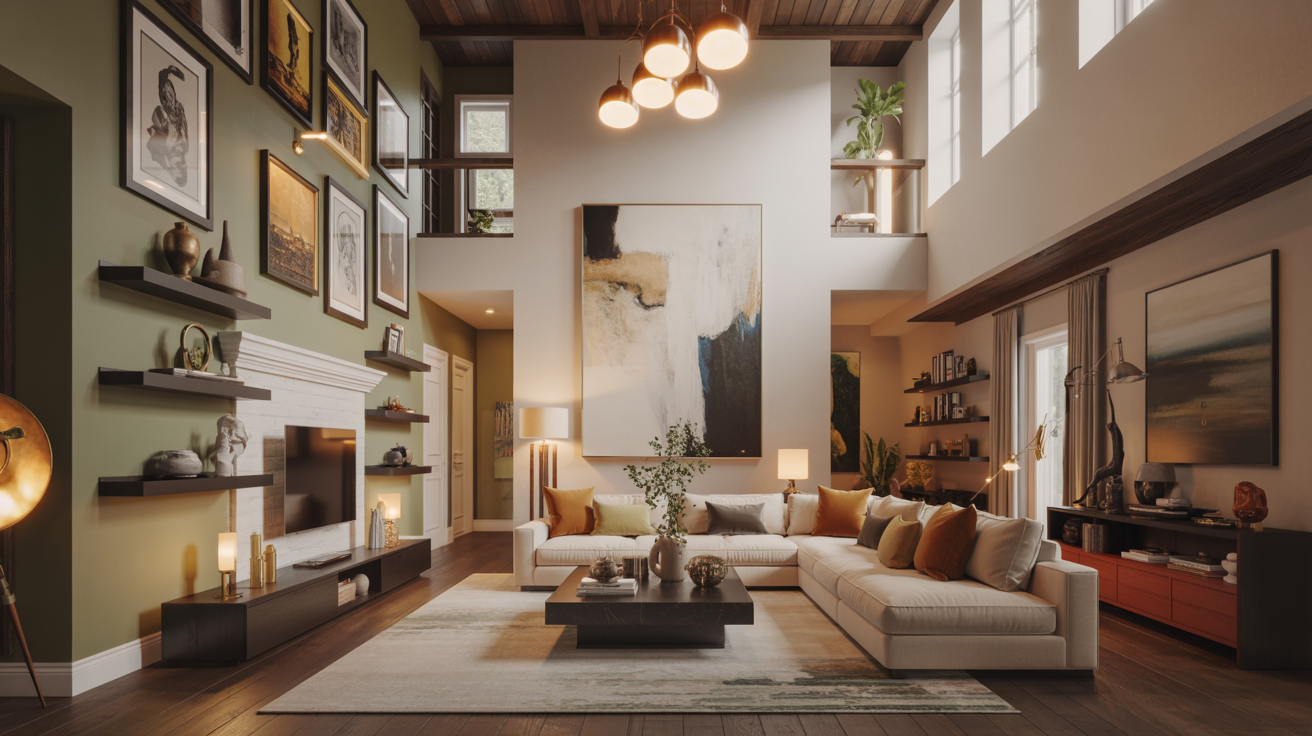
Oversized Statement Drywall Art
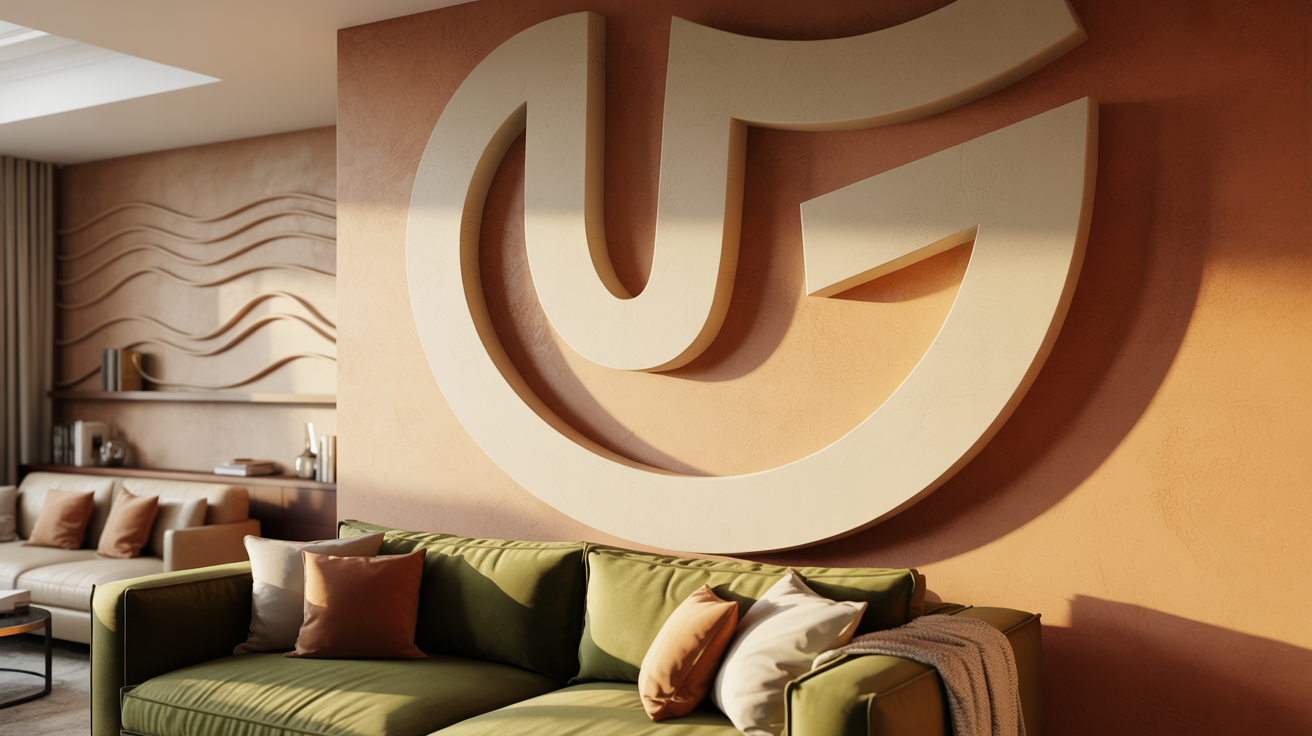
Go big or go home. I’m talking 3 feet by 4 feet or larger. Use a full sheet of plywood or multiple canvases side by side. Apply bold, dramatic textures that command attention from across the room.
Large scale means your texture can be bolder and deeper. This becomes the centerpiece above your couch or bed. Keep colors simple, white or one neutral tone.
The size and texture do all the talking. One massive piece beats ten small ones.
Framed Floating Drywall Art
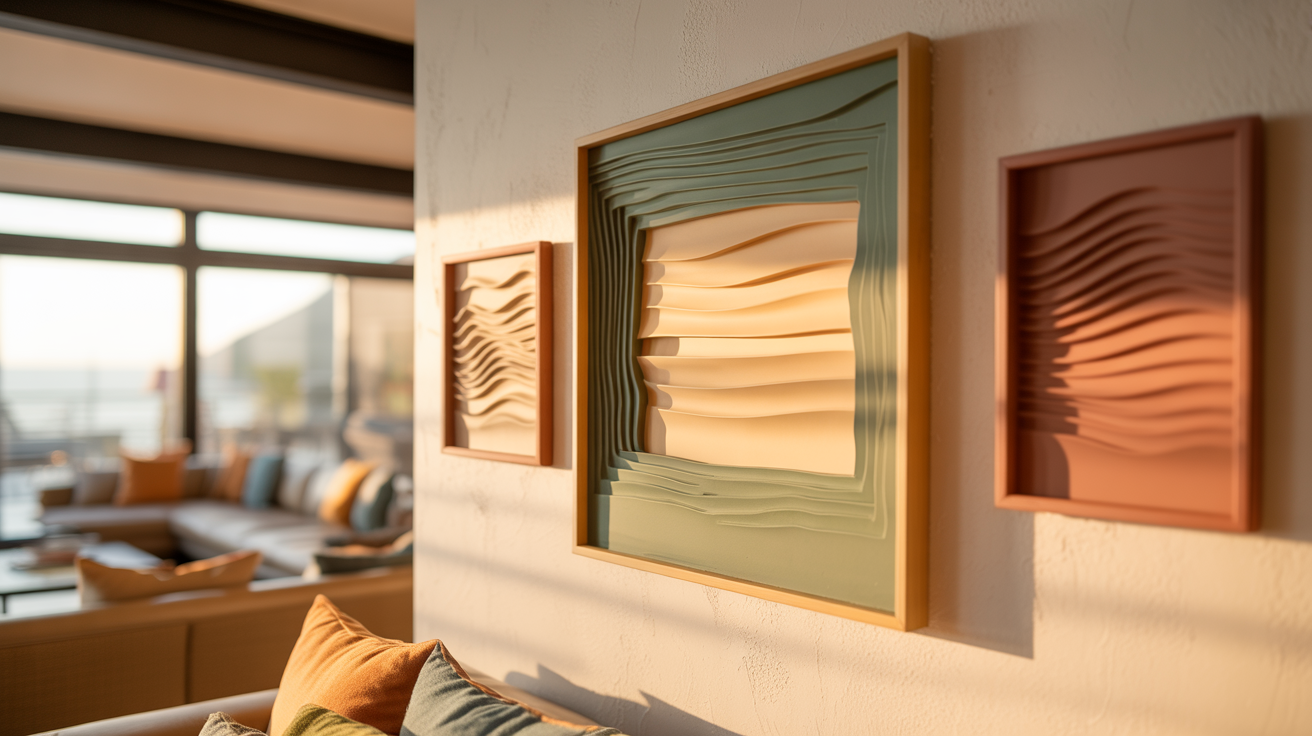
Take any style above and elevate it. Build or buy a simple wood frame. Mount your finished piece so it floats an inch off the wall. The shadow behind creates depth and makes it look gallery-ready.
The frame tricks people into thinking you bought it somewhere expensive. I’ve used stained wood frames for warmth and black frames for modern spaces.
This finishing touch upgrades DIY into professional-looking art. It’s the difference between “I made this” and “Where did you buy that?”
Framing and Displaying Drywall Art
Your textured piece is dry and painted. Now it needs a frame to look finished. A simple wood border upgrades homemade art into something that belongs in a design magazine.
I’ll show you two framing methods that work with any budget.
- Simple Wood Frame: Buy 1×2 wood pieces, sand them smooth, stain or paint to match your room, then attach with glue and finishing nails for a clean, flush border.
- Floating Frame Option: Build a slightly larger frame with small wood blocks as spacers. The art hovers inside, creating a shadow gap that makes $30 materials look like $300 gallery art.
- Mounting Hardware: Use D-rings or sawtooth hangers on the back, making sure they’re centered and secure, so your piece hangs straight and stays put.
Final Tips for Successful Drywall Art
I’ve learned these lessons the hard way. They’ll save you time and frustration.
- Start small: Begin with a tiny canvas if this is your first try, as you’ll learn the techniques faster without wasting materials or getting overwhelmed.
- Let it dry: Wait for each layer to dry completely before adding more. Rushing causes cracks, peeling, and a messy finish that ruins your work.
- Try everything: Test different tools like forks, combs, or sponges to create textures, imperfections, and random patterns that often look better than trying to make things ideally smooth.
Conclusion
You now have fresh drywall art designs that go way beyond plain painted walls. From textured patterns to 3D effects, these techniques give you options most people haven’t seen before.
Your boring walls don’t have to stay that way. These designs work with standard tools and materials from any hardware store. Start with one accent wall to test your skills, then expand to other rooms once you see how good it looks.
Choose the design that fits your style and skill level. If you found these ideas useful, pass this guide along to someone planning a room makeover. Already tried one of these techniques? Share how it went in the comments below. I’d love to know which design you picked and what challenges you faced.
Frequently Asked Questions
What is drywall art, and how does it work?
Drywall art uses joint compound, texturing tools, and paint to create raised patterns and designs directly on your walls. You apply compound in layers, shape it with tools, let it dry, then paint or seal it. It’s more durable than wallpaper and adds actual dimension to flat walls.
What tools do I need for drywall art?
You need joint compound, a putty knife or trowel, texture combs or stamps, sandpaper, primer, and paint. Optional tools include stencils, sponges, or specialty texture rollers. Most items cost under $50 total at hardware stores. Start with basic tools before buying specialized equipment.
Can renters do drywall art designs?
Renters should avoid permanent drywall art since it’s hard to remove without damaging he walls. Stick to removable options like wall decals, temporary wallpaper, or canvas art instead. If you own your home, drywall art adds lasting value. Always check your lease before making permanent wall changes.
How long does drywall art take to complete?
Simple texture designs take 4-6 hours, including drying time between coats. Complex patterns with multiple layers need 2-3 da, ys as each layer must dry completely. Most of the time is spent waiting, not working. Plan your project over a weekend for the best results.
Is drywall art difficult for beginners?
Basic drywall art is beginner-friendly if you start simple. Practice texture techniques on cardboard first. Simple geometric patterns or basic textures are easier than detailed designs. Mistakes can be sanded down before they dry. Start with one small wall section to build your confidence and skills.