With heating costs rising, many homeowners are choosing wood stoves, and more than 1.5 million are already in homes across the UK. What often gets missed is how important the wall behind the stove is.
It must handle strong heat while still looking good. If you choose the wrong setup, you could face safety risks or a design that does not feel right.
This guide explains solid material choices, simple design ideas, and key safety rules. We gathered real examples from professionals and homeowners who have managed this well in their own spaces.
You will find clear advice that helps protect your walls and keeps your home safe. No guesswork, just practical steps for choosing materials, planning the setup, and creating a space that fits your home.
Ideas for the Wall Behind Your Wood Stove
Protect your walls and create a beautiful focal point with heat-resistant materials like stone, tile, or metal panels behind your wood stove.
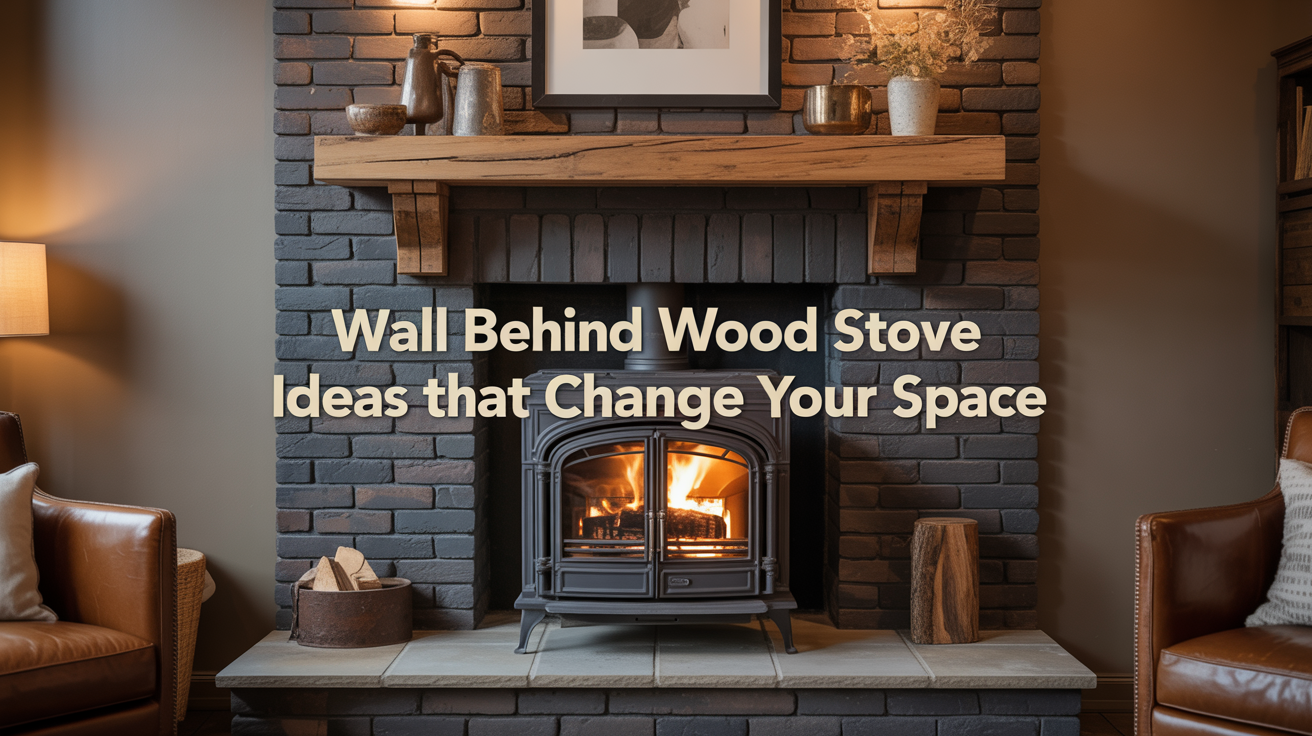
1. Brick Wall

A brick wall brings timeless warmth and rustic charm behind your wood stove. Its natural texture instantly adds character. Brick also handles heat extremely well.
You can leave the bricks natural, whitewash them, or paint them for a modern twist. Each finish creates a different mood. This makes brick a flexible option for many interior styles.
Pairing brick with metal or wood décor enhances the cozy fireplace feel. The layered textures help create a welcoming focal point. It’s both practical and visually appealing.
2. Stone Veneer

Stone veneer offers the beauty of real stone with much less weight. It’s available in stacked, rugged, or smooth styles. This makes it easy to match with rustic or contemporary homes.
The texture adds depth and visual richness behind the stove. It’s also heat-resistant and very durable. This combination of style and safety makes it a popular choice.
Soft lighting near the stone enhances its natural shadows. This creates a dramatic backdrop for your stove. It turns the wall into a true architectural feature.
3. Wooden Planks

Wood planks bring warmth and a cozy cabin feel. With proper heat shielding, they become a stylish and safe option. Their texture adds a natural element to the space. You can choose horizontal or vertical installation depending on your room layout. Horizontal planks add width, while vertical ones add height. Both create a charming, tailored look.
Stained, painted, or reclaimed wood gives plenty of design flexibility. Dark woods feel rustic, while light woods feel airy. This allows you to match any décor style.
4. Ceramic or Porcelain Tile

Tiles offer a clean and modern look around the stove. They withstand high heat and require very little maintenance. Glossy or matte finishes add stylish versatility.
Patterns like subway, square, or large-format tiles can change the wall’s visual impact. Lighter tiles brighten the room. Darker ones create contrast and depth.
Tile colors and finishes allow endless customization. They suit farmhouse, modern, or classic interiors easily. This makes tile a timeless and practical choice.
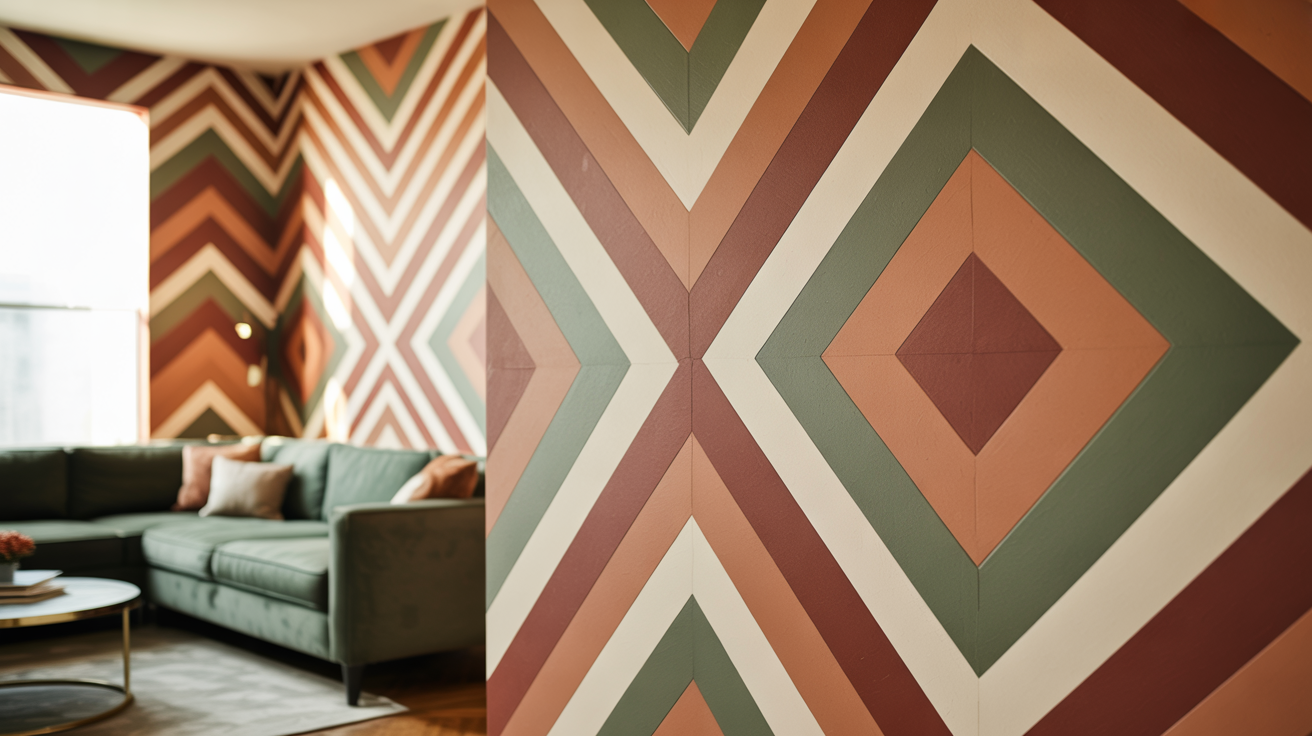
5. Hexagon or Geometric Tile

Hexagon tiles add bold, geometric detail to the wall. Their shapes create a unique pattern that feels modern and stylish. They instantly elevate the stove area.
You can use monochromatic tiles for a subtle look. Multi-tone tiles add movement and texture. Both options complement contemporary designs beautifully. These tiles are heat-resistant and easy to clean. They make the space look thoughtfully designed. Ideal for minimalist or Scandinavian interiors.
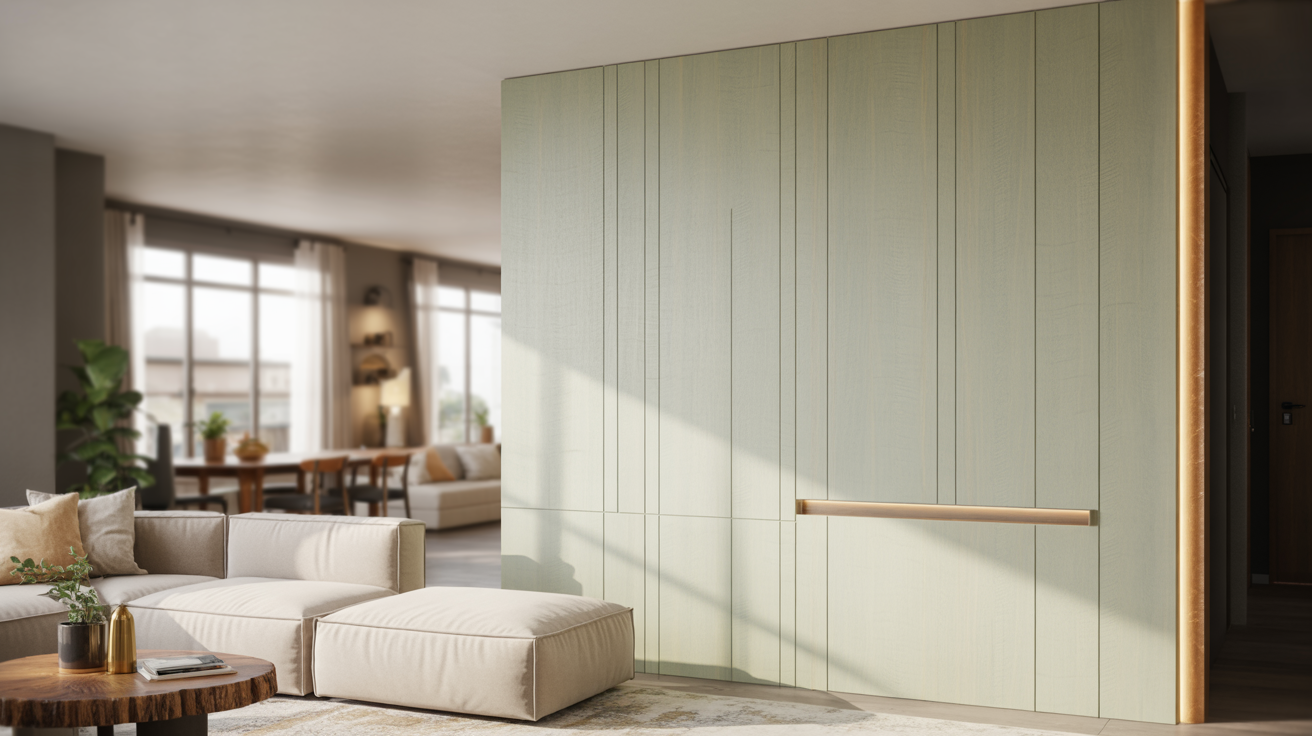
6. Shiplap

Shiplap offers a clean, cottage-like appearance. When installed with proper heat protection, it becomes a safe and beautiful choice. It gives the wall a neat, structured look.
White shiplap brightens the room and feels farmhouse-inspired. Natural or stained wood adds warmth and texture. Shiplap is highly adaptable to both rustic and modern homes.
It pairs well with stone, metal, or brick accents. This helps create a layered, cozy environment. Its simple lines make it visually calming.
7. Concrete Finish

A concrete wall gives a strong industrial and minimalist feel. Its raw texture contrasts nicely with the warmth of the fire. Concrete is also extremely heat-resistant.
You can choose smooth, polished concrete for a sleek look. Or keep it raw for a more rugged aesthetic. Both create a bold, modern statement.
Concrete is low-maintenance and long-lasting. It suits contemporary and loft-style interiors. This option is ideal if you prefer clean, simple materials.
8. Painted Heat-Resistant Wall

Using heat-resistant paint allows full control over the wall’s color. Dark tones create drama and contrast. Light tones create softness and brightness.
It’s one of the easiest ways to refresh the stove area. Paint lets you change styles without construction. It’s perfect for quick makeovers.
This option works with every décor style. It also highlights the stove by creating a simple background. Color choice becomes your main design tool.
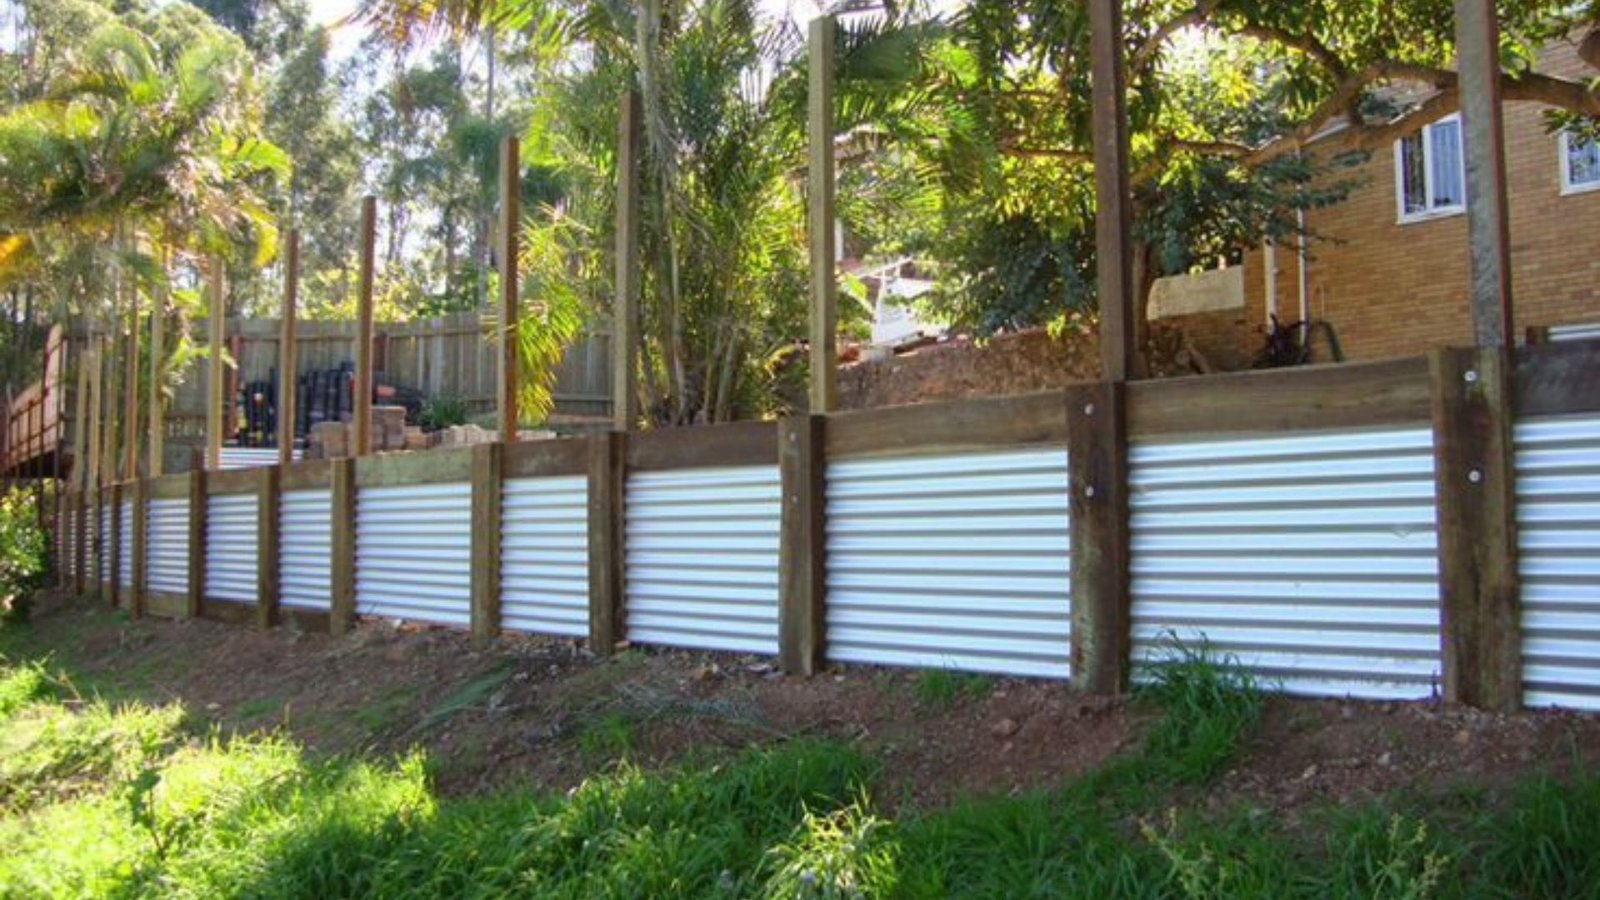
9. Corrugated Metal

Corrugated metal adds a rugged, industrial texture to the space. Its wavy pattern reflects light beautifully. It’s also extremely heat-resistant and durable. Choose raw steel for an edgy look. Weathered metal adds rustic charm. Blackened panels create a modern, moody vibe. It pairs well with wood and brick for a balanced design. Corrugated metal instantly makes the wall feel unique. It’s perfect for bold interior themes.
10. Large Concrete Panels

Large concrete panels create a seamless, contemporary backdrop. The wide slabs give a clean and uniform appearance. This results in a minimalist, high-end look. Their smooth surface feels modern and architectural. The panels resist heat effortlessly. They help the stove become the main focal point. Neutral gray tones blend with nearly any color scheme. They look especially striking in open, modern spaces. The simplicity makes the whole room feel calm and refined.
11. Faux Plaster or Textured Wall

Textured plaster adds soft movement and elegant depth behind your stove. It’s subtle but visually rich. Heat-safe plaster ensures durability.
You can choose natural white or warm, earthy tones. These shades create a peaceful, sophisticated ambiance. The texture gently catches light.
This finish complements both classic and modern interiors. It adds style without overwhelming the space. Ideal for homeowners wanting a refined, artistic touch.
Installation Tips
Proper installation ensures safety and longevity. These practices matter more than you might think.
- Check your wall first: Look at what’s behind your drywall and build a fire-rated board base with solid support.
- Create an air gap with spacers: Use ceramic spacers to make a 1-inch gap that lets heat escape.
- Use the right adhesive and grout: Get heat-resistant products because regular materials break down from heat.
- Seal natural stone materials: Seal stone before installing to prevent permanent soot and ash stains.
- Know when to call an expert: Get professional help for code compliance, certifications, or complex work.
Maintenance and Cleaning Guidelines
Proper maintenance keeps your wall protection working and looking great. Different materials need different care.
Here are the condensed versions:
- Stainless steel, slate, and stone clean easily: Wipe these materials like kitchen appliances to remove dirt and soot.
- Brick needs more cleaning effort: The bumpy surface traps soot and dust in the texture.
- Ceramic, porcelain, and metal are low-maintenance: These wipe clean easily, and metal’s natural patina is normal.
- Different materials age in different ways: Some look better over time, while others need refreshing eventually.
- Fix problems early and maintain on schedule: Use proper techniques to prevent cracks and replace materials when repairs won’t work.
Conclusion
The wall behind your wood stove needs careful thought. You now have simple wall behind wood stove ideas that balance safety with a look that suits your home. Start with the basics. Keep the right clearances and choose materials that can handle strong heat.
Then pick a style that fits your space. Rustic stone, smooth metal, or patterned tile can all work well. Your wall protection can still have personality and can even become a strong feature in the room while keeping the area safe.
Take time choosing materials and think about cost, skill level, and upkeep. The best choice is the one that fits your needs. If you feel ready, begin planning your wood stove wall project. If this helped you, share it with friends. If you have questions, add them in the comments.
Frequently Asked Questions
What is the safest material to use behind a wood stove?
Porcelain tiles, natural stone, brick, and sheet metal are the safest options. These materials resist high temperatures effectively. Always install them with a 1-inch air gap between the material and the wall. Use ceramic spacers and ensure top and bottom openings for proper airflow to prevent heat buildup.
How far should a wood stove be from the wall?
Without protection, maintain 36 inches from combustible walls. Heat shields reduce this to 18-12 inches safely. Always check your stove manufacturer’s specific requirements and local building codes. Distance requirements vary based on stove type and the protection materials you use.
Can I use regular tiles behind my wood stove?
Yes, but only with proper installation. Use heat-resistant adhesive and grout. Mount tiles on cement backer board with ceramic spacers, creating a 1-inch air gap. Regular installation methods without these precautions fail under high heat. Porcelain and ceramic tiles work best due to their durability.
Do I need professional installation for wood stove wall protection?
It depends on the project. Simple metal shields suit DIY installation. Complex masonry work, intricate tile patterns, and full stone surrounds require professional expertise. Consider building code compliance, your skill level, and safety requirements. Improper installation creates fire hazards and costly repairs.
How much does it cost to protect a wall behind a wood stove?
Sheet metal costs the least, around $100-300 for materials. Ceramic tiles range $300-800. Natural stone and brick run $800-2,000+. Professional installation adds $500-1,500, depending on complexity. DIY projects save labor costs but require proper tools and skills for safe installation.