Flat walls can look boring and lifeless. You want texture that adds character without looking outdated or hard to maintain.
The problem is figuring out which wall textures actually look good and which ones you’ll regret in a year.
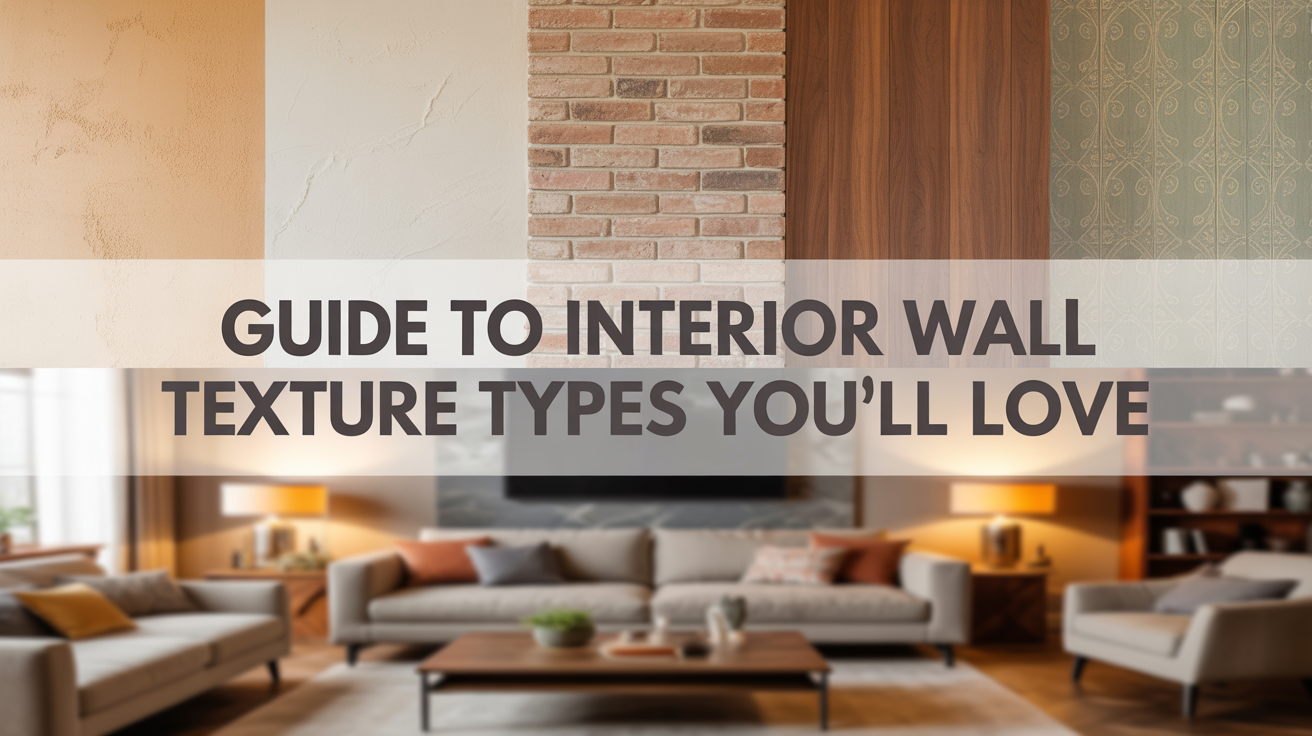
This guide walks you through the most popular interior wall textures that homeowners are using right now. You’ll see what each texture looks like, where it works best, and how much effort it takes to apply.
We’ve gathered information from contractors, design blogs, and real renovation projects to show you what’s actually working in homes today.
No outdated popcorn ceiling suggestions or techniques that require professional skills you don’t have. Just clear explanations of textures you can either DIY or hire out, depending on your comfort level. You’ll finish reading with a solid plan for your walls.
Understanding Wall Textures

Let me explain wall textures in the simplest way possible. You’ve probably seen them in most homes, those patterns on walls that aren’t completely flat. They’re everywhere, but most people never think twice about them.
Why Use Wall Textures?
Let me show you what textures actually do for your walls:
- Conceal imperfections and joints in drywall
- Add visual depth and personality to your interiors
- Create light and shadow effects for mood and ambiance
They’re not just decorative. They solve real problems. Your walls have flaws? Texture hides them.
The Real Benefits
Here’s what you get when you choose textured walls:
- Aesthetic Enhancement: Character, warmth, and design variety
- Practical Function: Masks flaws, dents, and uneven seams
- Customizability: Subtle to dramatic, your choice
- Durability: Protects surfaces and makes maintenance easier
Types of Interior Wall Textures
I’m going to show you the nine most important wall textures you need to know. These finishes range from simple drywall styles to elegant plaster effects. You’ll find the right texture for any room in your home.
1. Knockdown Texture

This texture gives you a flattened, rustic look that works perfectly in modern homes. You spray the compound on your wall first, then flatten the peaks with a knife.
The result is a subtle, marbled finish that’s easy to paint over and maintain.
Features:
- Flattened peaks create a soft, marbled appearance
- Hides wall imperfections without looking heavy
- Much easier to maintain and paint than the popcorn texture
Best for: Contemporary spaces that need dimension without drama.
2. Orange Peel Texture

Orange peel is the most popular texture in modern homes because it looks just like citrus skin. You can apply this finish quickly with a spray gun, and it dries fast.
Repairs are simple, and they cost less than fancy plaster finishes.
Features:
- Subtle, splattered appearance that doesn’t overpower
- Quick application process with a spray gun
- Easy to touch up and repair later
Best for: Living rooms, bedrooms, and hallways where you want a clean, modern look.
3. Popcorn Texture

You’ve probably seen this bumpy ceiling texture before, it was everywhere in the 1970s and ’80s.
Popcorn texture hides major flaws, but it’s hard to clean and looks dated now. I only recommend it if you need serious coverage on damaged ceilings.
- Heavy, raised bumps provide dramatic coverage.
- Applied with a spray gun or roller
- Hides severe ceiling imperfections effectively
Best for: Covering severely damaged ceilings when replacement isn’t an option.
4. Skip Trowel Texture

This finish gives you that Mediterranean villa look I love for rustic interiors. You spray compound on the wall first, then “skip” over it with a trowel. This creates smooth patches mixed with textured areas for an organic, handcrafted effect.
Features:
- Irregular, skipped pattern with smooth and rough areas
- Creates authentic Old World charm
- Unique, artisan-crafted appearance
Best for: Spanish-style homes, rustic kitchens, and Mediterranean accent walls.
5. Venetian Plaster

This is the luxury option that creates a smooth, marble-like surface with a beautiful glow. You apply multiple thin layers with a trowel, and each layer builds depth. The final polish gives you that expensive sheen that makes rooms feel upscale.
Features:
- Polished, marble-like appearance with subtle depth
- Made from lime and marble dust for authenticity
- Timeless polish that never goes out of style
Best for: Upscale dining rooms, master bedrooms, and luxury statement walls.
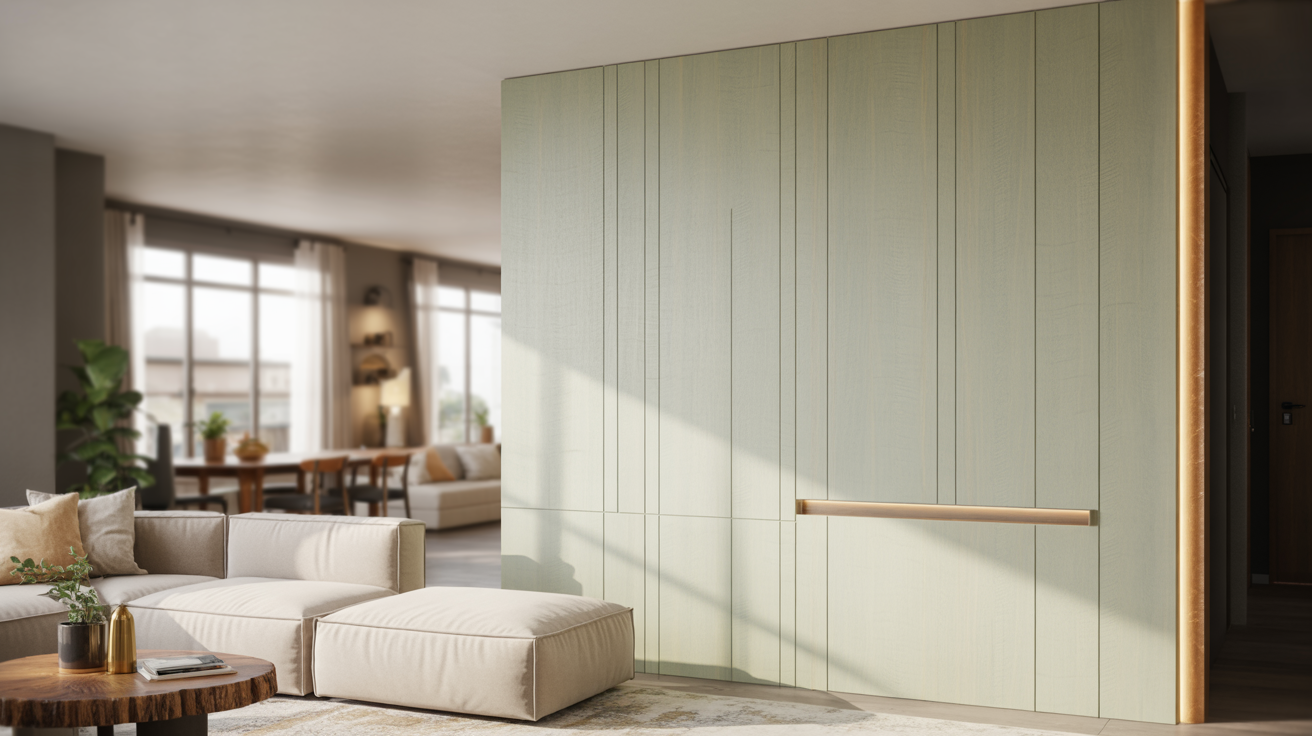
6. Concrete Wall Texture

Want an industrial look? Concrete texture gives you a modern edge without the weight of real concrete. You use acrylic plaster to create the same effect, and you can go smooth and sleek or rough and raw. Either way, you get that urban loft vibe.
Features:
- Smooth or rough cement finish for flexibility
- Lighter than real concrete, easier to apply
- Creates an authentic industrial aesthetic
Best for: Lofts, home offices, and contemporary living spaces with modern furniture.
7. Comb Texture

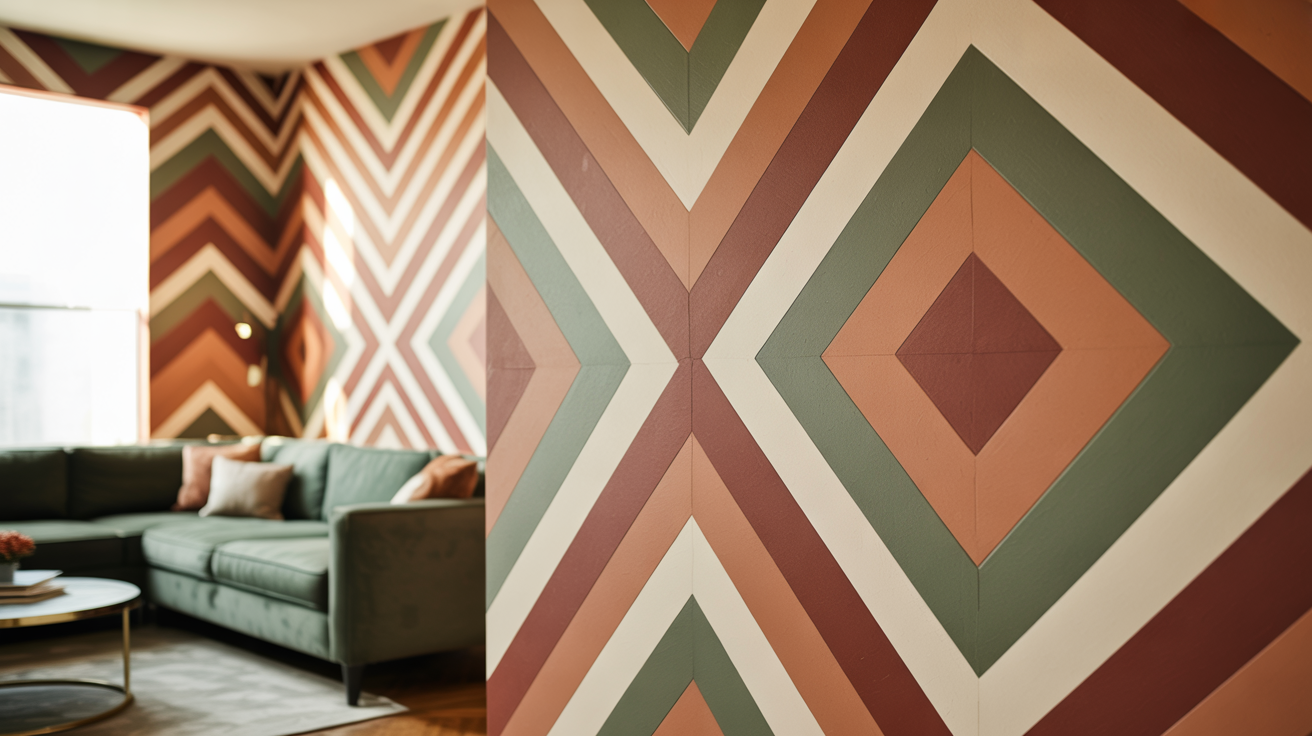
This artistic finish uses a special comb tool that you drag through wet compound to create patterns. You can make waves, circles, or arcs, it’s like drawing on your walls. I see this texture in vintage homes and creative spaces where personality matters.
Features:
- Wavy or circular line patterns you customize
- Artistic, vintage appeal with character
- Unique designs specific to your space
Best for: Accent walls, creative studios, and retro-inspired rooms.
8. Sand Swirl Texture

Sand swirl adds gentle movement to your walls and is softer than knockdown but more interesting than orange peel. You mix sand into your compound, then apply it with a roller in circular motions. The sand catches light differently throughout the day and creates a subtle dimension.
Features:
- Swirled, flowing patterns add visual movement
- Sand-based compound creates textured grip
- Catches natural light beautifully for depth
Best for: Entryways, staircases, and rooms with abundant natural lighting.
9. Stone Wall Texture

This texture mimics natural stone without the cost and gives you that organic, earthy feel. You use clay-based plaster tinted with pigments to create a finish that looks like sandstone or limestone. It brings the outdoors inside perfectly.
Features:
- Natural stone appearance without heavy materials
- Clay-based application with custom pigments
- Warm, organic texture with antique feel
Best for: Feature walls, fireplaces, and nature-themed rooms.
Choose your texture based on your style. Modern homes look great with orange peel or concrete.
Traditional spaces shine with Venetian plaster or skip trowel. And creative rooms come alive with comb or sand swirl patterns.
DIY vs. Professional Wall Textures
You can handle some textures yourself. But others need a pro’s touch. I’ll show you which projects you can tackle and which ones require expert help.
DIY-Friendly Texture Types

Some textures are perfect for beginners like you. Orange peel, sand swirl, slap brush, and sponge techniques don’t require years of experience.
You need basic tools: a roller, brush, trowel, and joint compound. That’s it. These textures are forgiving. Small mistakes won’t ruin your wall. And you’ll save hundreds of dollars doing it yourself.
Tools You’ll Need:
- Paint roller with texture sleeve
- Slap brush or stipple brush
- Drywall trowel (6-inch or 8-inch)
- Joint compound or texture mix
- Drop cloths and painter’s tape
- Primer and paint
Best DIY Textures:
- Orange peel: Spray or roll on the compound for a simple finish
- Sand swirl: Mix sand into the compound and apply in circles
- Slap brush: Press the brush into the wet compound for patterns
- Sponge texture: Dab a sea sponge for an organic look
Here’s the truth: you will make mistakes. But that’s how you learn. Start small. Practice first. You’ll get better with each section.
Tips for Beginners

Practice on scrap drywall before you touch your walls. I can’t stress this enough. Buy a small piece from the hardware store and experiment.
Start with one small section at a time. Don’t try to texture an entire room on day one. Work on the closet wall first. Or do a small bathroom. Build your confidence gradually.
Follow These Steps:
- Practice your technique on scrap pieces first
- Watch tutorial videos multiple times
- Start in a low-visibility area
- Work in 4-foot sections
- Keep your compound at the right consistency
- Always prime walls before painting
Always prime your textured walls before you paint. Primer seals the texture and helps paint stick. Skip this step, and your paint will look blotchy.
Professional-Grade Finishes

Some textures are way too hard for DIY. Venetian plaster, metallic waxes, concrete effects, and embossed textures need expert hands.
- Venetian plaster: Multiple thin layers with precise trowel work
- Metallic waxes: Requires burnishing and layering skills
- Concrete effects: Needs exact mixing and timing
- Embossed textures: Custom stencils and relief work
- Skip trowel: Artistic technique that takes practice
My advice? Do the simple textures yourself. Save money. Learn new skills. But call a pro for anything that looks complicated. Some projects aren’t worth the headache.
How to Choose the Right Interior Wall Texture Type?
Picking the right texture isn’t random. You need to think about your style, your budget, and your walls. I’ll help you match the perfect texture to your space.
Consider Your Design Style

Your wall texture should match your home’s vibe. A rustic farmhouse needs different textures than a sleek downtown loft. Think about the feeling you want in each room.
- Rustic: Tree bark, skip trowel, or sand swirl
- Modern: Orange peel, concrete, or smooth plaster
- Luxurious: Metallic, pearlescent, or polished finishes
- Traditional: Knockdown or light stipple texture
- Industrial: Concrete effects or exposed textures
Don’t mix styles randomly. A concrete wall looks weird in a country cottage. Stay consistent with your overall design theme.
Practical Factors

Style matters, but so does reality. You need to think about your walls, your wallet, and your time. Let’s get practical about what actually works.
- Wall imperfections: Knockdown or stipple hides flaws
- Tight budget: DIY textures with joint compound
- Easy maintenance: Smooth textures clean faster
- Lifestyle needs: Kids and pets need durable finishes
- Time available: Simple textures save hours
Your lifestyle matters too. Got kids? Choose textures that wipe clean easily. Rent your place? Stick with standard finishes. Always fix your budget before you pick your style.
Conclusion
Choosing the right interior wall texture types doesn’t have to feel overwhelming. Whether you’re drawn to the subtle polish of knockdown, the rustic charm of skip trowel, or the modern simplicity of smooth finishes, there’s a texture that perfectly matches your style and space.
You now know how to upgrade your walls from blank canvases into impressive focal points. Each texture brings its own character, and the best part? You can mix and match them throughout your home to create the exact atmosphere you’re envisioning.
Ready to get started? Browse through your favorite textures again and imagine them in your space. Have questions or want to share which texture caught your eye? Drop a comment below, we’d love to hear about your wall upgradeation experience!
Frequently asked questions
What are the most popular interior wall texture types?
The most popular interior wall texture types include knockdown, orange peel, skip trowel, and smooth finishes. Knockdown offers a subtle, modern look, while orange peel provides a classic texture. Skip trowel creates rustic charm, and smooth finishes deliver contemporary polish. Each suits different design styles and spaces.
Which wall texture is best for hiding imperfections?
Heavy textures like skip trowel, popcorn, and knockdown are excellent for concealing wall imperfections, cracks, and uneven surfaces. Orange peel also works well for moderate coverage. These interior wall texture types create depth and shadows that naturally disguise flaws, reducing the need for extensive wall prep work.
Can you paint over textured walls easily?
Yes, you can paint over most interior wall texture types. Use a thick-nap roller (3/4″ to 1″) to reach into crevices. Apply primer first for best results. Heavier textures may require more paint and multiple coats. Spraying is most efficient for deeply textured surfaces like popcorn.
What’s the easiest wall texture to clean and maintain?
Smooth and light orange peel textures are easiest to maintain. They don’t trap dust like heavier textures and can be wiped down easily. Knockdown is also fairly low-maintenance. Avoid deep textures like skip trowel or popcorn in kitchens and high-traffic areas where cleaning frequency is higher.
How much does professional wall texturing cost?
Professional wall texturing typically costs $1-$3 per square foot, depending on the interior wall texture types chosen and your location. Simple textures like orange peel are more affordable, while custom skip trowel or Venetian plaster costs more. DIY texturing can significantly reduce expenses but requires practice.